![]()
Document settings and frame position settings are located on the ruler icon on the top of the Frame Features panel.
If no frame is selected, the tab shows the document settings. If a frame is selected, the tab shows the position settings for the frame which are described in the Position chapter.

Either select a given preset of various European standards or enter a custom page size.
The Unit drop-down menu enables the user to select the standard unit used in the document (inches, centimeters, millimeters, or pixels).
Watch the Tutorial Video about Cover Page & Spine
If there is a document in your template with Book Inside Pages enabled, the Cover Page Icon will appear in the Document Frame Settings of any other document.

Click on it to make the current document a Cover Page with Spine.

As soon as you define the current document as a Cover Page, Page Width and Page Height is disabled. That is because the size of the Cover Page is defined by the pages inside, meaning the document which has Book Inside Pages enabled (For this example, this document is named “Inside Pages”). If you change the size of the pages inside, the Cover Page will adjust accordingly.
The formula for calculating the Cover Page size is:
Page Width = 2x Left/Right Edge + 2x Width of the inside Pages + Spine + 2x Spine Hinge
Page Height = 2x Top/Bottom Edge + Height of the Inside Pages
Left/Right Edge
Set the width of the Left/Right Edges to make the Cover Page wider then the inside pages.
Top/Bottom Edge
Set the height of the Top/Bottom Edges to make the Cover Page higher than the inside pages.
Spine
This form field defines the width of the Spine. In order to make the width of the spine change accordingly to the number of pages inside, you have to use a formula. This is especially important, if you allow Buyers to add pages to their Book.
The initial value is a formula consisting of:
2 cm
The minimum width of the spine for a Book without any pages inside
spine.pages
The number of pages inside
0.2 mm
The paper thickness of one page
Spine Hinge
The so called Hinge is the area left and right from the spine, where the cover folds. Its width can vary due to production and has to be given as an absolute number. The Hinge will add up to the overall width of the Cover Page.

Adding a Snipping Placement Margin to Cover Page
If you want to make sure that Buyers do not place Layout or Sticker Snippets in the spine area, add a Placement Margin to the Cover Page.
1. Step:
Go to the Snippet Placement tab and turn on Placement Margin.

2. Step:
Make the left edge of the Placement area stick to the right edge of the spine by typing =spine.right in Left. You can also add a offset to the edge by using a formula, like =spine.right+0.5cm.
Note: Printess will convert variables and formulas into numbers with unit after entering. If there is no unit defined in the formula, Printess will take the document unit.
This could be used to leave out the Hinge or add a safety margin. The placement area will always keep this margin to the spine, even if the spine width or the size of the Inside Pages change.
Spine defined by Buyer
If you want to enable the Buyer to change the Spine you have to set up a special Form Field. Read here about the Spine Form Field

This color will be used as the background of each page in the document. This also defines if the document is opaque or if it is transparent (choose [None]).
HSL color manipulation is also available:


The Paste Board is the visible area around the document.
On the Buyer Side, this defines the complete visible product and the document size will define the personalizable area within it. The Paste Board can be used to show more of the final product around the printable area. A good example of this type of Paste Board usage can be seen in our T-Shirt sample document.
Left, Right, Top, Bottom - Sets the additional space the Paste Board will have around the document.
Space Between - Sets the vertical distance between the Paste Boards of the pages when scrolling.
Show Frames - Defines the opacity of the Paste Board. A value of 0 means the Paste Board is opaque - everything outside the page will not be visible. A value of 100 means everything outside the page will be fully visible. This is useful if one like to show the product outside the page or would like to place user interface elements outside the page. Click here to learn more about Buyer Side user interface elements.
Page Zoom to Paste Board - This icon will set the default visible area to the Paste Board instead of the document.
Adjust Pasteboard on Document-Size Change - If the Buyer can choose from different formats and their sizes vary greatly this option helps. It ensures that the zoom is precise between very large and very small formats.
Zoom Padding - With Zoom Padding one can fine-adjust how much space is around the zoomed page, e.g. to ensure that grippers are still clickable even if the frame is at an edge. This option is only available if Page Zoom to Pasteboard is disabled.
Buyer Side Page Border - This enables or disables the black border around the page.
Paste Board Color - Sets the color of the Paste Board. Users can enter in their own colors to the Paste Board by simply changing the rgb vaules in the Paste Board Color settings:

The Paste Board is the area around the document where design elements are still visible. For example, bleed is part of the Paste Board.
But the Paste Board gets especially useful for Buyer Side configurations, as sometimes a document does not span the complete product.
A good example is a T-Shirt where the printable area is just a small area in the center, but you’d still like to show the complete shirt to the Buyer.
Here the Paste Board does the trick. Set the Document Size to your printable area and enlarge the Paste Board to fit the size of the entire product.
Example: Custom T-Shirt designer

There is also a convenient function for this in the Frame Context menu. Just select the frame containing the shirt image and right-click on it.

Select Set as Paste Board and the Paste Board will be set to the size of the frame.
You can also manually set the Paste Board dimensions by inputting the distance to all four edges in the Document tab to the right.

In this example Page Zoom to Paste Board is enabled. This will initially zoom the Editor to the Paste Board instead of the document when editing.
Buyer Side Page Border is disabled so that the document borders are not shown.
Show Frames is set to 100, causing everything in the Paste Board to appear with 100% opacity. Reduce this value if frames outside the document area should have less opacity (e.g. one would just like to show elements that are in bleed but they should appear lighter).
To round things off, Paste Board Color sets the color of the Paste Board.

The Baseline Grid defines a horizontal grid for Multi Line texts. If Use Baseline Grid is enabled, the grid will make the vertical position of each text line snap to the closest available grid line.

In printing, bleed is print that goes beyond the edge of where the sheet will be trimmed. In other words, the bleed is the area to be trimmed off. The bleed is the part on the side of a document that gives the printer a small amount of space while trimming to account for movement of the paper and design inconsistencies.
The Bleed setting serves two purposes. First of all, it defines a bleed snap-line outside the document where frames can snap to. Secondly, it will define a “Bleed Box” for the output PDF.
Bleed is defined with Inside and Outside as with facing page scenarios, one would need to define the bleed differently towards the outside and the spine. The Aspect Lock icon ![]() will autofill the bleed values for Outside, Top, and Bottom with the same value that you input for the Inside bleed.
will autofill the bleed values for Outside, Top, and Bottom with the same value that you input for the Inside bleed.
Outside means the bleed to the left of the spread. (Both pages combined)
Inside means bleed toward the spine of the spread. (Single page)
Top - Defines the bleed to the top of the page or spread.
Bottom - Defines the bleed to the bottom of a page or spread.
Additionally, you can enable Show Safe Zone which will create an additional snap-line with the same distance as the bleed but for the inside of the document. This defines the zone where no frame should be placed as they might get cut off.
Sync with Bleed will input the same values in the Show Safe Zone as the bleed settings. Deselect this to enter in your own values for the document’s Safe Zone.
This is how the two snap-lines for Show Bleed and Show Safe Zone from the example above will look to the Buyer by default.

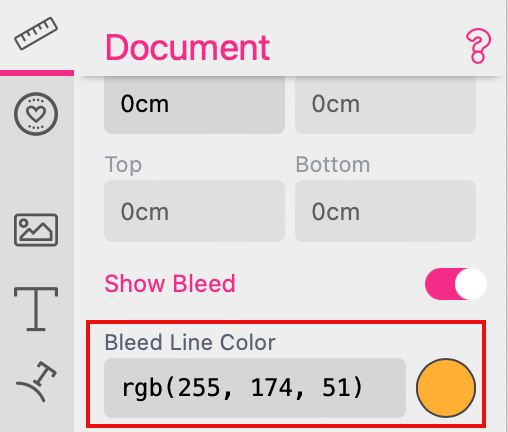
Change Bleed Line Color: Type in a color value or click the yellow dot to select a color.

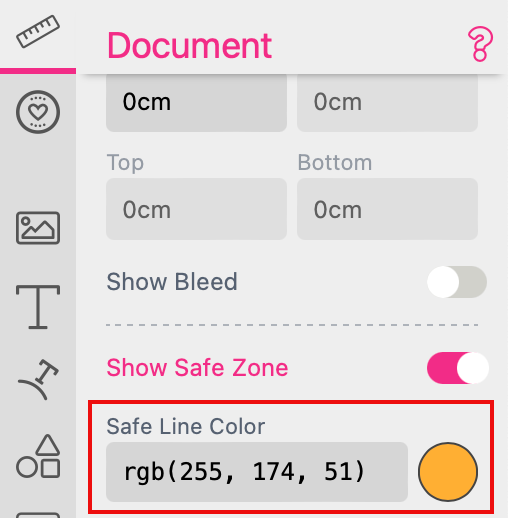
Change Safe Line Color: Type in a color value or click the yellow dot to select a color.

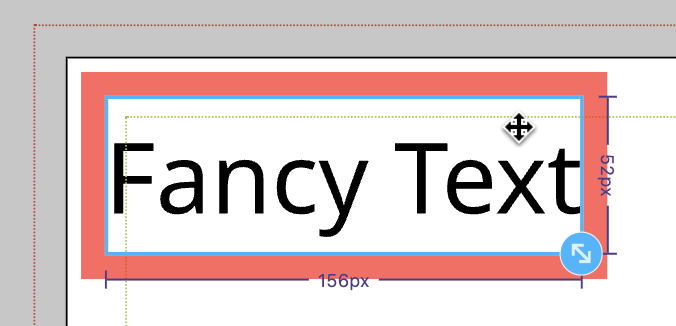
If you have Show Bleed and Show Safe Zone activated and for both option are values defined you can use both lines as a snap path. In this case the Buyer can place image- and shape frames only at the safe zone line or at the bleed line - but not in between. Because the frame will snap to one or the other line. A text frame or a Sub Document moved into that area will not snap but the edge of it will turn red as a warning.


Show Margins will enable snap-lines to define type areas in a document. This is often used in book creation or wherever else one would like to have a defined type area.
Like bleed, these snap-lines are defined with Top, Bottom, Inside and Outside to account for facing page documents.
Here is the view of a Facing Page document with the above margin settings:

When Engraving Mode is turned on, additional settings are made available for editing and previewing products created by laser or machined engraving:

Read more about Printess’s powerful engraving feature in our in-depth Engraving User Manual article.
Document Engraving options are mainly present to enable or disable settings and are used in the main document to achieve a professional product presentation:
Black and White: When switched on, all colors in the document which are not white or transparent will automatically switch to black.
No Image Mask: This will disable any image mask present.
No Opacity: All opacity settings will be disabled.
No Blend Mode: All blend mode settings will be disabled.
No Effects: All effects will be turned off.
Union Glyph Paths: This feature ensures that engraving machines do not go over the same path twice.


This allows you to quickly scale the document size up or down, by a default factor of 2x. This scale factor can be changed with the Scale button:


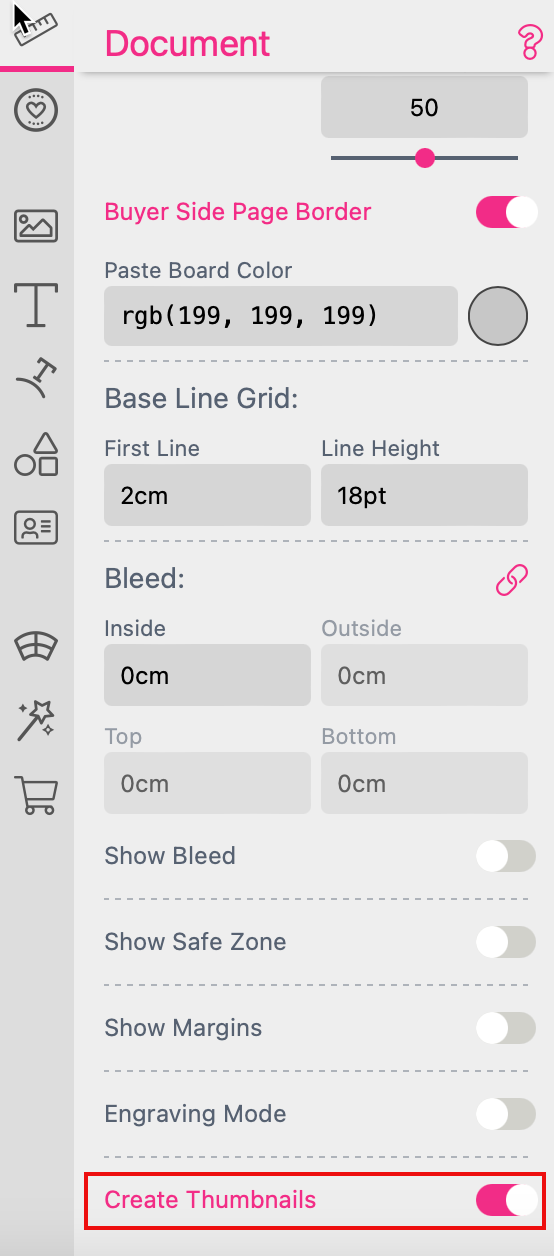
By default this feature is activated. It will render Thumbnails of every page of your document anytime you save the template. They are used for the Page Navigation at the Buyer Side.
Read more about Page Navigation here
If you set up very large templates with several documents and pages it will slow down the saving process of your template. Therefore you can deactivate this feature to turn it on only once for a final saving.