Notice: Auto Generated Form Fields are not editable.
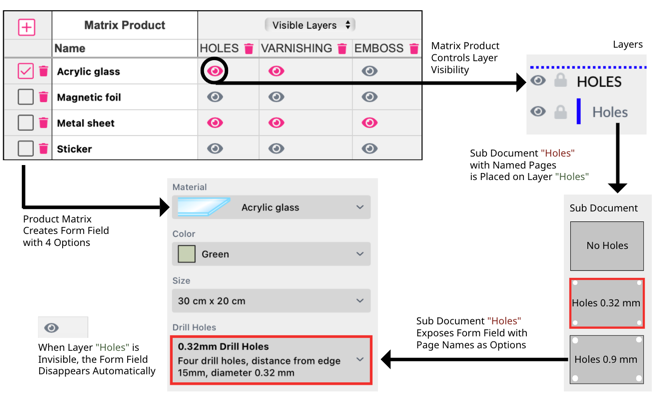
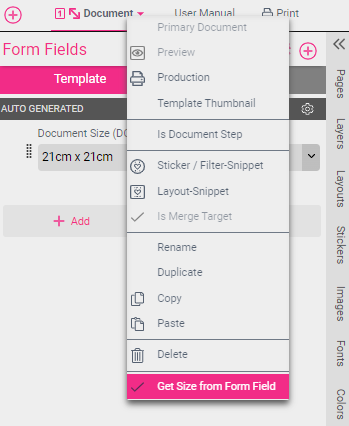
A special Form Field type is the DOCUMENT_SIZE auto-generated Form Field, which controls the size of the Document. To enable it, right-click on the document for which you’d like to enable size control and select Get Size from Form Field:

If it does not already exist, Printess creates a Template Form Field named DOCUMENT_SIZE and a Select-List or Image-List with all available document sizes to choose from. By default, the size of the Document is added as the first list entry. In the values column, you must enter simple value combinations of width x height (e.g., 22x29.7). Now whenever this Form Field is changed, the Document Size will adjust accordingly.
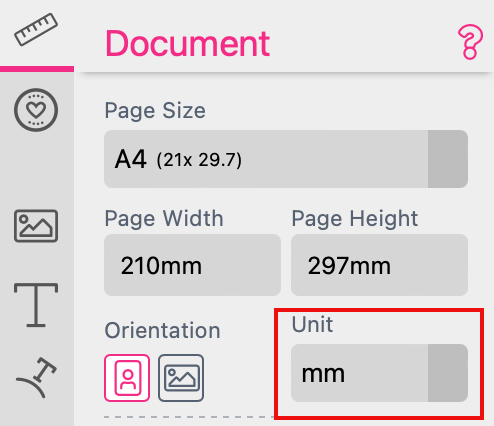
Notice: The values in the list are always interpreted with the setup Document unit.

If several identically sized entries are necessary for a configuration, you need to add letters at the end. For example “10x21a” and “10x21b” will result in the two documents of the same size, but each retains a unique key which is necessary for a select list.
Notice: There can only be one Template-wide document size Form Field which will change the size of all documents when Get Size from Form Field is enabled.
Have a look into an example here!
Please also read our chapter on the superpowers of Flex-Designs here.
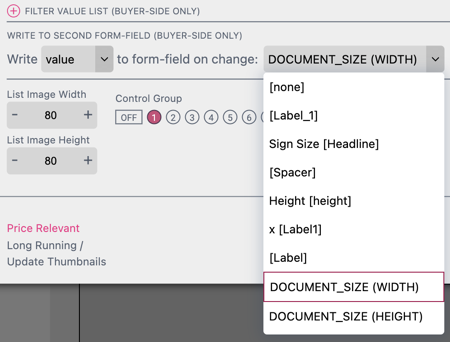
You can use the Write to Second Form Field option in a Form Field Properties menu to allow Buyers to individually set the document height and width by selecting the DOCUMENT_SIZE (WIDTH) or DOCUMENT_SIZE (HEIGHT) values:
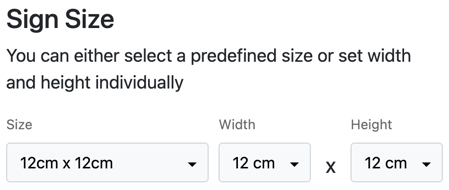
This is a great feature for posters and signs where a Buyer can choose the exact dimensions they want for their product. It will present a drop-down menu on the Buyer Side for the document size values selected in the Write to Second Form Field settings. The Buyer Side example below uses a DOCUMENT_SIZE Form Field in conjunction with the DOCUMENT_SIZE (HEIGHT) and DOCUMENT_SIZE (WIDTH) values that write the selected values to a second Form Field when changed. This allows the customer to select from 3 preset dimensions (from the DOCUMENT_SIZE Form Field) or to easily customize their height and width dimensions.
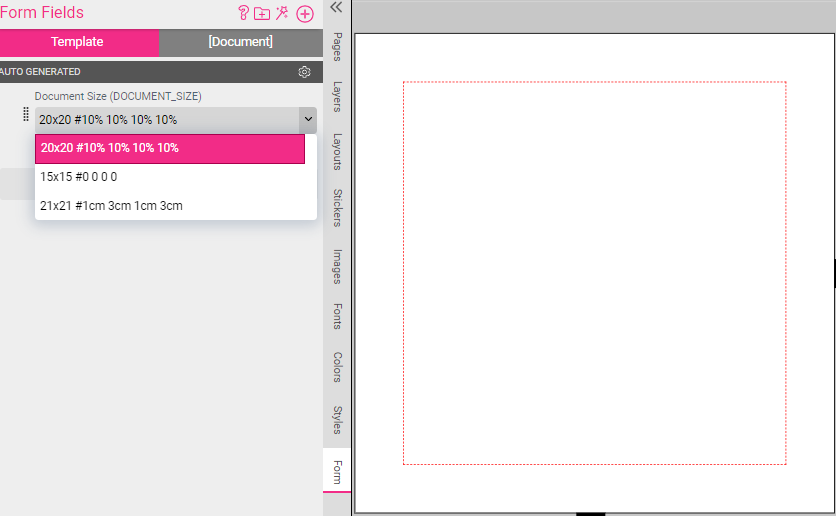
Separate placement margins for each document size can also be set in the auto-generated Document Size Form Field properties window. This is done in the value column:

The syntax for setting document size placement margins is a # followed by the margins (top, right, bottom, left). So for a 10% placement margin you would enter the document size (ex. 20x20) followed by #10% 10% 10% 10%:
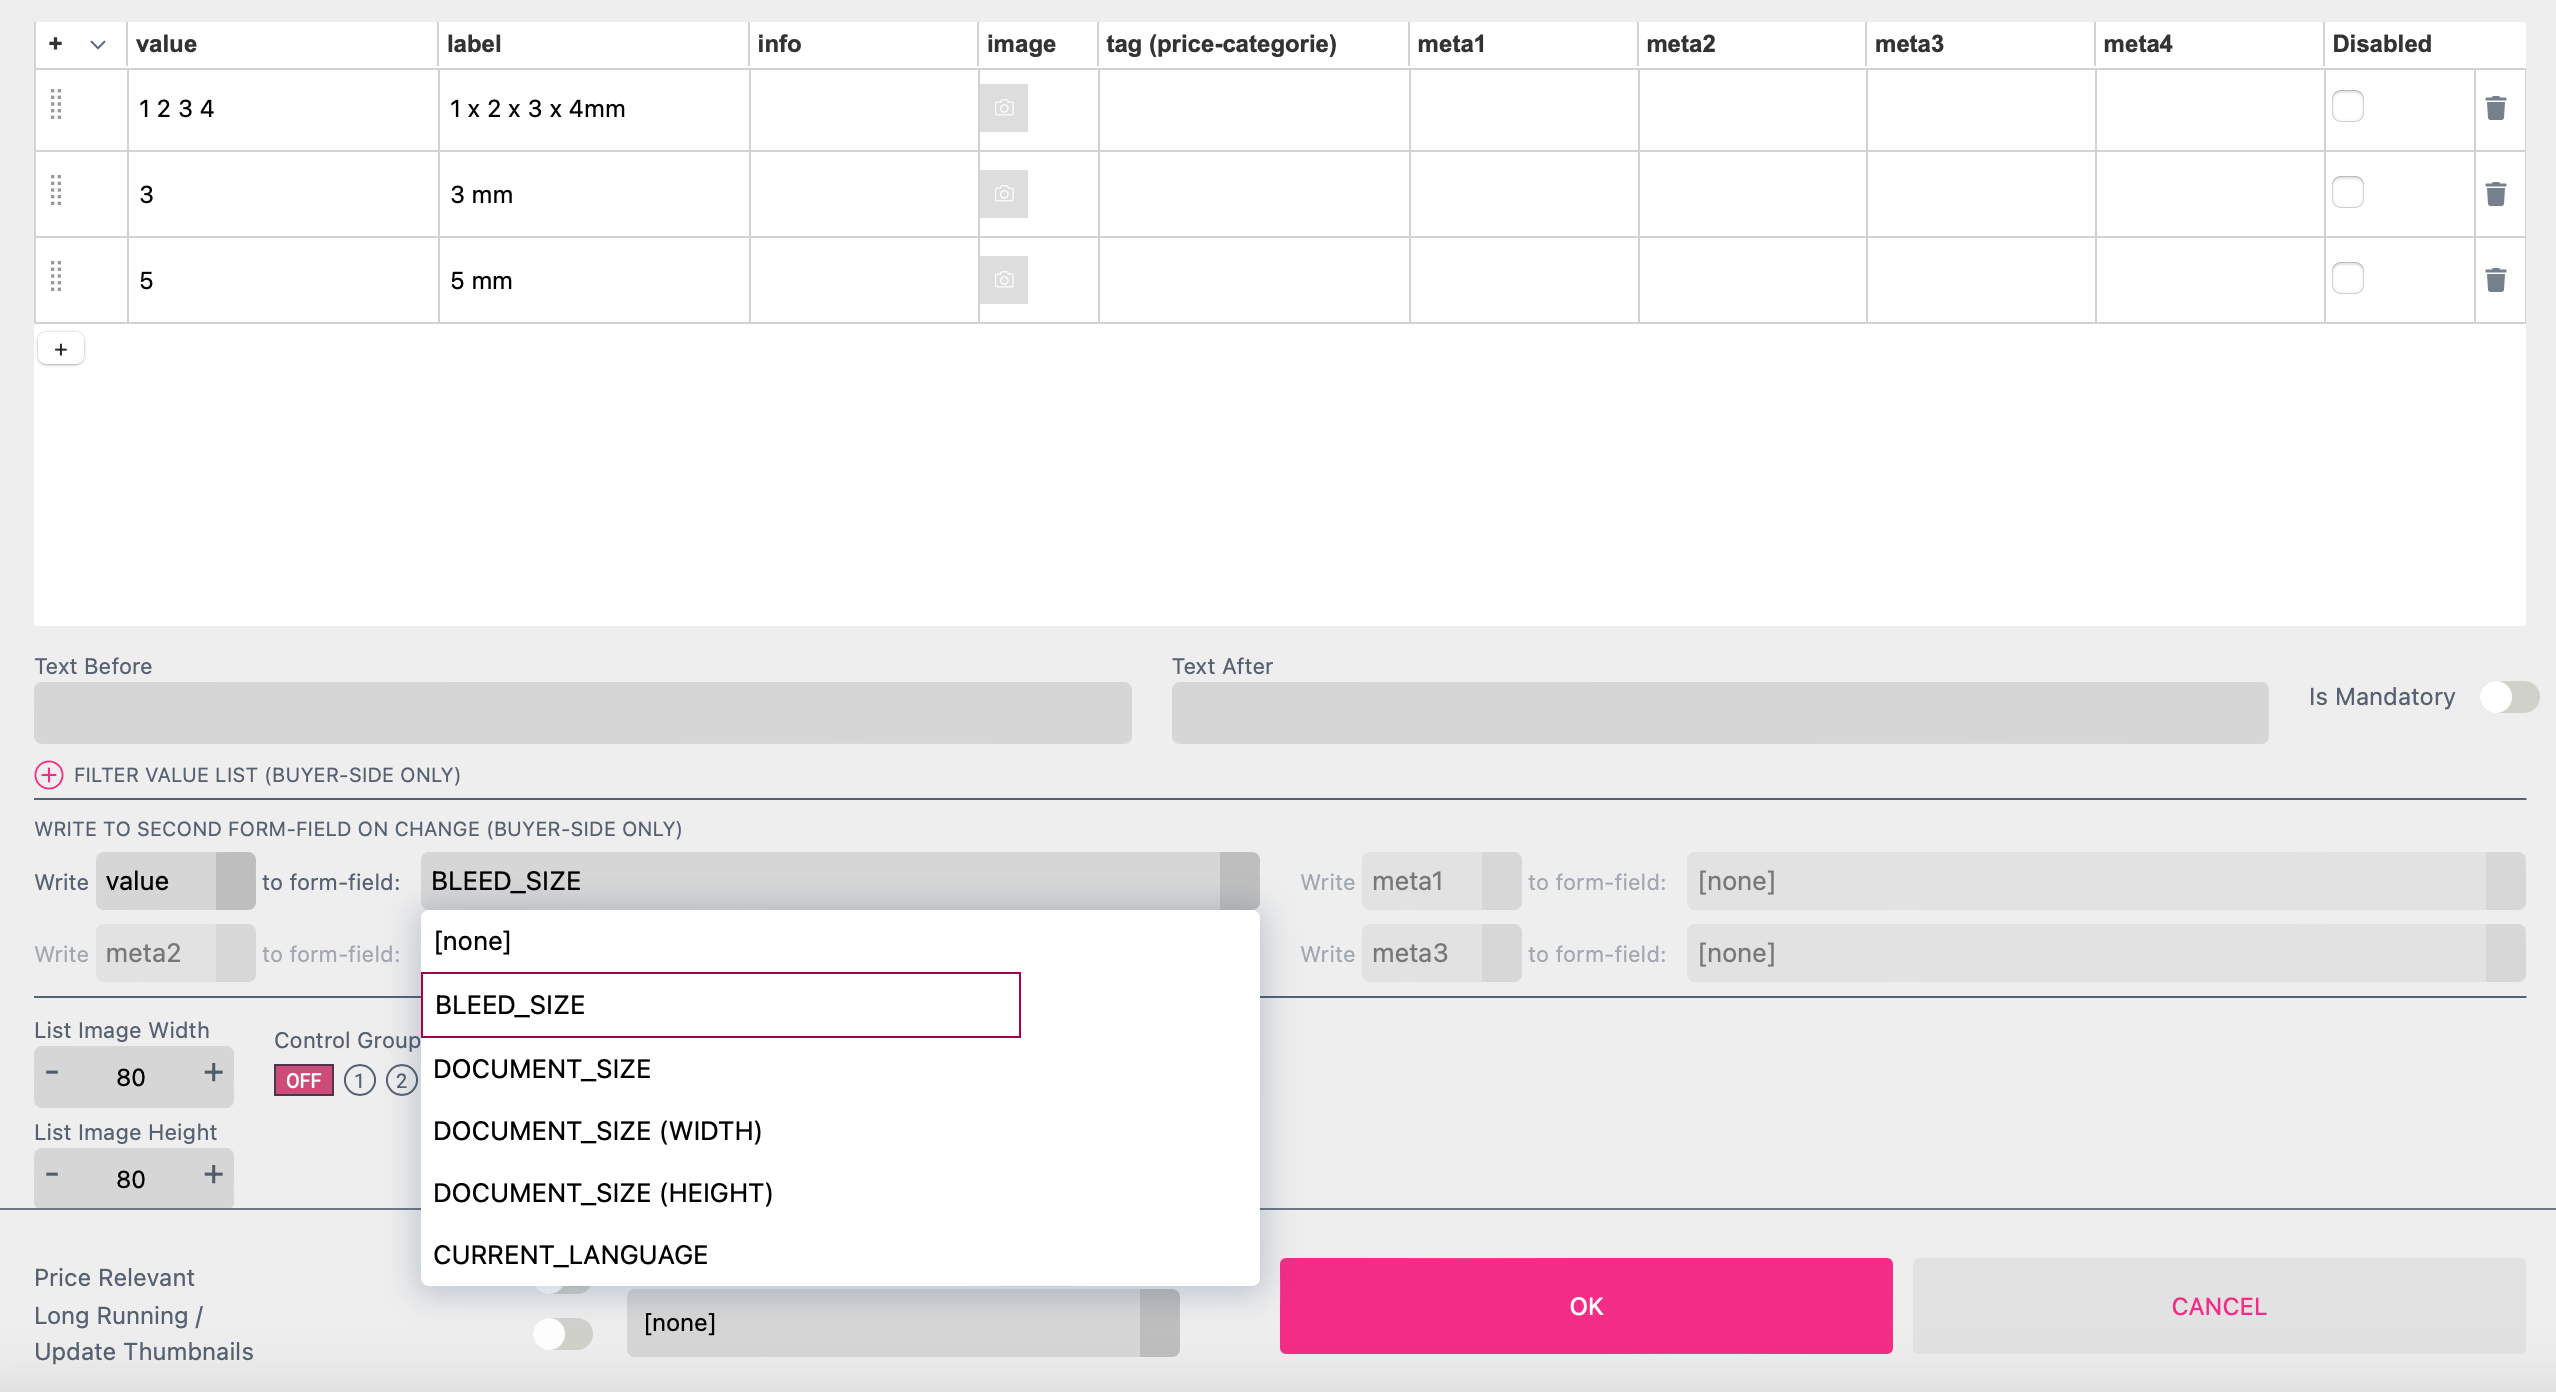
You can enable the Buyer to define the bleed size of the document pages. Therefore set up a Form Field Select List and set the value at WRITE TO SECOND FORM FIELD ON CHANGE to BLEED_SIZE.
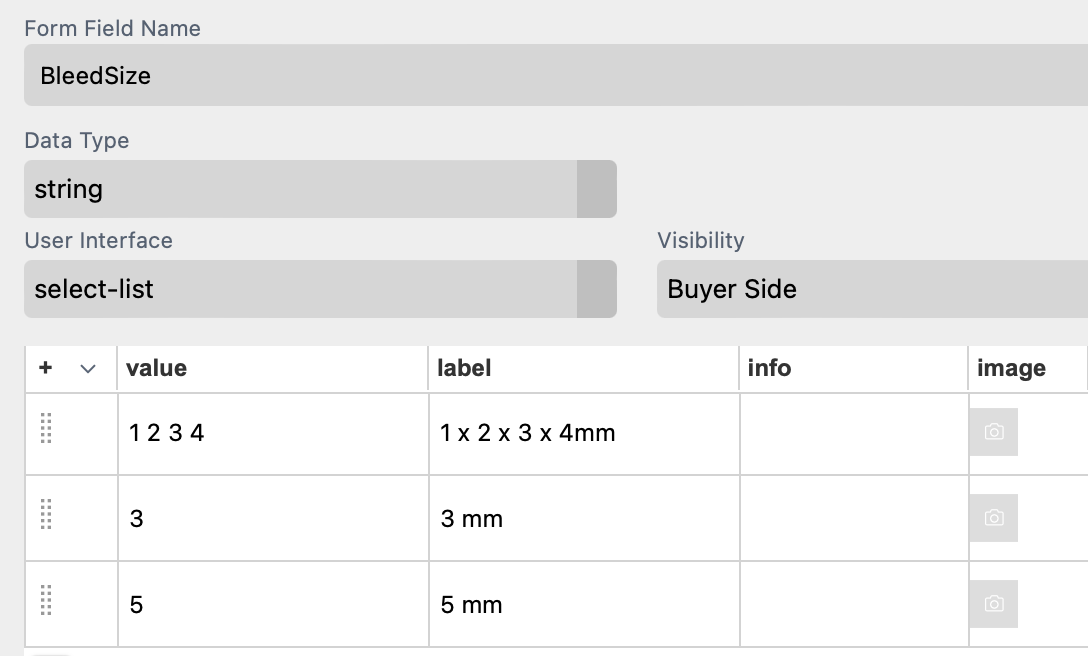
You can now enter the desired values in the list at value. If you only enter one value it applies to all four edges of the page. But you can also enter four different values. Please do not use any separators and mind the right order (top, right, bottom, left edge of the page). In our example in the first row of the list: 1 2 3 4 (top=1, right=2, bottom=3 and left=4). So all four edges of the page do have a different bleed defined.
The unit of the values is defined via the document setting in the Features Panel.
Please activate the option Show Bleed at the document settings to show the bleed lines.
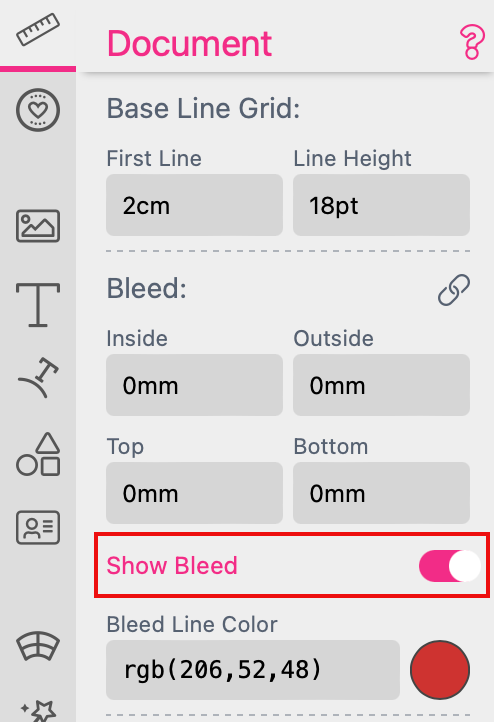
At Bleed Line Color you can define the color of the bleed lines.
Layer Visibility can be controlled by an auto-generated Form Field. For this one needs to enable Show as Form Field in the Layers Context menu. A new Form Field will appear in the document’s Form Fields. Please also see the layer resources chapter.
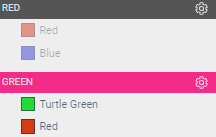
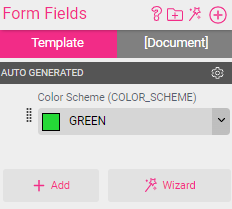
If a color scheme is available (at least one color exists two times with the same name in different color groups), Printess will automatically generate a Template-wide Form Field that is used to easily control color scheme selection.
Color groups in the Colors tab:
The respective Auto-Generated color scheme in the Form Field tab:
Learn more about Color Schemes here.
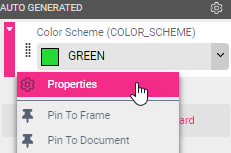
Tip: You can easily change visibility of the Form Field on Designer Side when a color scheme is to be controlled via user interface buttons. This is done through the color scheme properties:

Click here to learn more about Buyer Side user interface elements.
The Matrix Product feature is ideal if you would like to present multiple configuration options for a product with side effects e.g., a different artwork area or a different product image.
Whenever a Matrix Product is configured, a Form Field with the product choice is created. The properties of the Form Field can be edited as with all other Form Fields (but it must remain a list type).
Matrix Products can be configured via enabling Show Layer Matrix in the Settings menu ![]() on the right of the top menu bar.
on the right of the top menu bar.
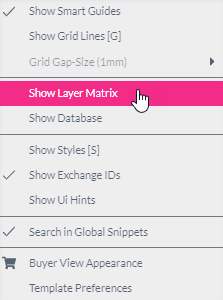
This will show the matrix table at the bottom of the window:
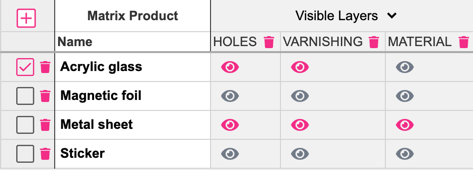
Within this table one can add additional rows by pressing the + button and entering a selection value. The trashcan icon can be used to delete a row.
The Matrix Product is a powerful way to control visible layers by product selection. The controlled layers can be from any document within the Template. This also makes it possible to control layers of contained Sub Documents.
If you’d like to add a layer of a document to be switched by the Matrix Product, switch to the document and then select the layer to be controlled by clicking on the triangle beside the Visible Layers headline. Here you can select the layer and a new column will be added to the Matrix Product.
Now one can switch all layers within a row to either visible or invisible with the eye icon in each column.
The example Sign Template contains a great work through of what is possible with a Matrix Product.

This example contains multiple product options which are controlled by enabling or disabling layers. Not all options are available for different sign materials - but with the Matrix Product this is easy to implement!
The product options are visualized via Sub Documents that have multiple spreads and a Form Field to select them. In the below example, it is the Sub Document containing the drill holes for the sign which is placed on a layer called HOLES. When HOLES layer visibility is changed in the Matrix Product table, the corresponding drop-down will appear or disappear:
