![]()
Sub Documents are a concept developed by Printess as an easy way to separate documents into logical portions. All Sub Document settings are located at the Sub Document feature icon in the top menu bar. When a Sub Document frame is selected, the tab shows the settings for Sub Documents. A Sub Document is essentially a page from another document within the same Template which is inserted into the actual document like an image. The most powerful feature of a Sub Document is that this document will stay intelligent by reacting to new data and can also have variations.
Sub Documents enable powerful user interfaces which are easy to create. Please learn more about Sub Document concepts here.
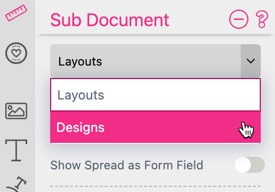
Here you can choose which document is displayed in the selected frame. Essentially, every document except the one currently being edited can be chosen as a Sub Document here.
Notice: You can’t choose the current document.
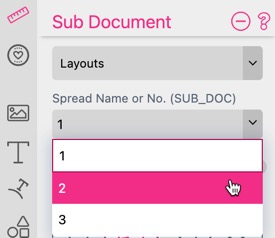
By default, the first Sub Document page appears in the frame. You can change that by selecting the page number or the spread name from the drop-down list.

Show Spread as Form Field is a very powerful option for Sub Documents. It allows Buyer Side selection of a specific spread in the Sub Document.
In the document’s Form Field tab on the left, a new form field will appear. It contains a list of all page numbers or spread names.
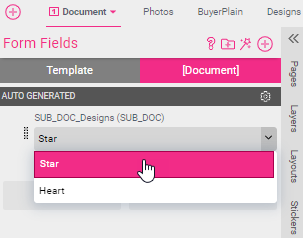
If you change the Form Field value, the selected spread in the Sub Document frame changes accordingly.
As Form Fields also allow for icon selections on Buyer Side, Sub Documents are a powerful feature to create easy to use user experiences for complex configurations.
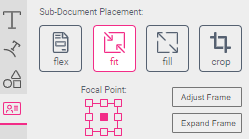
Fitting a Sub Document into a frame uses the same modes (Fit, Fill, Crop) as fitting an image. Learn more about the image placement modes here.
Sub Documents also have two additional modes: Flex and Tile.
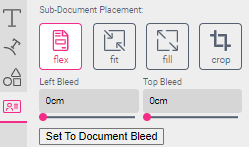
Flex: The document size of the inserted document will be changed to the size of the frame. Therefore, all the powerful Flex Features such as Anchor Points, percentages for size, and positioning come into play.
Learn more about Flex Designs here.
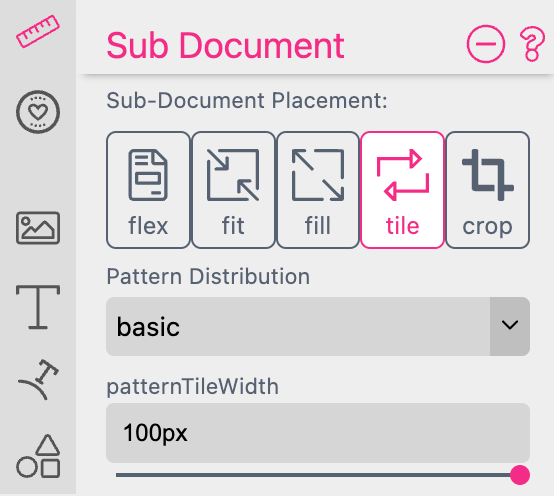
Tile: The content of your document will be repeated within the Sub Document frame. This feature could be used to set up pattern designs for textile print, wall papers or wrapping papers.
Learn more about Pattern Designs here.

The Fit Frame to Sub Document button will resize the frame to fit the entire Sub Document at the current scale.

In Fill mode, Focal Point is active and works the same as when fitting images.

If you are in Crop mode you can re-access the crop settings by clicking the Crop Sub Document button.

Learn more about image fitting here.
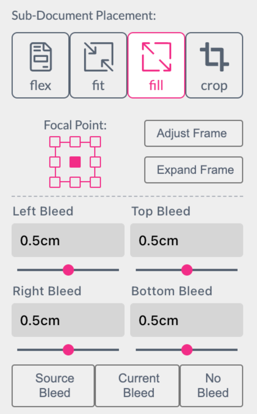
There is also the option to define the visible bleed of a Sub Document. The bleed amount is measured on the source document. For convenience, there are also buttons to set the bleed to the bleed of the source document (Source Bleed), the target document (Current Bleed), or to remove the bleed altogether (No Bleed).
Sub Document Bleed can be applied to Sub Documents placed with fit or fill.
Notice: Sub Document bleed is only available under the condition that no Effect or Warp settings are active on the selected Sub Document frame.

This setting determines if a placed Sub Document should show layers that are set to output on print. Learn more about layer settings here. This is useful if you’d like to provide a product preview somewhere where the product will appear as it will when printed, without showing editor annotations or UI elements.
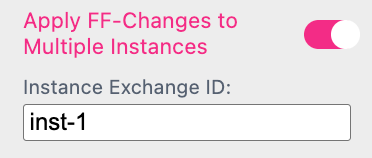
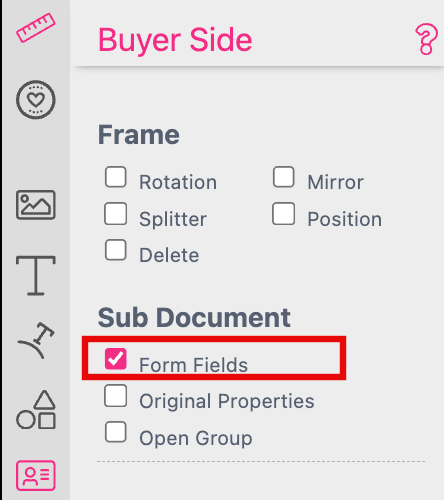
If activated, Form Field Value changes made to one instances will also be applied to all other instances of the same Sub Document. In addition you can define on which instance the changes could be done at the Buyer Side. Just turn on the Sub Document Buyer Side Setting Form Fields for each editable instance:
You will get different results if you define an Instance Exchange IDs or not.
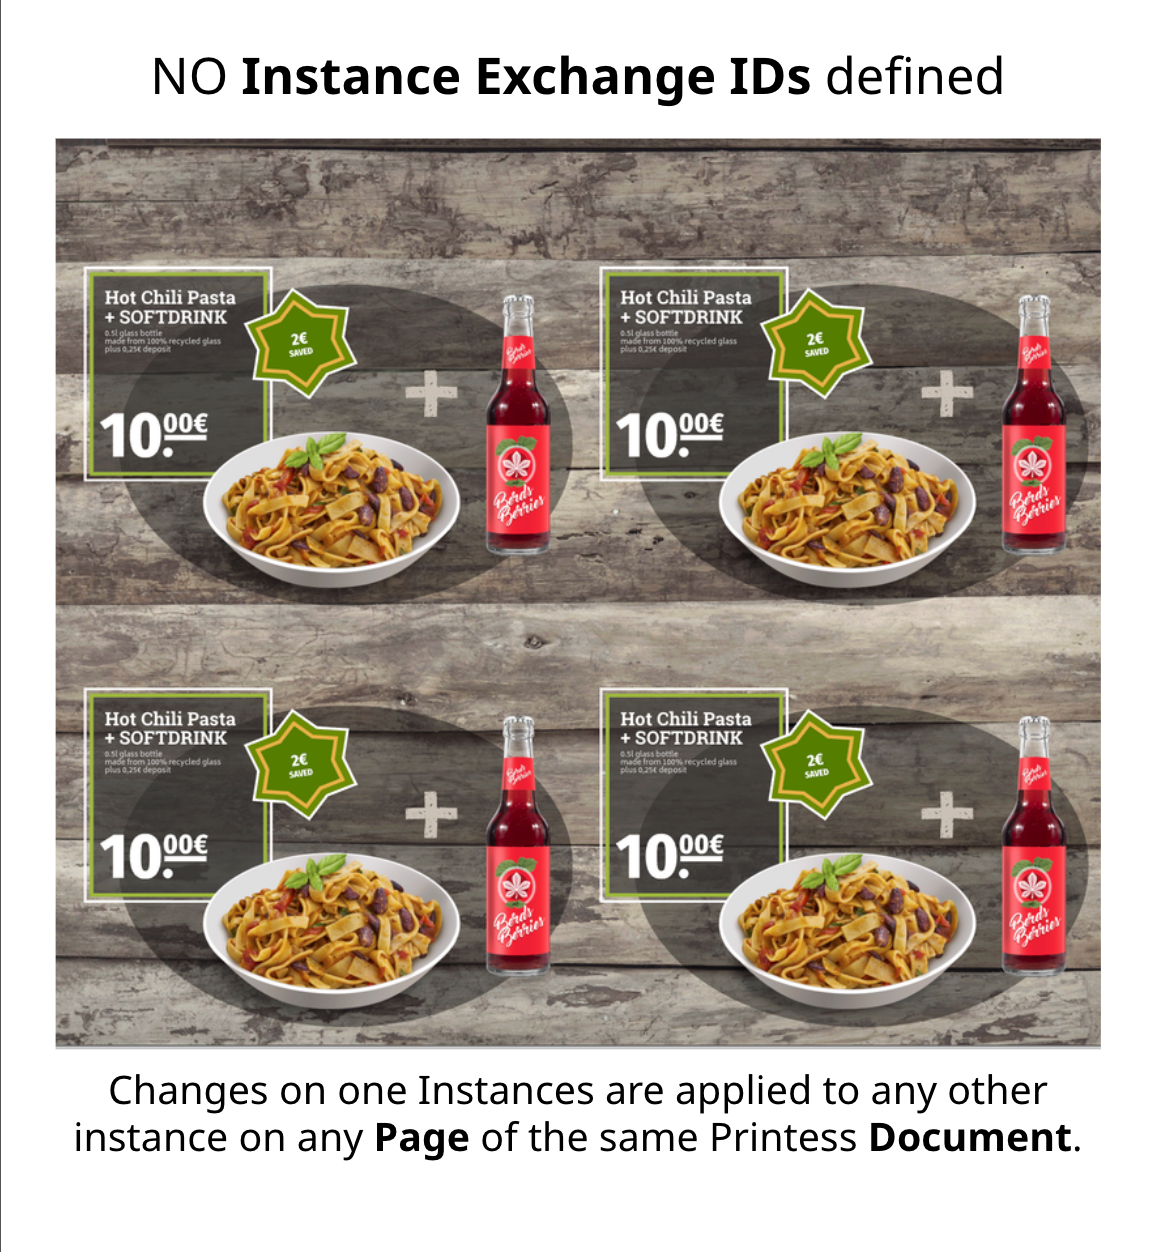
No Instance Exchange ID
If no Instance Exchange IDs are defined, the changes will be applied to all instances on any Pages of the same Printess Document.
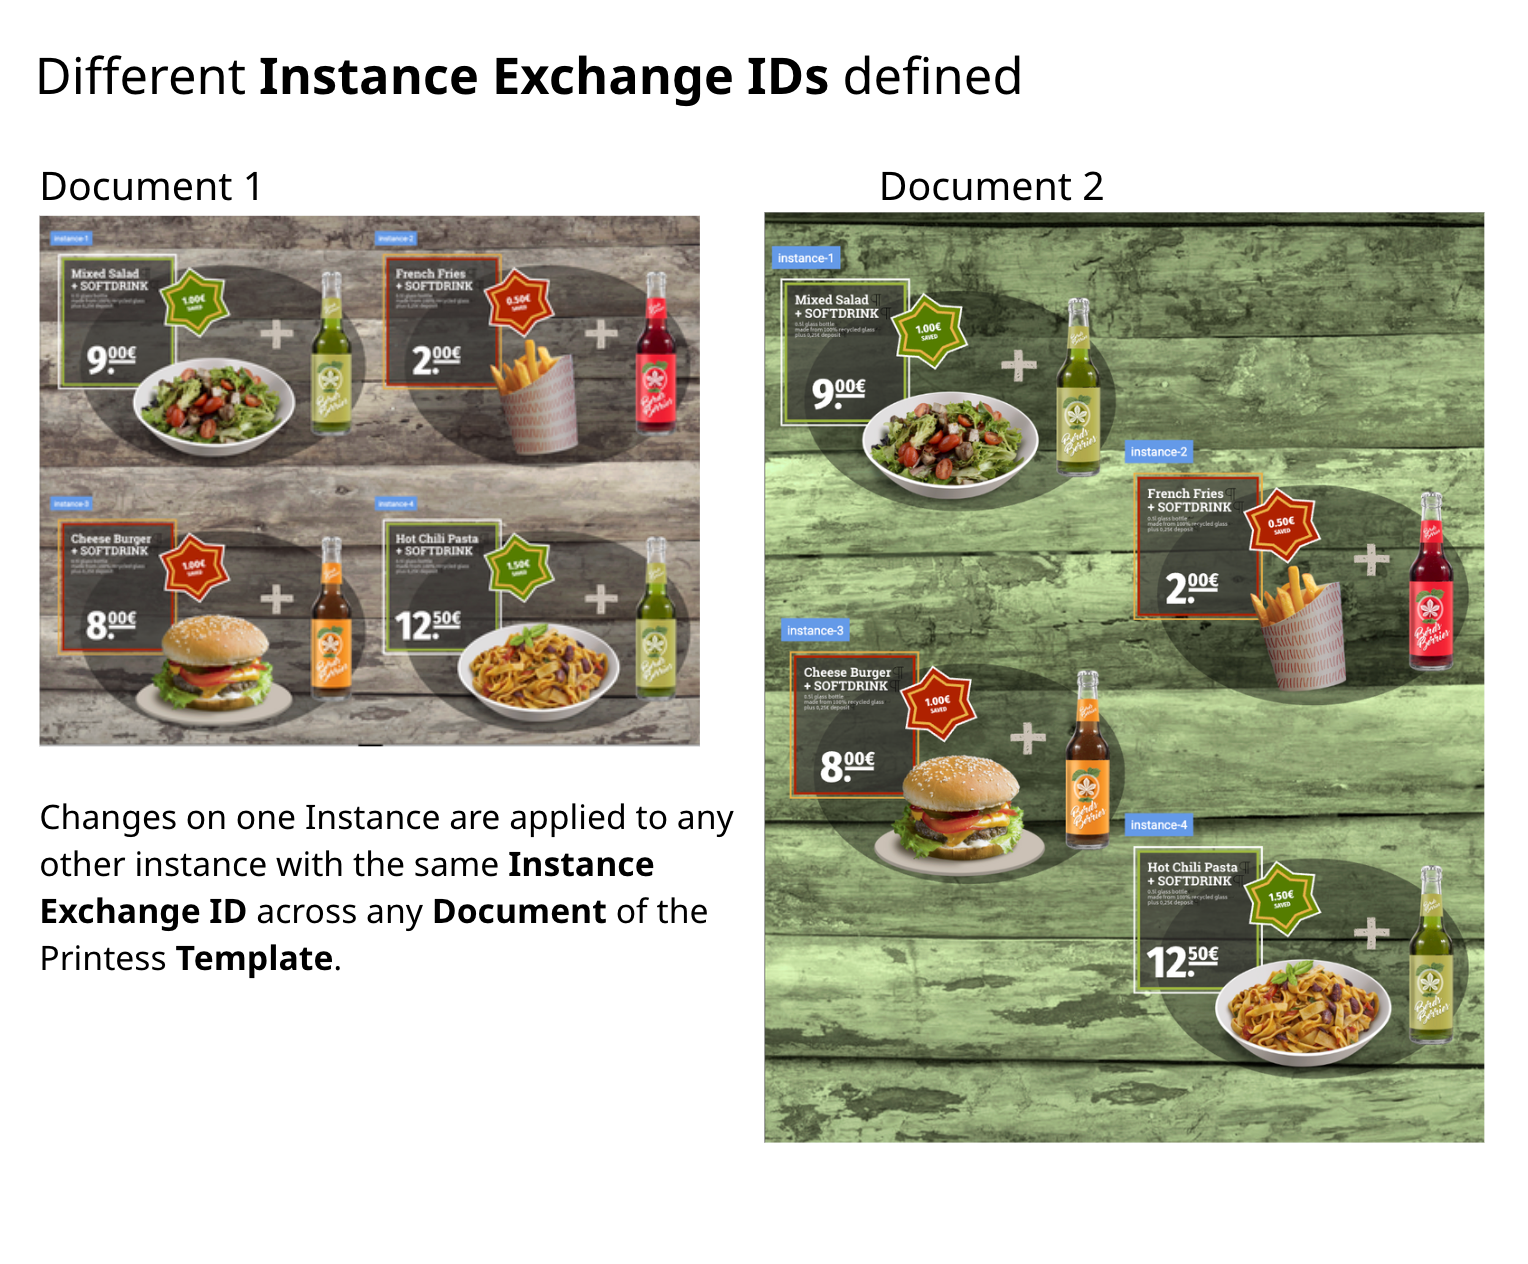
Instance Exchange IDs defined
If you have defined Instance Exchange IDs the changes of one instance will be applied to all instances with the same Instance Exchange IDs - on any Document of the same Printess Template.
If Invert on Screen activated, the content of the Sub Document will be inverted on screen only. This feature is useful if one would like to simulate lasering / engraving of the content for preview. To see this feature in action, check out our engraving example!
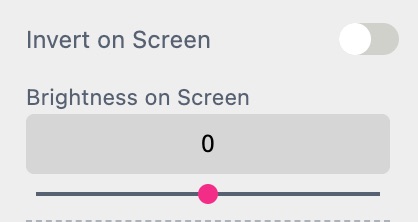
Changing Brightness on Screen allows to fine adjust the appearance of the subdocument e.g. lighten or darken an engraving preview.
Read more about Printess’s powerful engraving features in our Engraving User Manual section.
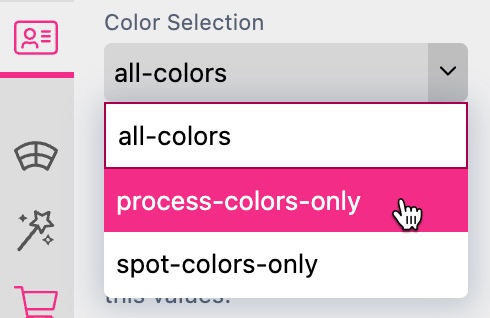
Color Selection allows to separate spot and process colors on subdocument level. This e.g. allows to output a separate print document containing only the gold spot color in a toner transfer foil finish workflow.
Note that this process always creates an ‘overprint’ style output for spot and process colors (elements with spot color will not be excluded from process backgrounds and vice versa)
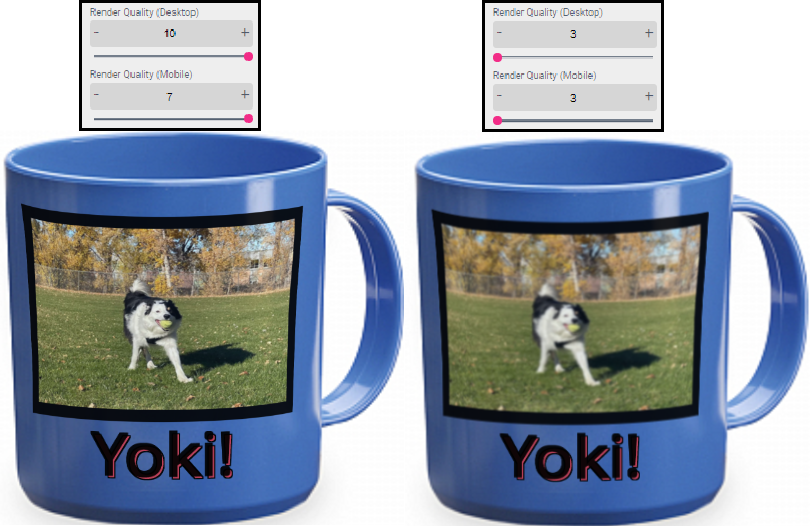
Render quality settings control how long Sub Documents take to render as well as the quality (sharpness) of the Sub Document within the Editor and Buyer Side views. This setting is very useful when working with several Sub Documents, but is only needed when using Sub Documents with Effects or Wraps applied.
A render quality of 1 will have poor quality but high render speed.
A render quality of 10 will have high quality but can take longer to render.
The Mug example below has the Mesh and Mug Wraps applied to the Sub Document on the coffee mug:
