![]()
Effects provide the touchup you need to make things perfect. Easily add drop shadows, specific lights and bevel effects to pimp up your typography. And like everywhere else in Printess, everything stays adjustable and personalizable. If a frame has any Effects enabled, the icon for effects will stay magenta to indicate this. Like in Warp, the transform icons below the effect determine on which feature of the frame (Image, Text, Shape, Path Text) the effect will be applied. Note that not every Effect is available for all features.
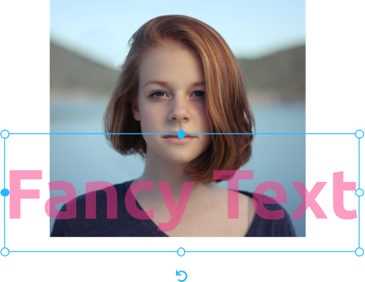
Per default, every frame has an opacity of 100%. One can change the opacity of a frame to let the background behind shine through. In this example, the opacity of the text is set to 50%, causing the image to be visible through the text.
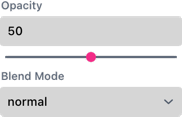
In the same section, there is the option to set a Blend Mode per Frame which defines the behavior of a frame when it appears in front of a background.
Here is an overview of all available Blend Modes and their effect on the frame and background layer:

Normal - This is the default Blend Mode for every frame. Layers stay opaque and independent.
Multiply - Multiplies the frame with the background. (Overlaying)
Screen - The Screen Blend mode inverts frame and background, multiplies them, and then inverts the result.
Overlay - Overlay combines Multiply and Screen Blend modes. The parts of the frame where the background is light will become lighter, while the parts where the background is dark become darker. Areas where the frame is mid-gray are unaffected.

Darken - Darken retains the smallest color components of the frame and background.
Lighten - Selects the maximum of each component from the frame and background.
Color-Doge - Divides the background by the inverted frame. This lightens the background depending on the value of the frame: the brighter the frame, the more its color affects the background. Blending any color with white gives white. Blending with black does not change the output …
Color-Burn - Divides the inverted background by the frame and then inverts the result. This darkens the frame, increasing the contrast to reflect the color of the background. The darker the background, the more its color is used.

Difference - Subtracts the background from the frame or the other way around, to always get a non-negative value. Blending with black produces no change, as values for all colors are equal to 0.
Exclusion - Similar to Difference but with lower contrast.
Hue - Preserves the luma and chroma of the background while adopting the hue of the frame.
Saturation - Preserves the luma and hue of the background while adopting the chroma of the frame.
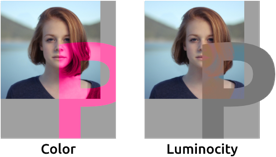
Color - Preserves the luma of the background while adopting the hue and chroma of the frame.
Luminosity - Preserves the hue and chroma of the background while adopting the luma of the frame.
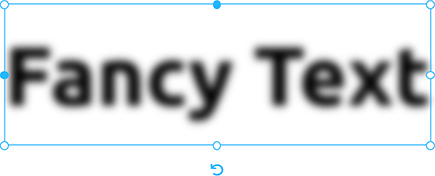
Blur works with all frame features.
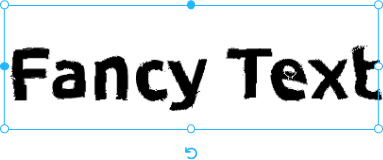
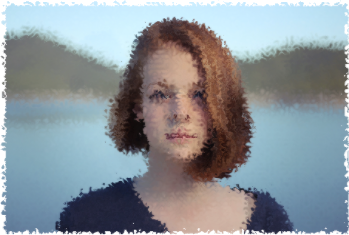
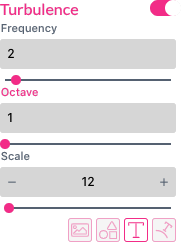
Turbulence distorts the content much like a water surface or structured glass would behave when reflecting light. Higher Frequency means finer distortion. Octave adds a sub-frequency and Scale controls the intensity.
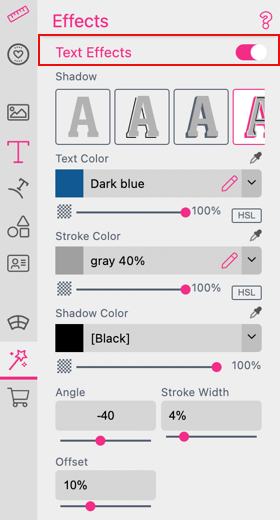
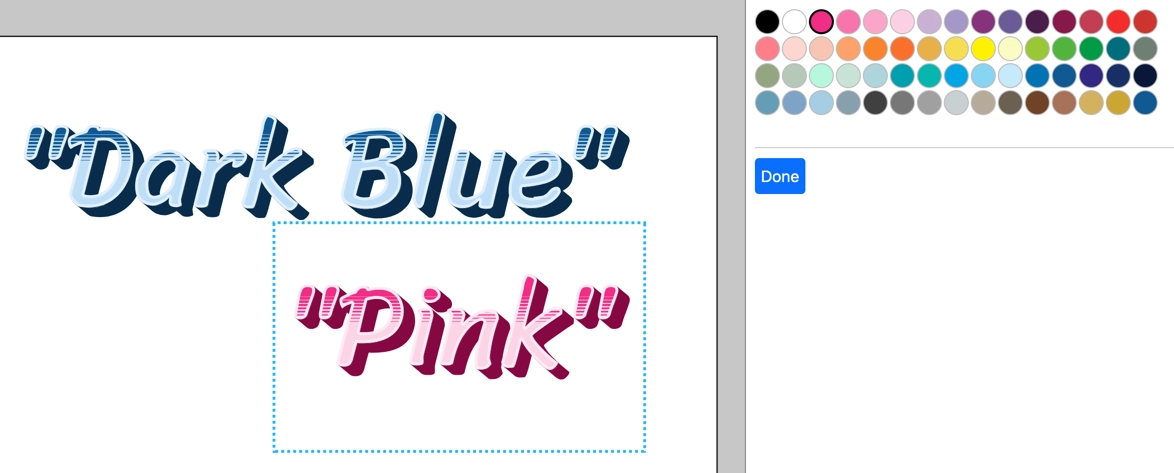
Text Effects allows you to make your Single Line Text look special with complex shadows or text decorations.
Shadows
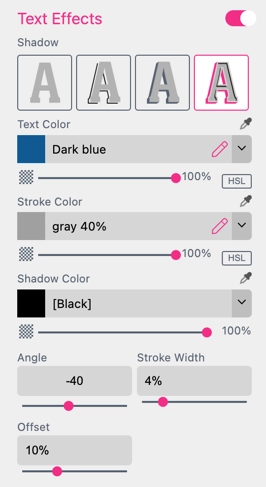
If you want to add a more complex text shadow than the simple Drop Shadow, you can find three different shadow styles to choose from:
Colors
Here you can set the color of the text and the effect. Depending on the shadow style you chose, there are different options available.
You can also change colors with HSL Color Manipulation. Learn how to use HSL Color Manipulation
Angle - Sets the angle in which the text shadow falls.
Stroke Width - Sets the width of the text stroke.
Offset - Sets the distance between the shadow and the text.
Shadow Width - Only available for Line-Shadow Basically sets the offset of the lower shadow.
Decorations

With Text Decorations you can add special backgrounds to your Single Line Text. It will basically insert colored lines onto your Font Color. Here you can choose from four different presets:
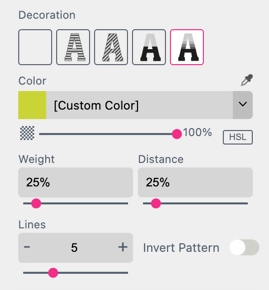
Color - Sets the color of the Text Decoration.
Weight - Sets the weight of the Decoration lines.
Distance - Sets the distance between the Decoration lines.
Lines Angle - Only available for Diagonal Lines Sets the angle of the Decoration lines.
Lines - Only available for Fading Sets the number of the Fading lines.
Invert Pattern - Only available for Fading Inverts the colors of the Fading decoration.
HSL Color Manipulation is an easy way to change a colors appearance but keeping the same base color. This can be used to allow Buyers to change all colors at once by simply changing the base color.
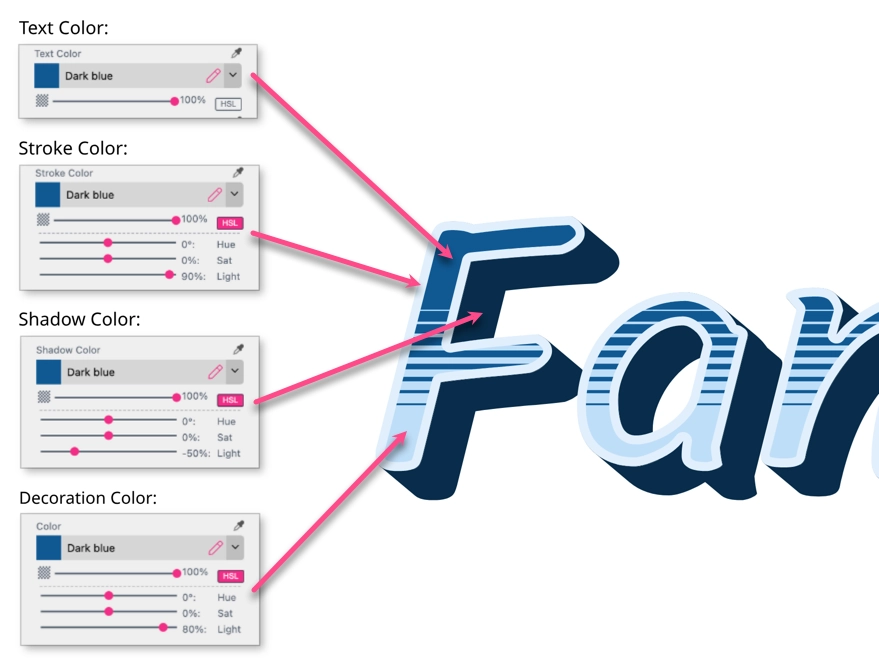
As you can see in the example above, all the Text Effects have the same color as the text, but are manipulated with HSL. The stroke color for example is 80% lighter and the shadow color is 50% darker than the original color.
Because its all the same base color, Printess will only make the base color editable on the Buyer Side, replace this color on all occurrences inside the selected frame and adjust its appearance according the HSL settings.
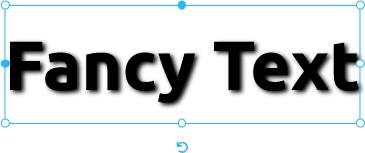
Drop Shadow creates a shadow below all combined frame features (e.g. If your frame contains a shape and a Single Line text, the drop shadow will be drawn below the shape based on the combined outline of shape & text). If a Feature has a Fill- or Stroke-Color [None] it will create no shadow, all other colors will create an equally strong shadow.
The Shadow created can be of any color from the available colors.
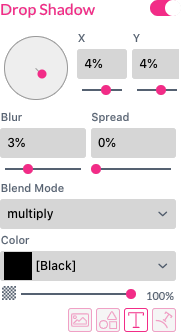
X & Y - The direction circle - controls the offset of the shadow.
Blur - The amount of blur used on the silhouette of the feature. Supported units: %, pt, inch, cm, px.
Spread - The amount of enlargement of the silhouette before blurring.
Blend Mode - Selects the Blend Mode the Drop Shadow will be applied on. This is Multiply by default as the Drop Shadow should normally overlay its background, but all other Blend Modes can be selected as well.
Color sets the color of the Drop Shadow
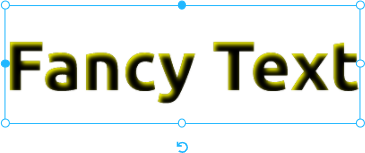
Inner Shadow creates a shadow on top of the selected feature. In addition to Drop Shadow settings, one can select the Effect Area so that, for example, the stroke can be excluded from the effect (Effect Area = Fill).
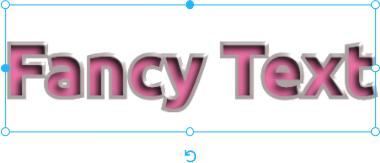
Inner Shadow creates a sunken look, especially when combined with Bevel.
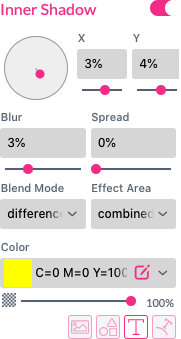
X & Y - The direction circle - controls the offset of the shadow.
Blur - The amount of blur used on the silhouette of the feature. Supported units: %, pt, inch, cm, px.
Spread - The amount of enlargement of the silhouette before blurring.
Blend Mode - Selects the Blend Mode the Inner Shadow will be applied on with.
Color - Sets the color of the Inner Shadow.
Effect Area - Can be a stroke, fill, combined and separate (which will render the effect on fill and stroke separately).
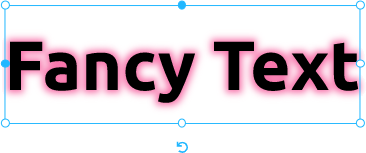
Outer Glow has the same parameters and abilities as Inner Shadow. It differs mainly by having its offsets set to zero and the Blend Mode set to screen, which will lighten the feature as if a light is behind the frames feature.
One can use Outer Glow as well as a second shadow from another light source in a different direction. Just switch the Blend Mode to Multiply and it behaves like a second Drop Shadow.
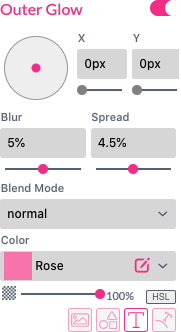
X & Y - The direction circle - controls the offset of the Glow.
Blur - The amount of blur used on the silhouette of the features. Supported units: %, pt, inch, cm, px.
Spread - The amount of enlargement of the silhouette before blurring.
Blend Mode - Selects the Blend Mode the Outer Glow will be applied on with. This is by default Multiply as the Outer Glow should normally overlay its background but all other Blend Modes can be selected as well.
Color - Sets the color of the Outer Glow.
Outer Glow will only become visible when used on a background. As the Blend Mode screen works only if the background is present, one must have a background to make it visible.
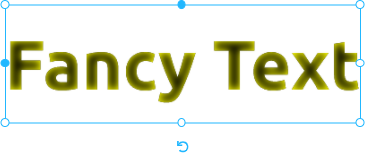
Inner Glow has the same parameters and abilities as Inner Shadow. It differs mainly by having its offsets set to zero and the Blend Mode set to screen which will lighten the feature it is used for.
One can use Inner Glow as well as a second Inner Shadow from another light source in a different direction. Just switch the Blend Mode to Multiply and it behaves like a second Inner Shadow.
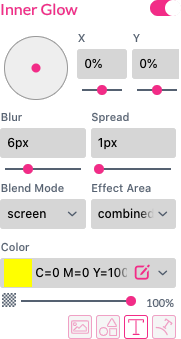
X & Y - The direction circle - controls the offset of the glow.
Blur - The amount of blur used on the silhouette of the feature. Supported units: %, pt, inch, cm, px.
Spread - The amount of enlargement of the silhouette before blurring.
Blend Mode - Selects the Blend Mode the Inner Glow will be applied on with.
Color - Sets the color of the Inner Glow.
Effect Area - Can be a stroke, fill, combined and separate (which will render the effect on fill and stroke separately).
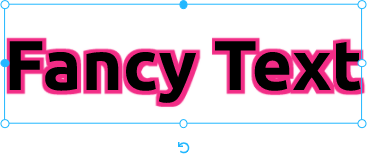
The Stroke effect creates a simulated stroke around any feature. This stroke is not as exact as the calculated stroke from a shape or a text, but it is quite fast to implement. This is especially useful if you are using fonts with a lot of fine structures where stroke calculation can slow down the program. As this stroke is based on enlarging by blurring, it works great universally and is fast.
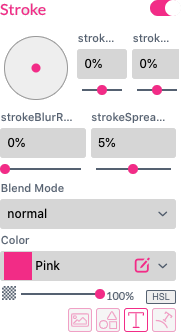
X & Y Offset - The direction circle - controls the offset of the stroke.
Blur is the amount of blur used on the silhouette of the feature. Supported units: %, pt, inch, cm, px.
Spread - The amount of enlargement of the silhouette before blurring.
Blend Mode - Selects the Blend Mode the stroke will be applied on with.
Color - Sets the color of the stroke.