If no frame is selected you can adjust the Buyer Side settings for the entire document. They are located in the features panel under the Shopping Cart icon ![]() .
.
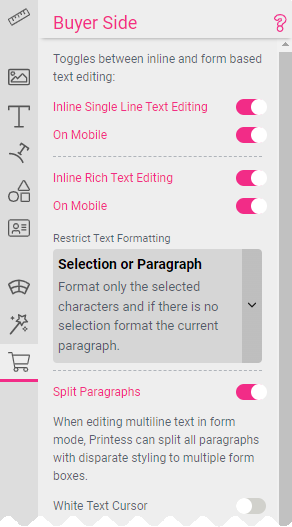
Printess allows you to control how a Buyer can edit text. This can be set to Inline, allowing the Buyer to type directly in the text. If Inline is switched off, Printess will instead show a Form Field in which to enter text. This behavior can be independently set for desktop and mobile platforms.
Notice: When Inline Editing is enabled, frames will behave differently depending on the Buyer Side setting to allow position changes of a frame. If position changes are allowed, the Buyer will need to start editing by selecting the edit icon on top of the frame. If position changes are not allowed, the frame will directly enter Inline Edit mode when selected.

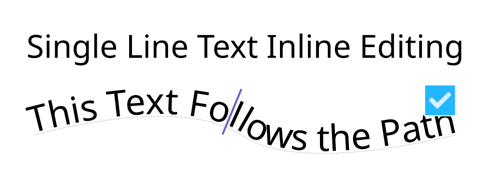
When this option is enabled, the Buyer can edit Single Line and Text on Path directly within the frame. This setting can be set for desktop only or for desktop & mobile devices.

When this option is enabled, Printess allows for multi line text editing of Multi Line texts. This also gives the Buyer the option to format a text with different fonts, sizes, and colors - down to the character level! This setting can be set for desktop only or for desktop & mobile devices.
If switched off, Printess will instead show one or multiple Form Field(s) to edit the text.
This will set the range at which allowed format changes take effect in Multi Line text. This option is only available when Inline multi line text Editing is enabled.
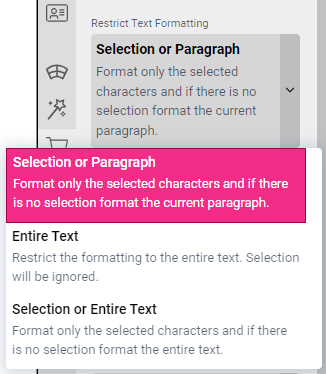
Selection or Paragraph: The Buyer can select a portion of the text and change the format. If no selection is present the changes will be applied to the current paragraph.
Entire Text: The Buyer will not be able to change the format of single characters or words. Format changes will always be applied to the complete text.
Selection or Entire Text: The Buyer can select a portion of the text and change the format. If no selection is present, the changes will be applied to the complete text.
When editing Multi Line text in form-based mode, this option will divide it into differently formatted paragraphs and provide one Form Field for each block. This will automatically occur if the Buyer is using a mobile device or if the text frame is grouped together with other frames.
Only differently formatted paragraphs are taken into account, while different character styles are discarded. To make sure the full paragraph is selected while formatting, just place the cursor in the paragraph and change the formatting. This will automatically select the full paragraph for the changes.
Sometimes an inverting cursor does not cut it, especially on mid tone backgrounds. In this case, a white text cursor can be enabled to enhance visibility.
This will ensure that the Buyer cannot accidentally move frames outside of the page boundaries. Do not use this option if Buyers need to be able to place elements into bleed.
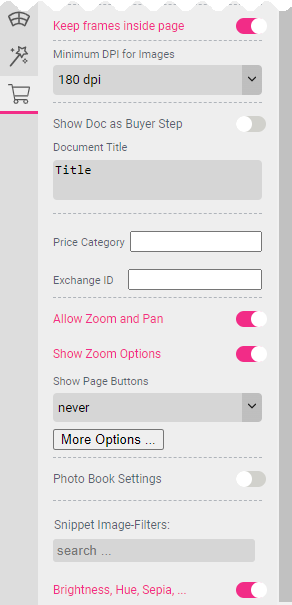
Here you can set the minimum required DPI for images.
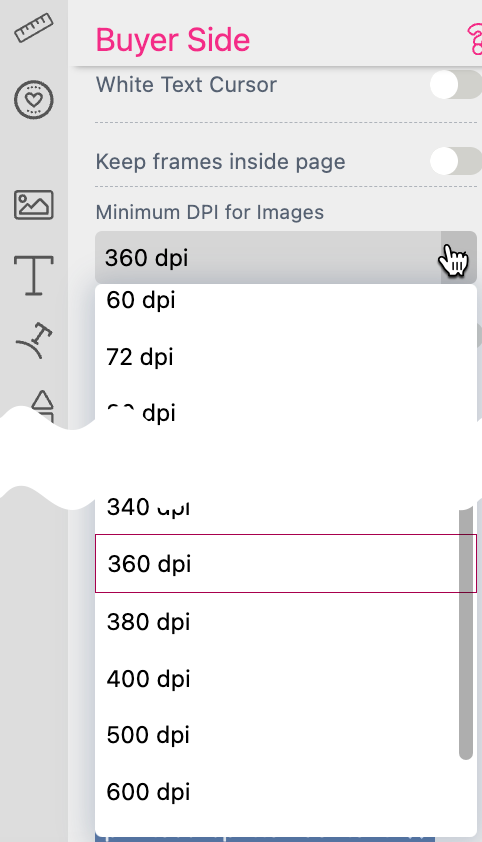
Whenever a Buyer goes below this resolution (by uploading low-quality images), a warning will appear that the image is not fit for this purpose and needs to be scaled up or exchanged.
Info: Resolution warnings will only be shown for image frames that have editable “Content” switched on in Buyer Side configuration, and if the image is changed or uploaded by the Buyer. Images that are only changeable on the Designer Side (and default images) can be of any resolution.
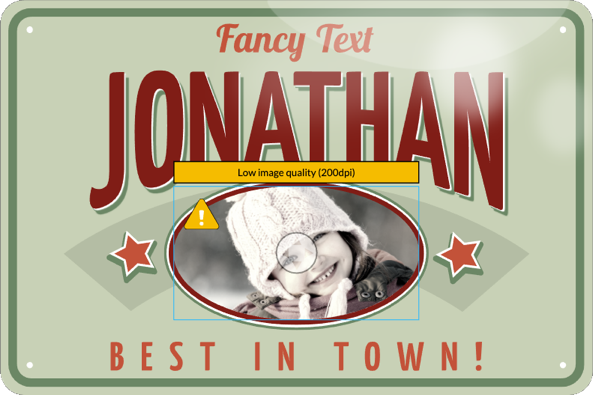
There is also an API method to request any resolution warning or overflow text within a design at the time of saving to the basket. This ensures that your shop system gets the chance to inform the customer about potential quality issues, or to even deny the purchase.
See our API section for more information!

This will show the current document as a Buyer Step. Please read more about this powerful feature in the Steps Workflow section of this chapter!

This defines the name of the document which will be shown on Buyer Side.
Exchange IDs are used to ensure Buyer edits are saved, even when a Layout Snippet is changed. Single Line text, Multi Line text, Text on Path, and images are all supported by this feature.
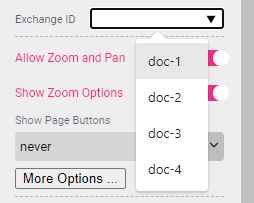
With the Exchange ID, you can mark a frame in all Buyer selectable Layout Snippets with a unique content ID. When the Buyer changes the Layout Snippet, all edits are kept and transferred to the frame with the same Exchange ID in the new Snippet.
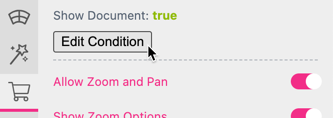
Set a condition on whether or not this Document should be shown on Buyer-Side.
For this example we set the condition to only show the Document on Desktop:

You can add multiple conditions and connect them via “and” or “or”. When a condition is currently true, it will show a green border and state “true” after “Show Document:”.
This setting controls if the Buyer can zoom, pan into the document, or move between pages. This option is switched on by default.
Allowing Zoom & Pan will only affect the ability of a Buyer to zoom and pan. Even with the option turned off, Printess will still zoom in on edited items in mobile and to Buyer Steps on desktop if the zoom mode is set to frame mode.
When Allow Zoom & Pan is disabled the editor can become very small when the keyboard appears on the mobile view. To address this you can create an invisible frame named keyboard. If this frame is present, Printess will zoom into it when the keyboard is expanded, enhancing visibility and usability.
To use this feature disable Allow Zoom & Pan first. Now place a Shape Frame to define the area you want to zoom in. Define the JS Name keyboard for this frame.
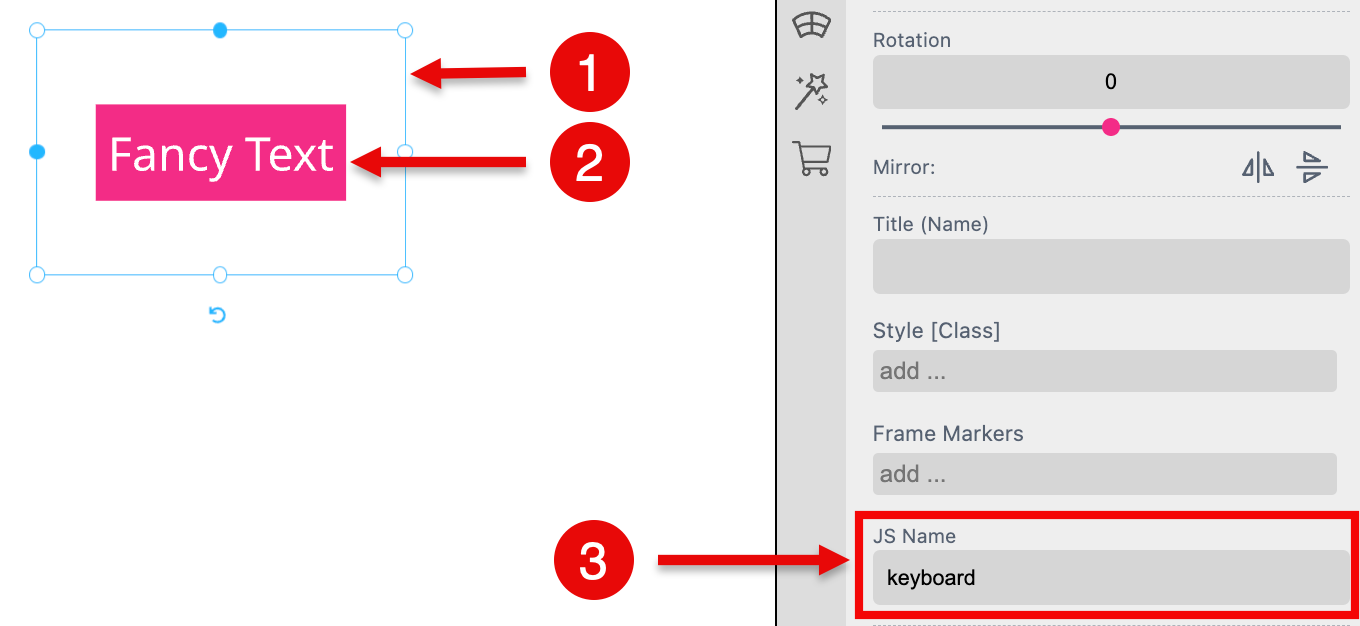
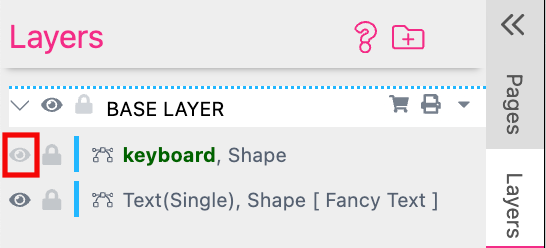
To turn the Shape Frame invisible you can define no Fill and no Stroke Color. Or you can set it to “invisible” at the Layers Tab of the Resources Panel by pressing the eye icon ![]() .
.
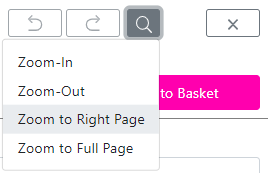
This enables the Buyer Side zoom buttons. Depending on the Buyer View Appearance settings, either a magnifying glass icon or Zoom-In and Zoom-Out buttons are shown. A drop-down menu also allows users to zoom to the left or right page (depending on the current page) or zoom to the full page.
This will enable back and forward buttons for page navigation right and left to the document viewport. Page Buttons can be configured to appear on desktop, mobile, or both platforms.
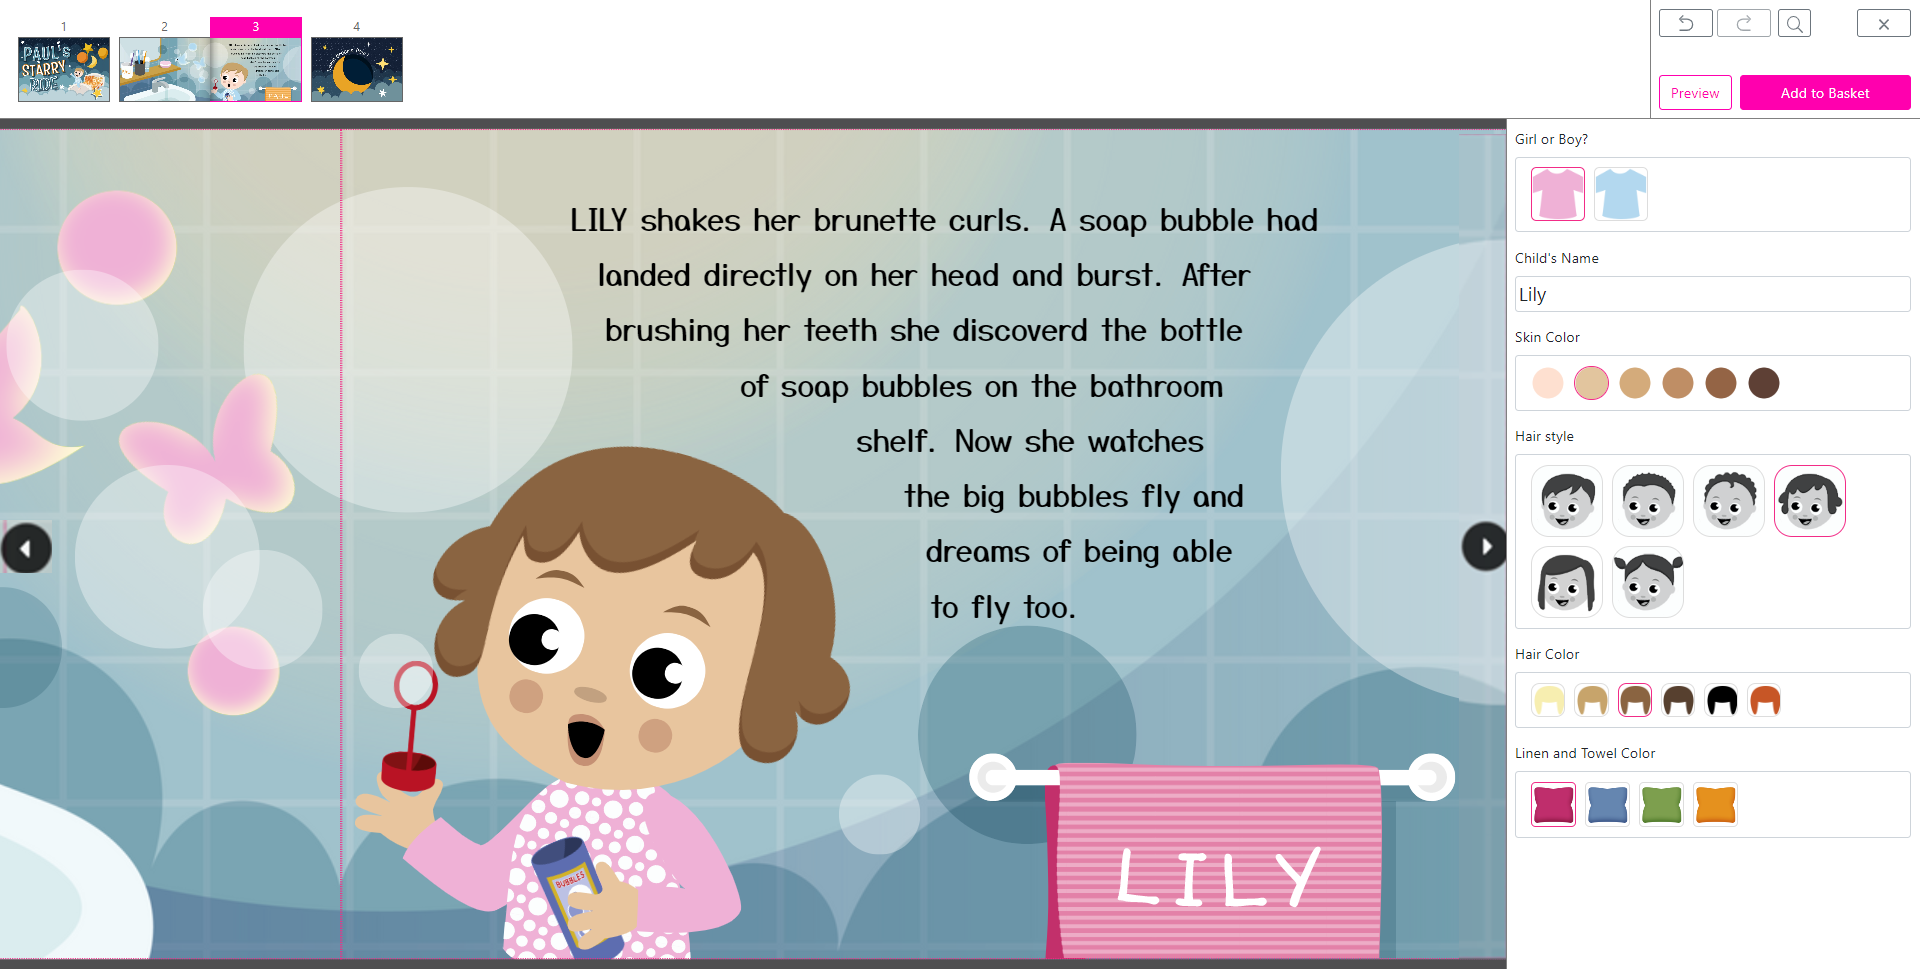
This will open the Buyer View Appearance settings.
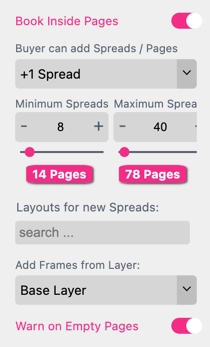
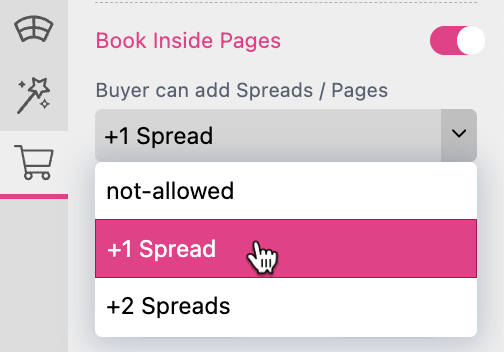
Book Inside Pages allows for adding and removing Spreads within a range of spreads (a spread is one page in single page mode and two pages in facing pages mode). Depending on the binding option, you have the choice of 1 or 2 spread adding and removing. But you can also set this option to not-allowed.
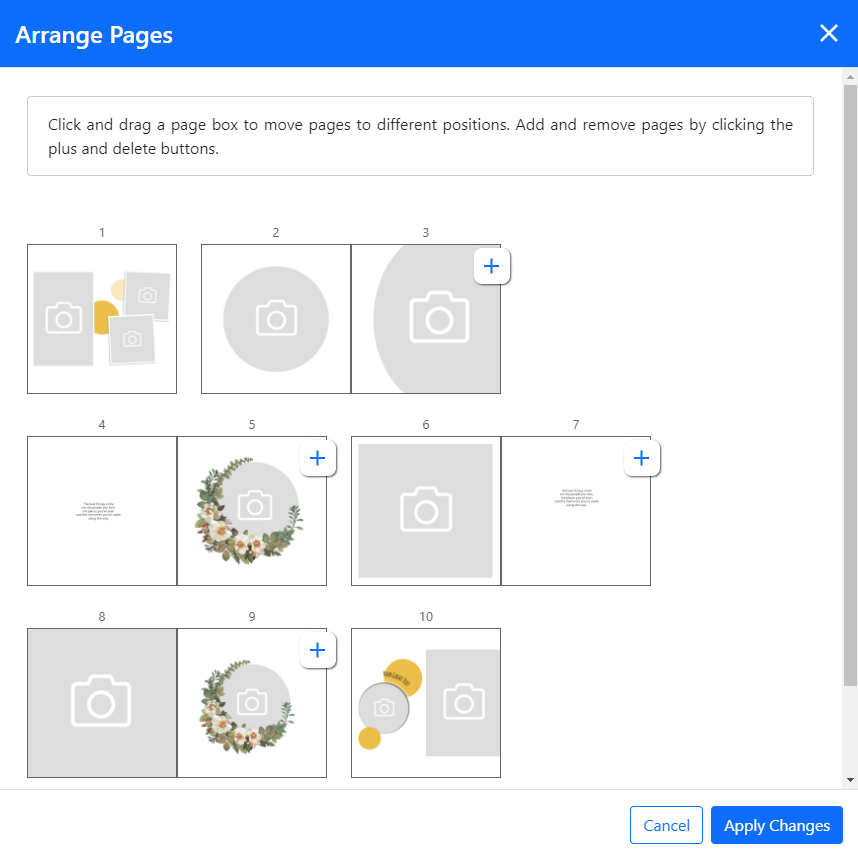
Whenever Adding Spreads or Pages is allowed, the Buyer will also see an arrange pages button which opens a dialog to add, delete or rearrange pages by drag-dropping them to the desired position.
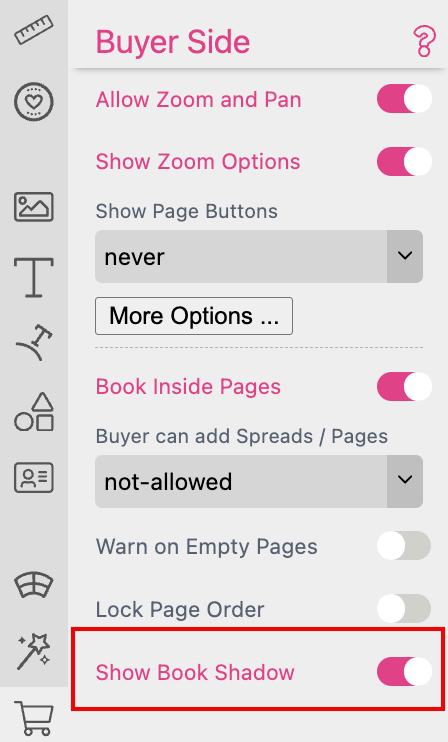
If you turn on this option the shadow of the binding at double pages will be turned off at the Buyer Side to simulate a layflat or wire-o binding.
This setting will allow you to choose a Layout Snippet to apply to any new spread created on the Buyer Side.
When spreads are added you can also choose a layer to copy elements from. If this option is selected, the frames on this layer on the last page of the book will be copied onto the new spread, allowing for paper backgrounds, etc. to be present across the book and appear on new spreads as well.
This setting will remove the single pages from the Inside Pages Document - for example if it will be produced with a flush binding. You can control this option through a Script and a Form Field. So if the Buyer can change the binding type you can switch it on and off.
You offer a book with three different binding types. So at the Buyer Side you display a Form Field with this three options to choose from.
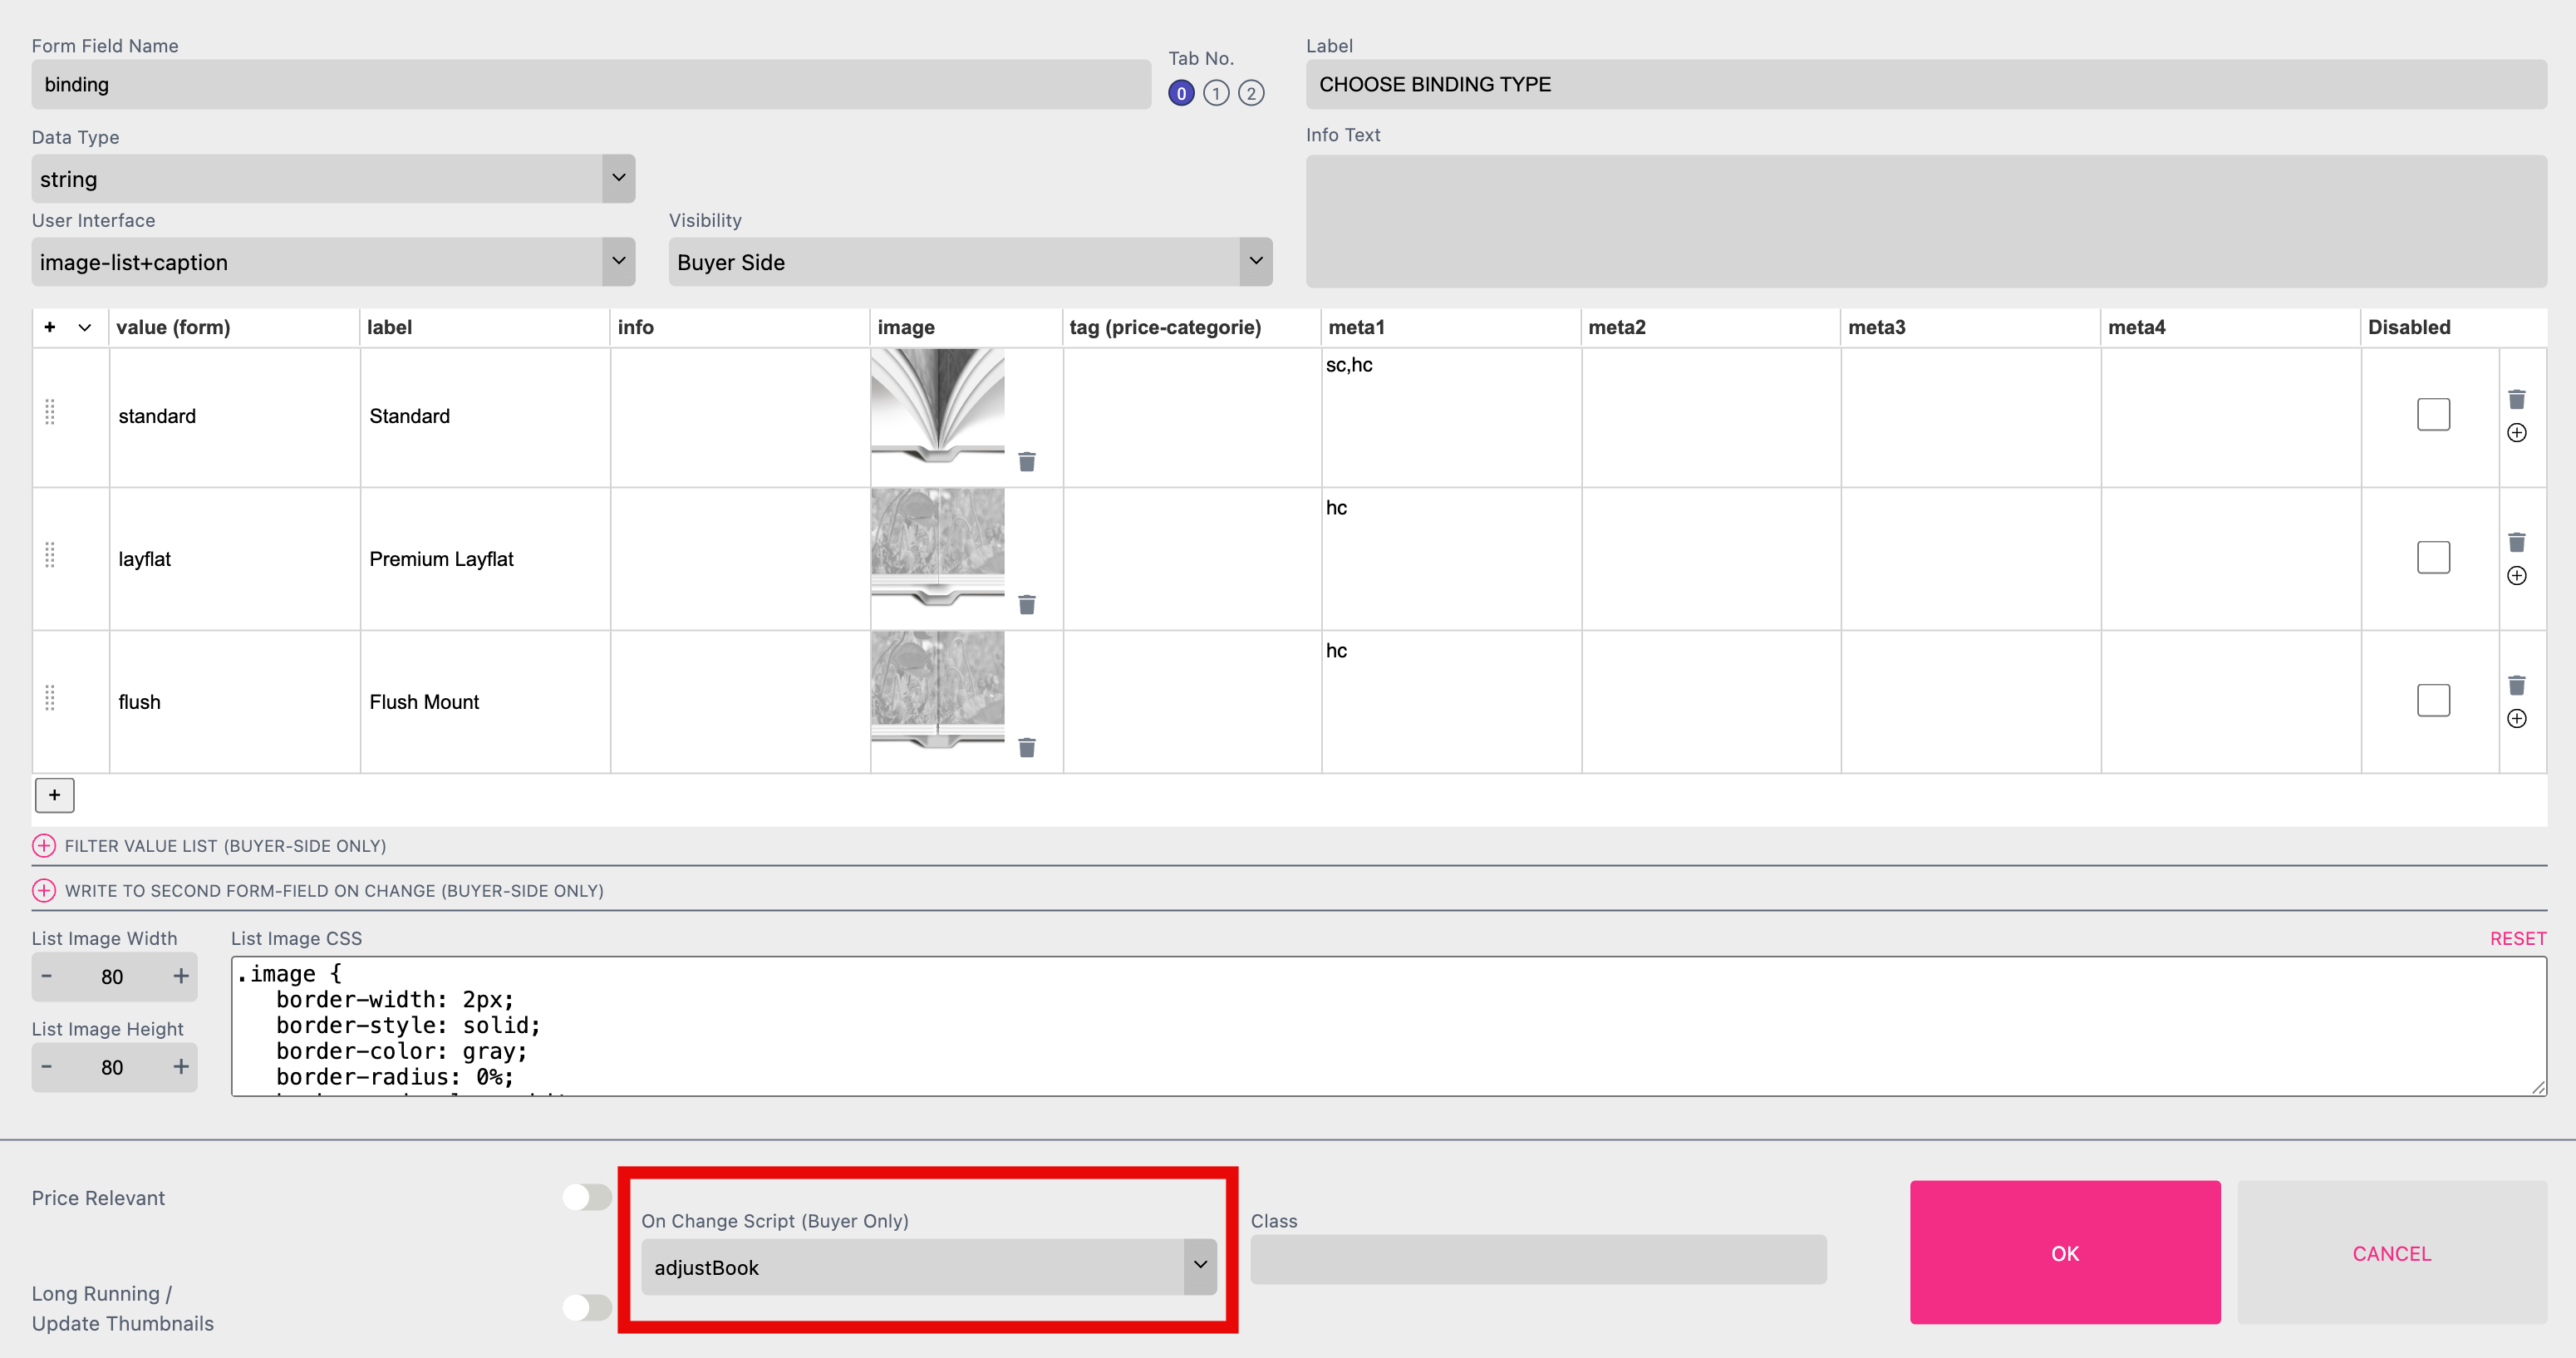
Learn more about On Change Script
There you assign the Script “adjustBook”. This Script is now changing several values based on the cover selection - another Form Field which is assigned to that Script - and it turns on the Lock Cover Inside option if the binding is set to “flush”.
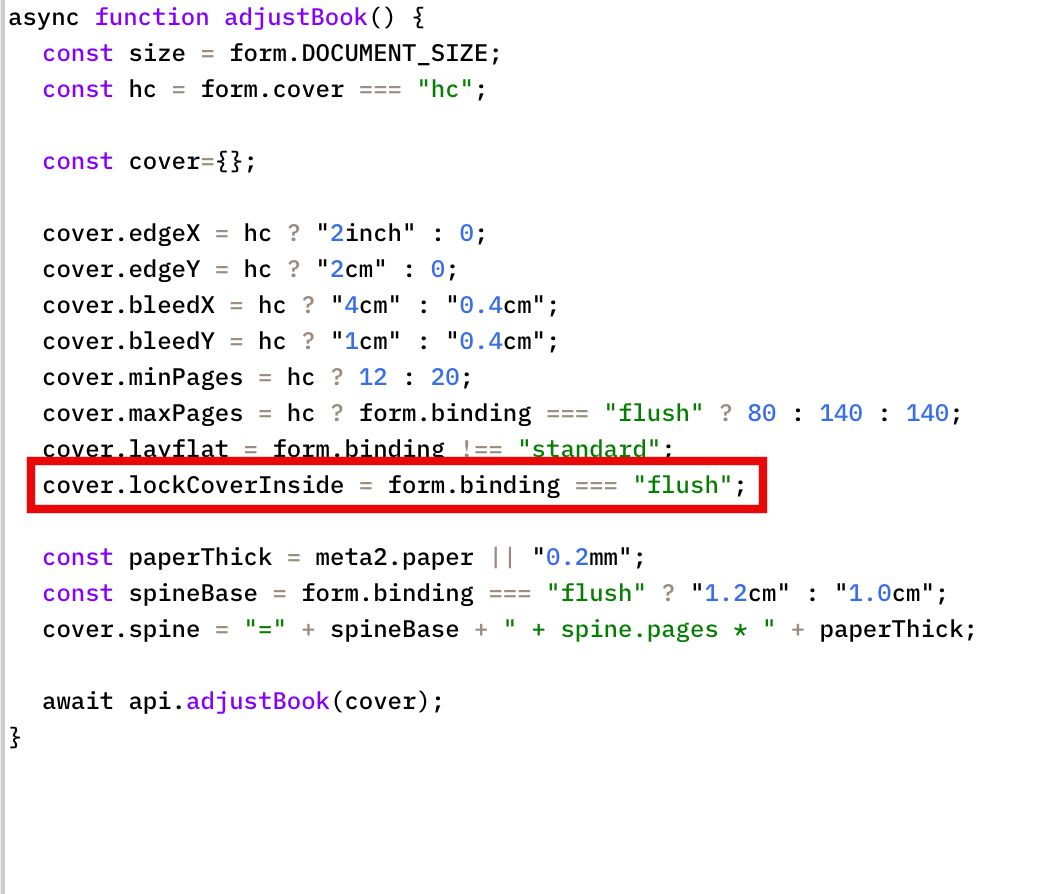
So if the Buyer starts with a “standard binding” to select then “flush binding” the single pages will be removed. If there is already any content of these single pages, Printess will add pages to make them double pages. If the Buyer switches back to “standard binding”, Printess will add a empty front- and a back-page again.
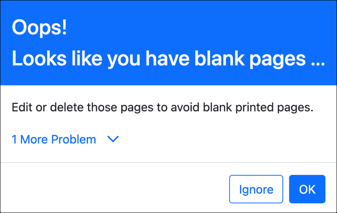
Enabling this option will show a warning in case no user content has been added to new pages. If the warning is shown, the Editor will also navigate to the first empty page.
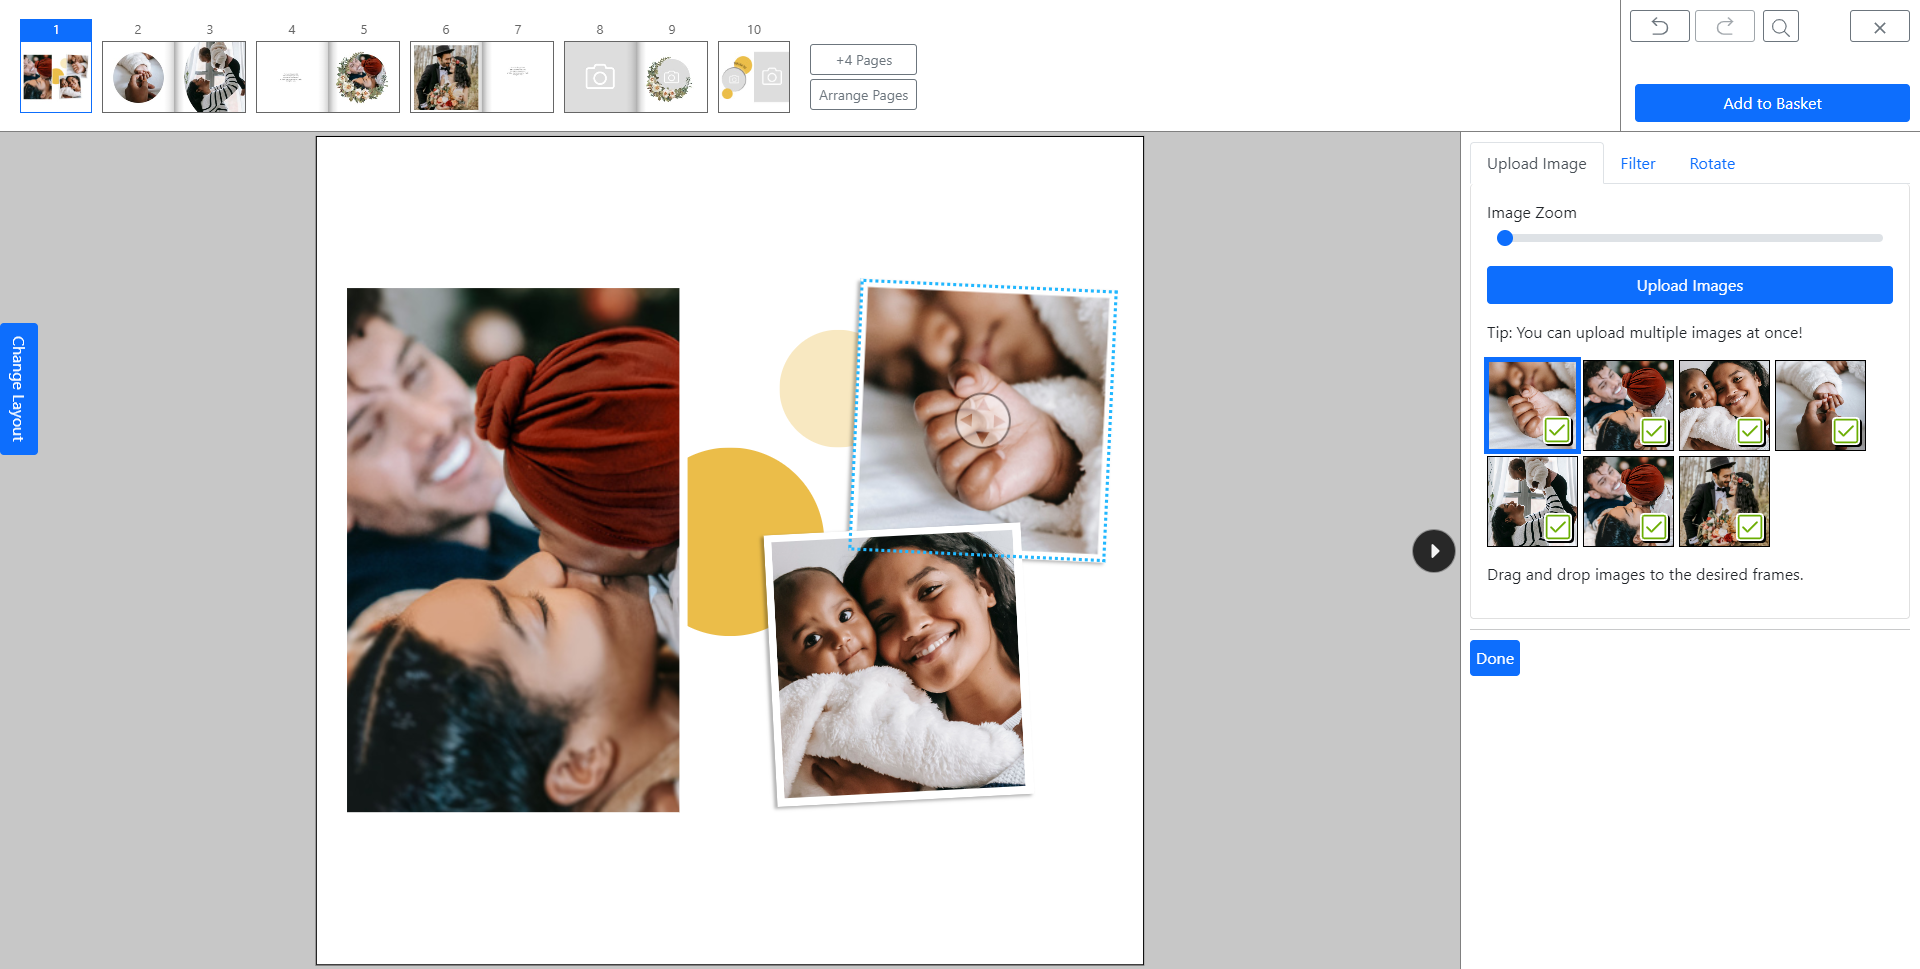
Book Inside Pages really shines in conjunction with the Icon Page Navigation Mode in the Buyer View Preferences. In Icon mode all editable pages in a document are shown as Icons. This allows you to show a separate cover document in-line with the inside pages for navigation. Additionally, this mode will display add and remove page buttons in the navigation pane. Here is an example of a photo book type navigation:
For the double page spreads you can turn on a shadow at the inner edges of the pages. So that you get a more photo realistic view.
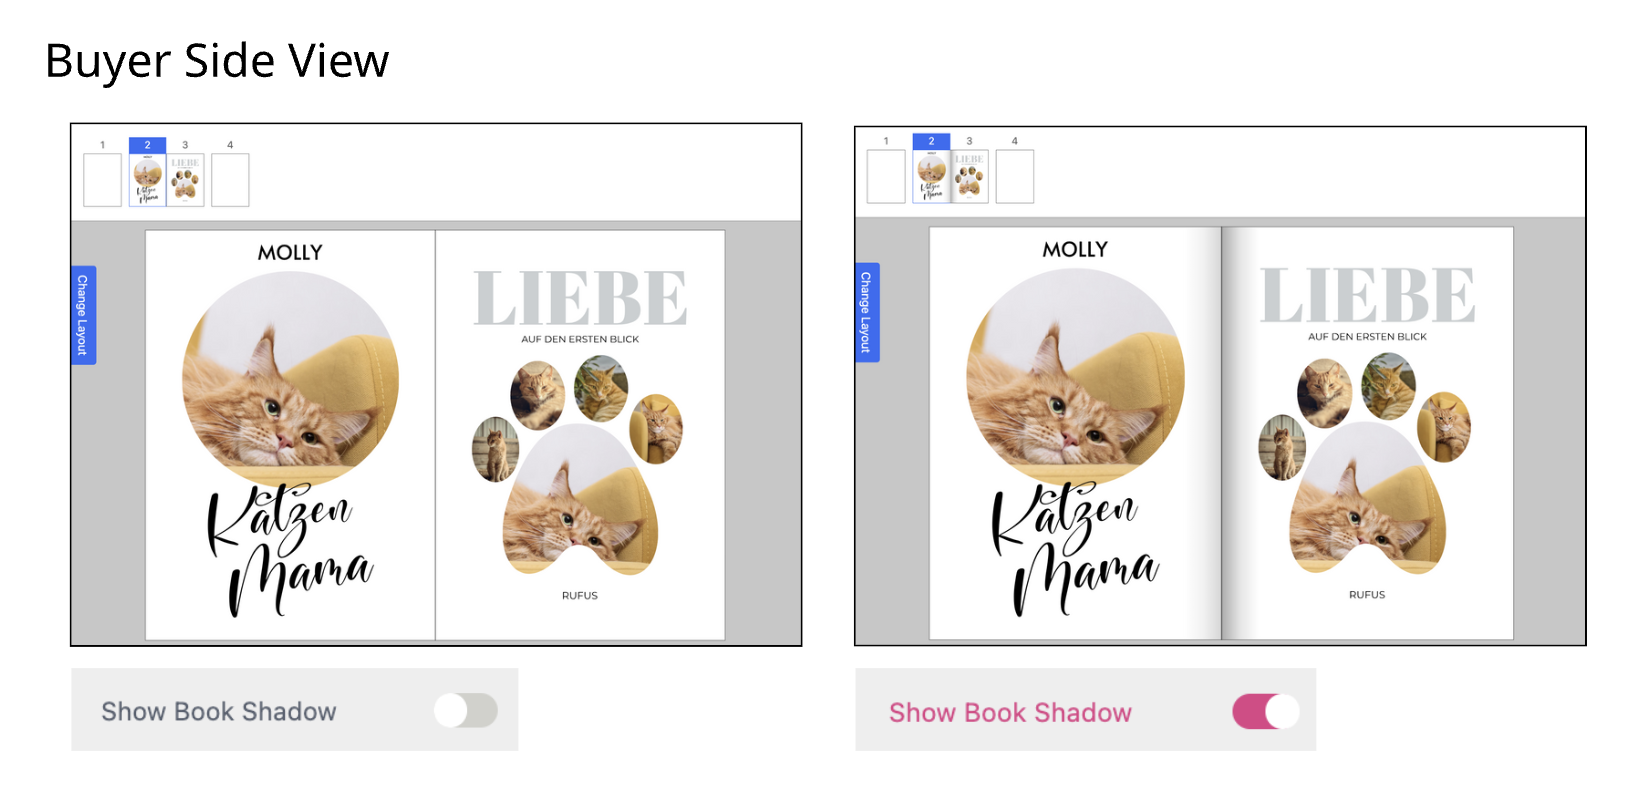
You will find this setting in the Feature Panel at the Buyer Side Tab.
Adding or Removing Pages via In-Document UI Elements
Adding and removing additional Pages can be done via a user interface feature button which can be placed anywhere in the book.
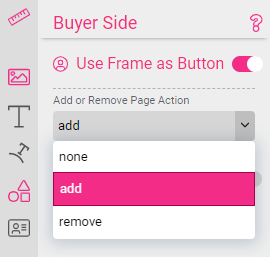
Select any frame and select the Buyer Side tab. Then switch on Use Frame as Button at the bottom of the tab and choose either add or remove in the Add or Remove Page Action drop-down.
Note that this drop-down will be only visible if you allow adding pages and Book Inside Pages is switched on.
Read more about Buyer Side UI elements here.
If you want to add a customizable Cover Page with a spine to a Book template, have a look at Cover Page & Spine in the Frame Features section.
Here you can manage your Themes for the Buyer Side.
There is a DEFAULT Theme defined for all of your Templates and Documents. With the Printess MEDIUM PLAN you can change and save it to match your corporate design. With the Printess LARGE PLAN you can define and save as many Themes as you like. Here you can then select a particular Theme for this Printess Template.
With the Printess MEDIUM PLAN you can click this button to change and save the Theme to match your corporate design.
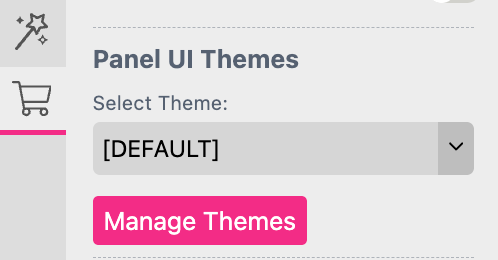
Learn more about the Theme Manager here
If you activate this option the Tab “Background” will be displayed at the Buyer Side. The Buyer can then choose from the Printess Layout Snippetsn which are assigned here by default or from Background Colors of the activated Color Group - by default the Buyer Colors group.
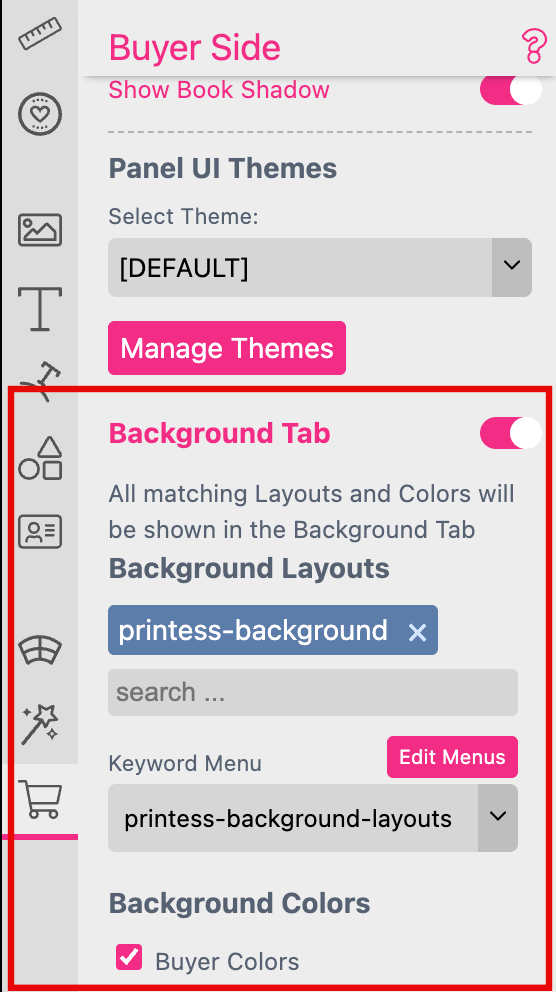
Background Layouts
Here you can search for Layout Snippet Tags to assign your own Layout Snippets.
Keyword Menu
Here you can assign a Keyword Menu to sort the Layout Snippets displayed at the Buyer Side. By default the Keyword Menu “printess-background-layouts” is selected to sort the default assigned Layout Snippets.
If you press the pink button “Edit Menus” a new browser window will open to lead you to your Keyword Menus at your Printess Account.
Learn more about Keyword Menus
Here you define the list of Layout Snippets offered to the Buyer as an image replacement in Splitter Layouts.
Note: Is not supported in the Panel UI.
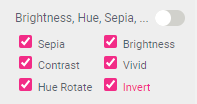
Enabling this option gives the Buyer all available Image Filters when uploading or selecting an image.
If switched off, one can choose which filters should be available to the Buyer for all editable images in this template.