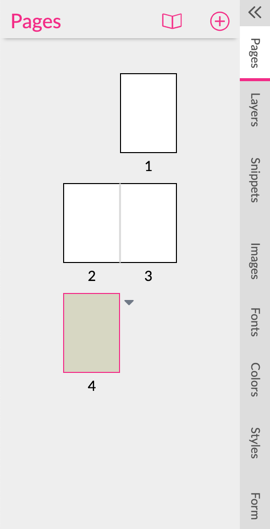

On the Pages tab, you can change the page order and general layout of a document. The Pages tab also shows mini versions of all pages in your document.
To add a page simply select a page and click the  icon on top of the page overview. A new page will then be inserted after the selected page.
To switch between single page and facing page layouts, click the page type icon  . This will change the icon to a facing-page type
  .
.
Notice: the first and the last page in a facing-page layout will always be single pages. So one needs a minimum of three pages to create facing pages in a document. Also note that facing pages extend themselves to the right, so if one switches back to a single page layout, items positioned on the right page will still be there but will be outside of the page area.
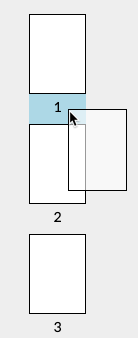
To re-sort pages, you can move the position of pages by drag-dropping them. Simply select the page(s) you’d like to move by clicking on the page itself (or press Shift to select more than one page). Then drag them to the desired position for insertion as shown above.
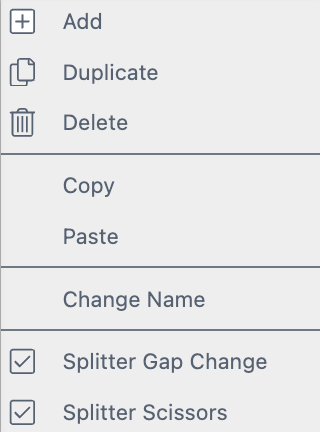
To open the Pages Context menu, either right-click on a page or select a page and click on the small triangle appearing beside the selected page.
In this menu you can duplicate, delete, copy, or paste a page. You can also add a new empty page or give the page a name.
Page thumbnails will be updated whenever the document is saved.
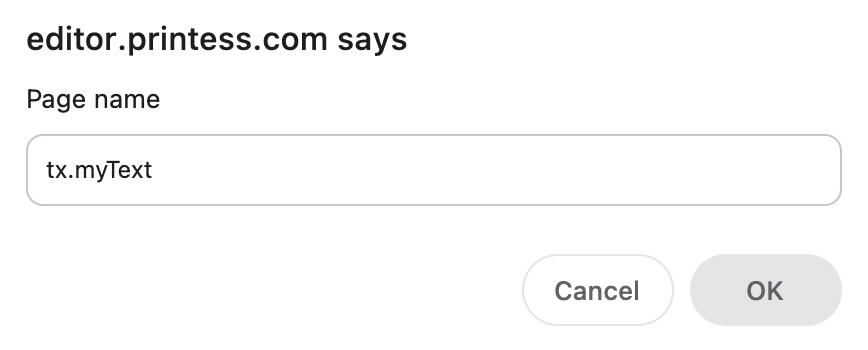
To change the name for a page or spread in a document left-click the small triangle beside the document page and select Change Name.
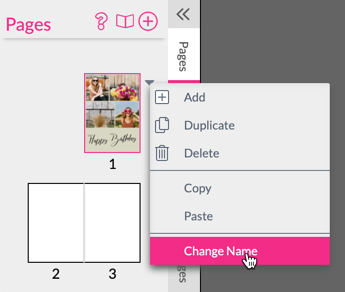
Pages can be renamed for several reasons.
For example, pages can be named to allow for the named selection of a specific page/spread in a Sub Document when it is placed in another document. Read more about Sub Document page selection here.
Page names also will be displayed on Buyer Side in the Numbered Page Navigation. For facing pages the name can normally only be given once for the complete page and only appears for the left page.
To address the right page use the pipe symbol ‘|’ to separate them. For example, in the following Numbers Page Navigation the facing page has the name: ‘Left Page|Right Page’:

In this example of an Icon Page Navigation, the facing page is named ‘Inside|Inside’
![]()
You can assign text from the Translation Table to define the Page Name. By using the Translation Table you can change the language of your text content. The text will then automatically change corresponding to the browser language. The browser language is set by the Buyer or you can set it trough the API using the “translationKey”.
To make this work you have to enter the text for the respective language in the Translation Table first. This example is using the “Key” myText in the “namespace” “tx”:. In the example it is set up for two languages: “de” and “en”.

Learn more about the Translation Table here.
To assign the “Key” myText of the “namespace” “tx”: to the Info Text or Label of the Form Field use the following syntax:
tx.myText
Just write it into the Change Name Text Input Field. When you switch to the Buyer Side the text will be displayed depending on the language set for the Editor.
For testing you can now change the language of the Editor and the Buyer Side by adding"?lang=en" to the URL for example. So the entire URL will look like: “https://editor.printess.com/?lang=en”. And the text will be translated into English in this case.
If you are working with Splitters you can use this feature.