You must at least have a Printess Medium Plan in Place to use the 3D preview feature
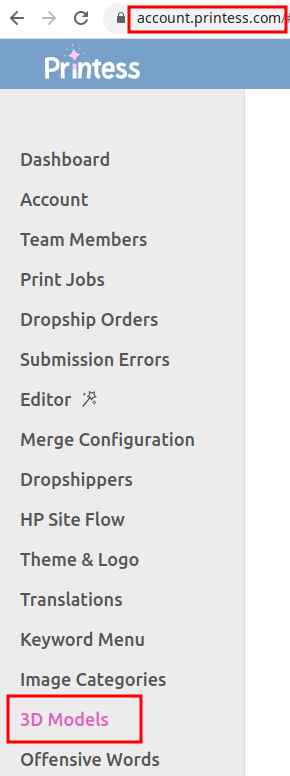
Printess supports the upload of 3D models that are stored in the gltf (GL Transmission format) format. Preferably use the already packed format .glb (GLTF Binary). Nowadays most 3D modelers support export of .glb models. These GLB files can be uploaded directly.
.obj files are currently not supported as we wanted to use a format with full control over lighting, high quality and AR-Viewer capabilities.
Notice: Creating a proper usable 3D-Model with the right textures in place and mapping these correctly is not easy and also a bit outside of our scope of support. However we can help you to bring your models online as paid service. Please contact us at support@printess.com

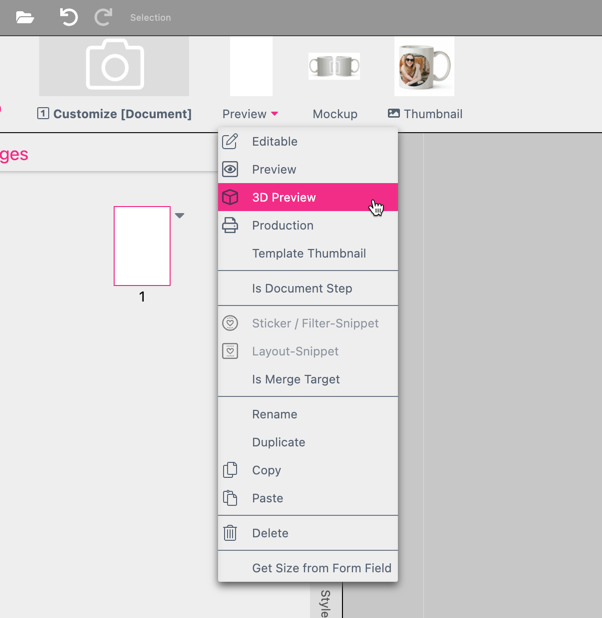
Click on “3D Preview” to make this document a 3D preview.
Open the 3D Preview Document. This will open up the Model Viewer and some settings on the right:
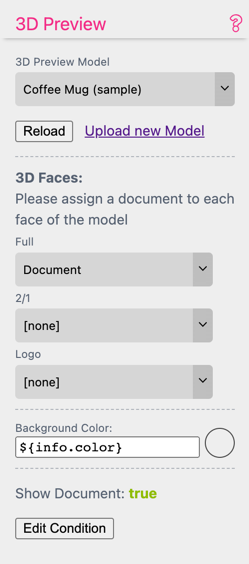
Choose the Model you want to use for the 3D preview. You can reload a model, if you changed the JSON Configuration or Upload a new Model.
Assign the documents of your template you want to preview on the 3D Model to the 3D Faces of the Model. You can define those Faces inside the JSON Configuration.
Choose a Background Color for your 3D Model, meaning the base color of the model.
In this example, the Background Color is defined by a Form Field.
You can edit the condition wether or not the 3D Preview-Document will be shown on the Buyer Side.
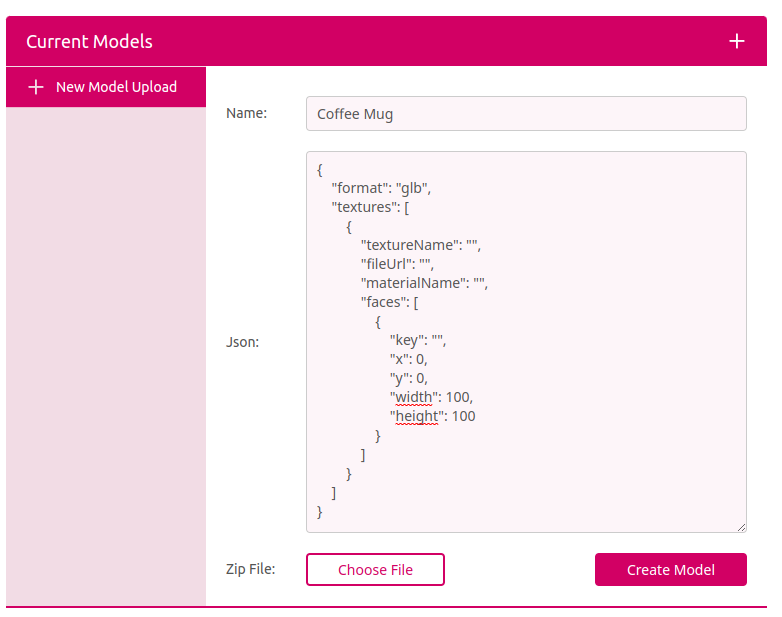
{
       "viewerSettings": {
           "min-camera-orbit": "auto 60deg auto",
           "max-camera-orbit": "auto 180deg auto",
           "shadow-intensity": 1,
           "ar": "1"
       }
       ,
       "format": {
           "name": "glb"
       },
       "textures": [
           {
               "fileName": "baseColorTexture",
               "fileUrl": "coffee_c.jpg",
               "materialName": "Coffee-Mug",
               "faces": [
                   {
                       "key": "front",
                       "x": 1184,
                       "y": 2301,
                       "width": 1739,
                       "height": 1283
                   }
               ]
           }
       ]
   }
For each texture that is contained, a file name is provided. You will have to choose which of these textures and their images should be merged with the Printess preview document. It is possible to have a look at each of these textures by coping the file name and appending it at the end of the directory url and open it in a browser. It should look like (https://printess-prod.s3.eu-central-1.amazonaws.com/uploads/f7236f763c594afe247feabecb9ea4d1c94a486e/3d/3ce18953f9491d7fe04491bcfeef0e92a9eb86c4/coffee_c.jpg)

Note there might be textures in your GLB files which are either technical or will not be used in your preview. Just remove those from the json and save it by clicking save.
The last thing to do is to provide a name to the face that will be shown inside the designer:

It is possible to specify more than one face so that several preview documents can be merged on the final 3D model.
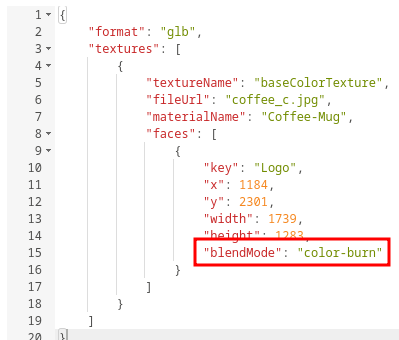
It is also possible to specify blend modes for each of these faces. Possible blend modes are:
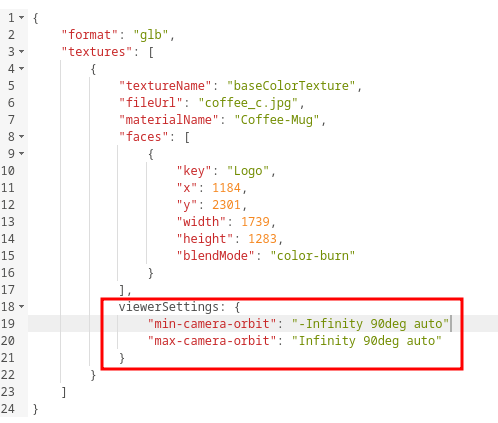
To specify a blend mode, add a blendMode property to your face definition:
Internally, Printess uses the Google™ Model Viewer. It is possible to further configure the preview component by adding settings for additional html tags that are forwarded from the model definition to the 3D component. To do this, add a new json sub node called “viewerSettings” to the model definition. Each HTML tag that is supported by the google viewer can be added here as key alongside its value:
