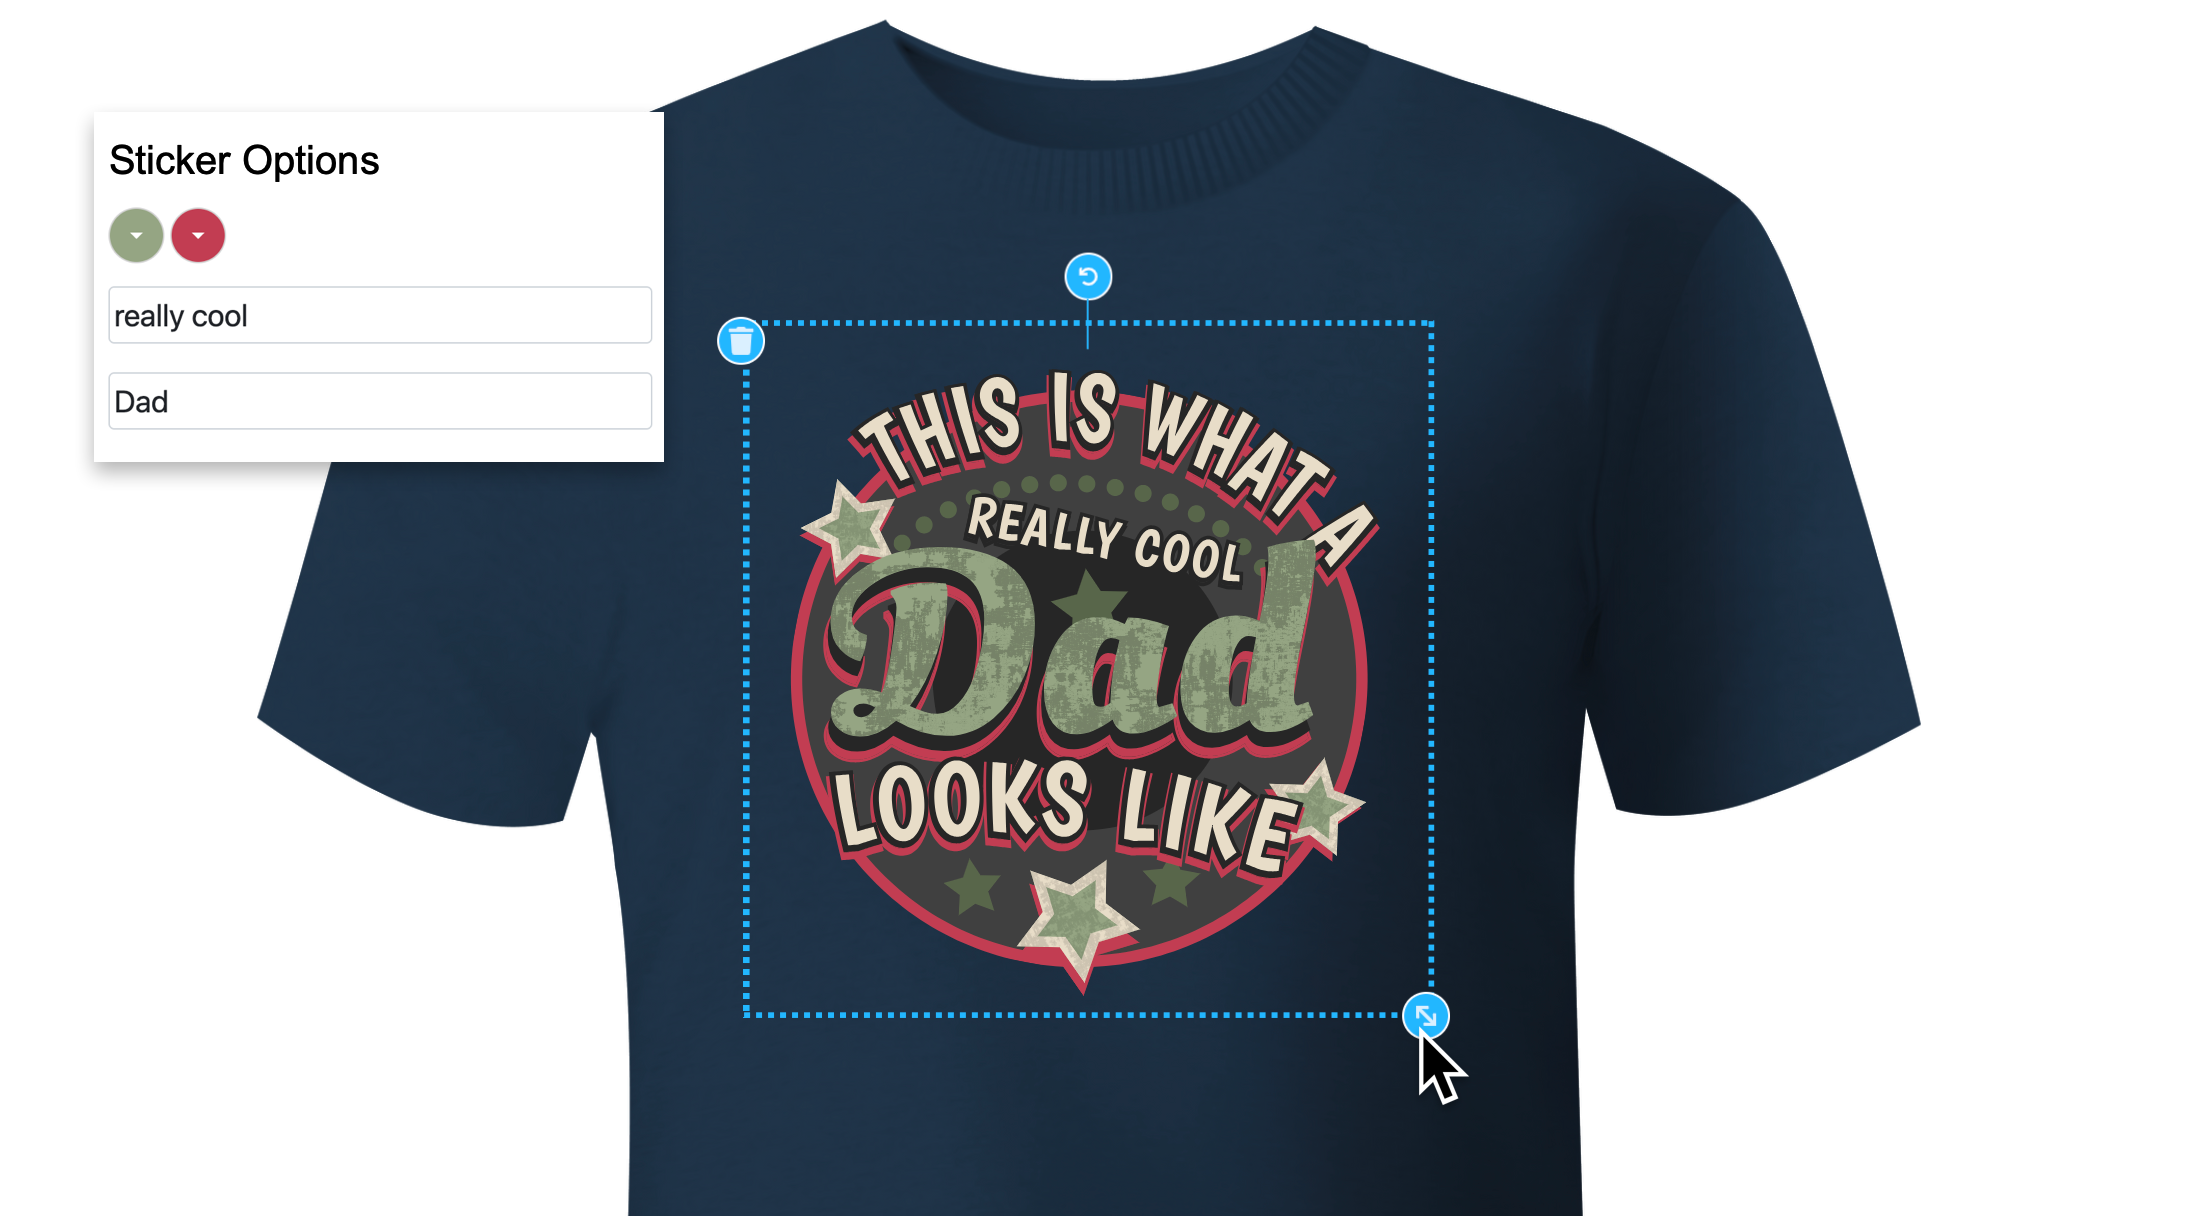
Info: Stickers can also consist of only one element e.g. Basic Image and Text Frame Stickers.

Stickers are small design blocks for Buyers to add to a Page. They can consist of multiple elements, such as Shapes, Sub-Documents and static or editable Image or Text Frames. When published, Printess will automatically group all elements of a Sticker to make them behave like a single Frame on Buyer-Side. This makes it easy for Buyers to place Stickers and customize their properties. Stickers can always be moved, resized, rotated and deleted by Buyers.
If you like to use Sticker Snippets at the Designer Side go to the Sticker Tab of the Resources Panel.
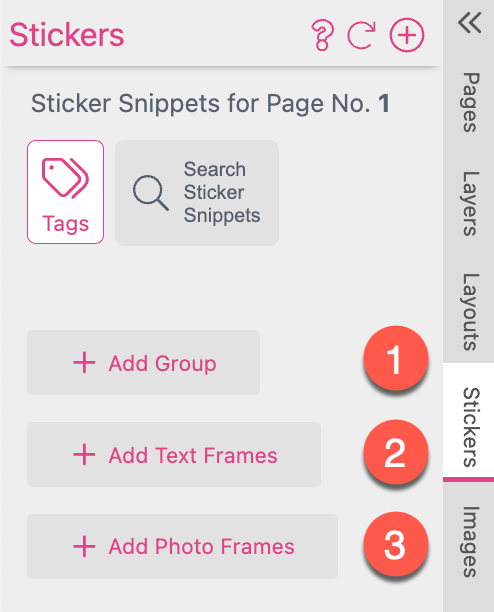
Here you can search for any Sticker Tag available on your system.
The other two option are much more a short cut to address predefined Stickers made by Printess.
Here you find Text Frame Stickers made by Printess.
Here you find Photo Frame Stickers made by Printess.
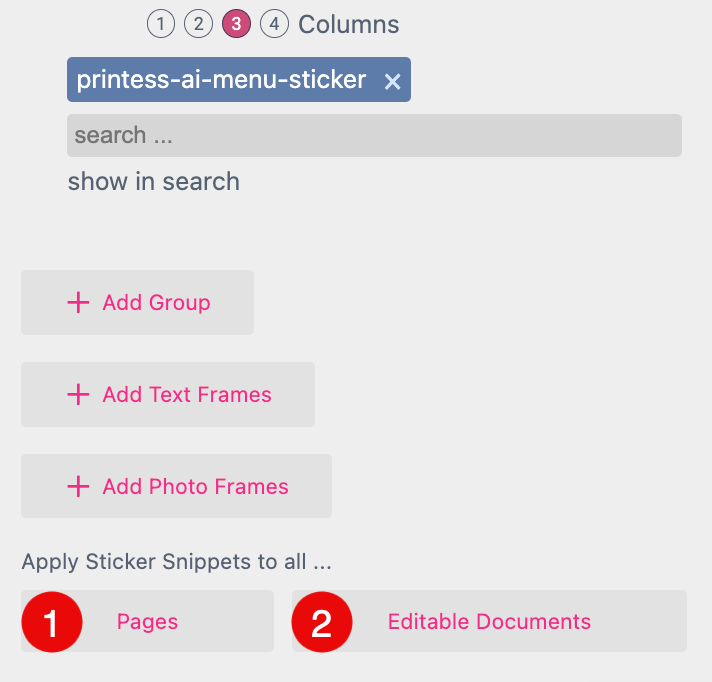
As soon as you are selecting at least one Sticker Snippet Tag it will be assigned to the current Page of your current Document.
If you like to assign the selected Sticker Snippets to all Pages of your current Document at once you click on the button Pages (1).
If you click on the button Editable Documents (2) you will assign the selected Sticker Snippets to all Pages of all your Documents which are set to “editable”.
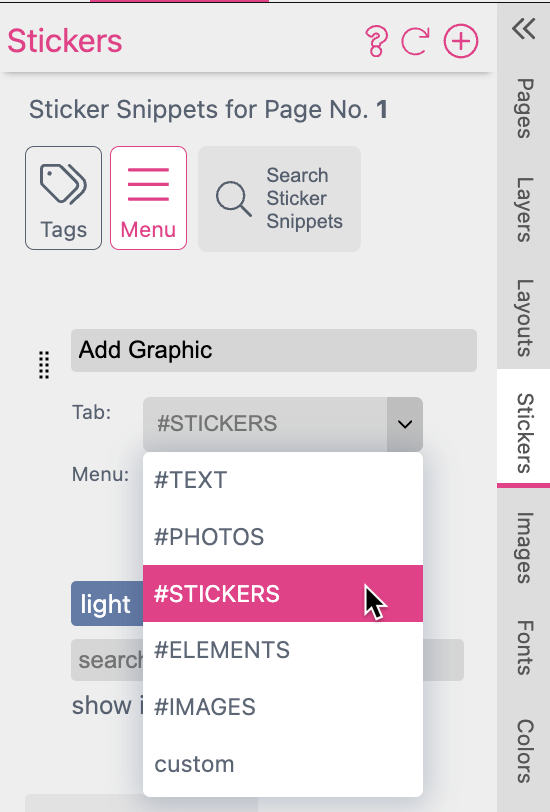
After you have added at least one Sticker Snippet Tag you can choose from a drop down menu in which category they should be shown at the Buyer Side. This makes it easier for the Buyer if you offer many different Sticker Snippet categories there.
To show all the Sticker Snippets you assigned via Tags, click on “Show in Search”. This will open up the “Search Stickers” Tab ![]() , where all assigned Sticker Thumbnails are shown. Clicking on a Thumbnail will directly insert the Sticker into the current Page.
, where all assigned Sticker Thumbnails are shown. Clicking on a Thumbnail will directly insert the Sticker into the current Page.
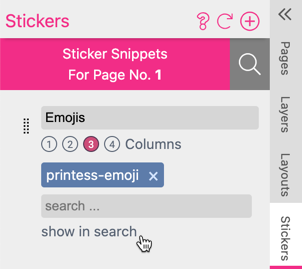
Clicking on “Sticker Snippets For Page No. x” will bring you back to the “Sticker Group” Tab.
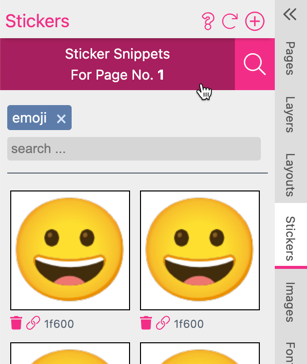
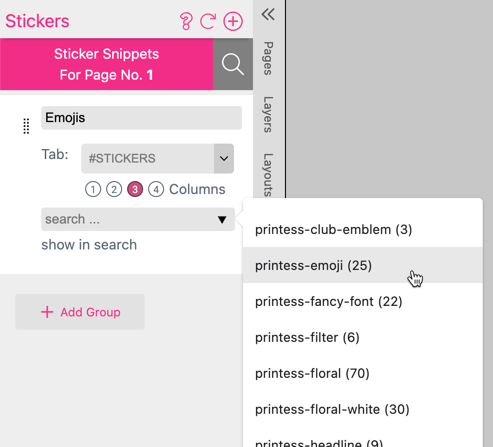
If you do not want Buyers to add Stickers but want to insert a Sticker from a Sticker Library, go to the “Search Stickers” Tab by clicking on the “Magnifying Glass” Icon ![]() . Click on the “Sticker Tag” Input Field and select or type in the Tag name, which is assigned to the Sticker Snippets you want to insert. Click on the Thumbnail of the desired Sticker to insert it directly into the current Page.
. Click on the “Sticker Tag” Input Field and select or type in the Tag name, which is assigned to the Sticker Snippets you want to insert. Click on the Thumbnail of the desired Sticker to insert it directly into the current Page.
Tip: The Link button ![]() below each Sticker Snippet in the search can be used to directly open and edit a Sticker Snippet.
below each Sticker Snippet in the search can be used to directly open and edit a Sticker Snippet.
When Sticker Snippets are inserted into a page they will by default be centered and scaled to medium size. With the Sticker Size and Placement options you can change the size and the focal point for the placement.
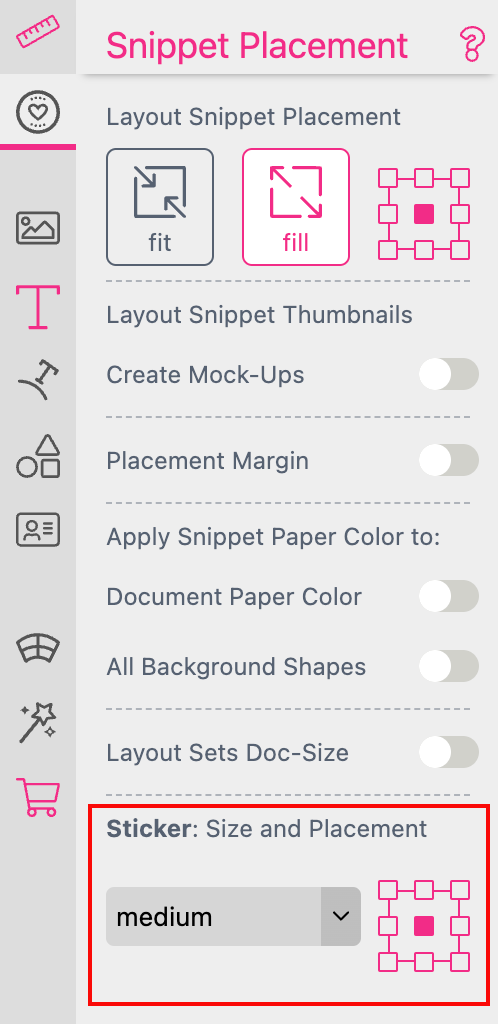
But there are two different ways to place a Sticker Snippet into a Document:
If you click on the preview of the Sticker Snippet and no single frame is selected it will be placed as a Sticker Snippet. In this case all frames of the Sticker Snippet will be grouped and you can not access and edit them. The Sticker Snippet will keep its Properties and Form Fields to be editable at the Buyer Side
If you click on the preview of the Sticker Snippet and there is a single frame selected, Printess will ask if you would like to replace the selected frame by the Sticker Snippet.
If you click OK The Sticker Snippet will replace the activated frame. It will be placed as a Sub Document Group. In this case it will behave like an image frame and will scale proportionally. You can access the single frames for editing and they will keep their Properties and Form Fields to be editable at the Buyer Side.
Learn more about Sub Document Groups here
If you click Cancel the Sticker Snippet will be placed in addition to the activated frame. It will be placed as a Sticker Snippet.
In order to grant Buyers access to Stickers on Buyer-Side, you have to assign them to a Page or Spread within your Template.
You can only assign Stickers to a specific Page or Spread. This allows you to define whether or not Buyers can add Stickers to a Page or Spread and assign individual Stickers to different Pages.
Tip: Check out the „Greeting Card“ Sample and you will notice that Buyers can only add Stickers to the Inside Pages of the card.
On Designer-Side, go to the Page or Spread for which you want to allow Buyers to add Stickers.
Go to the „Stickers“ Tab on the Resource Panel.
Click „+ Add Group“, “+ Add Text Frames” or “Add Photo Frames”.
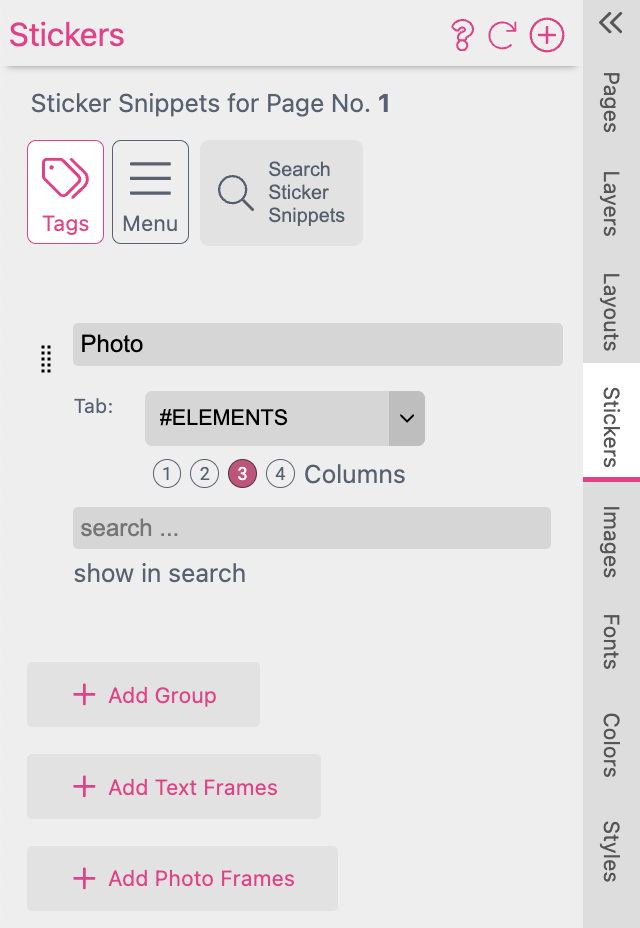
Tip: Grouping Stickers into meaningful categories makes it easier for Buyers to find the Stickers they want.
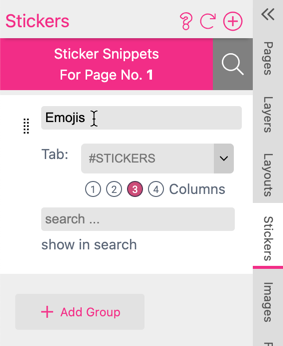
Tip: The Title will be shown on Buyer-Side and should give Buyers a hint, which kind of Stickers can be found in this Group.
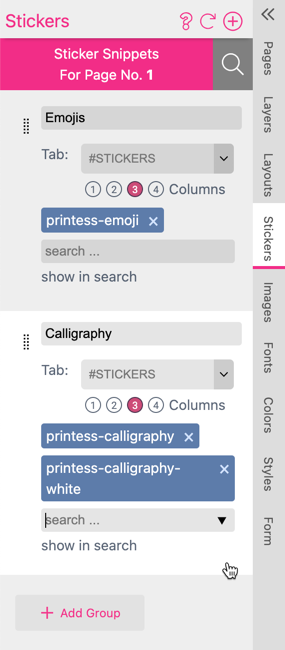
(Only for „Creative Photo Product“ UI) Select the Buyer-Side Tab in which the Sticker Group will be shown. The default Tab is „#STICKERS“. Learn more about Buyer-Side UI-Selection.
(Optional) Set the number of columns in which the Stickers Thumbnails will be ordered on Buyer-Side by clicking on the circled numbers. This will also affect the size of the Thumbnails.
“Sticker” Tab on Buyer-Side with three columns:
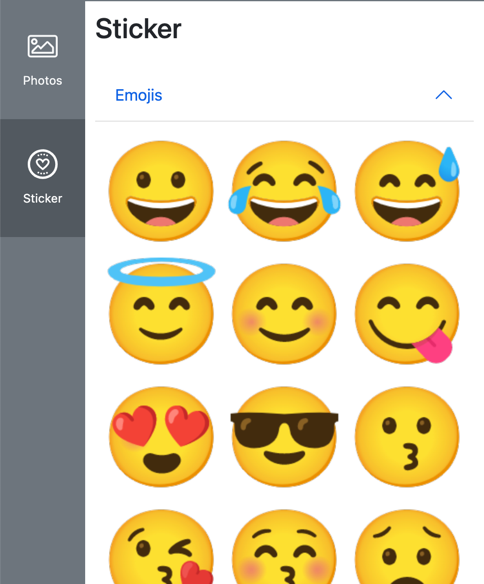
Info: All Frames of the Sticker Snippet will be inserted on the Base Layer.
Most other editors have little Text or Image Insert-Icons which Buyers can select to insert basic Texts and Image Frames into their Page. In Printess there are Sticker Snippets for that.
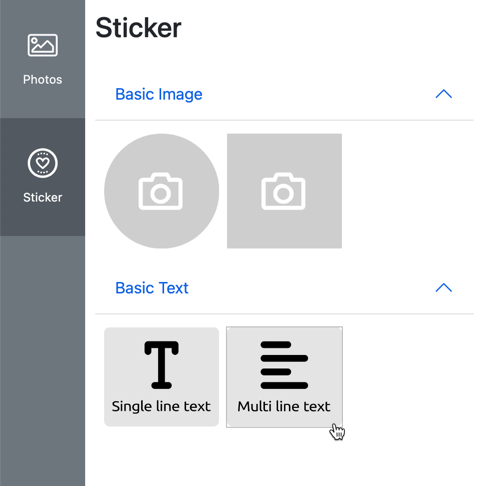
To allow Buyers to insert a simple Image or Text Frame, assign the „printess-basic-image“ or the „printess-basic-text“ Stickers Tags to a Page. These Tags contain Round and Square Image Frames or Single and Multi Line Text Frames respectively.

On Designer-Side, go to the Page for which you want to allow Buyers to insert the Printess Basic Stickers.
Go to the „Stickers“ Tab on the Resource Panel.
Click „+ Add Group“.
(Optional) Click on the „Sticker Group Title“ Input Field, delete the placeholder text „Add Graphic“ and type in „Basic Image“ (This is just a suggestion - you can choose any Title you want).
Click on the „Sticker Tag“ Input Field and select the „printess-basic-image“ Tag from the list.
Repeat step 3 - 5, but this time type in „Basic Text“ as Title for the new Group and select the „printess-basic-text“ Tag from the list.
On Buyer-Side you can see that there are two Sticker Groups with the Basic Image and Text Stickers for Buyers to add to their Page.
Tip: You can also change these icons (and most others) on the Buyer Side UI by using Custom Translations
With the new Panel UI the Buyer can not just add Stickers to an existing layout.
In addition the Buyer can replace the following frames with a Sticker Snippet: