Everything is automated, from customizing the product in the shop to producing the PDF after the order has been received. The last manual step for many customers is downloading the print document(s) from the Printess system and forwarding them to the printer. This can be done, for example, by sending them by email or by saving them in a hot folder on the local or remote system. If your printer offers the option of receiving print documents via FTP, this last manual step can be automated by the Printess system using the FTP workflow, provided that the FTP server is accessible from the Internet. By using this integration, you aggree that you will be charged for workflow usage.
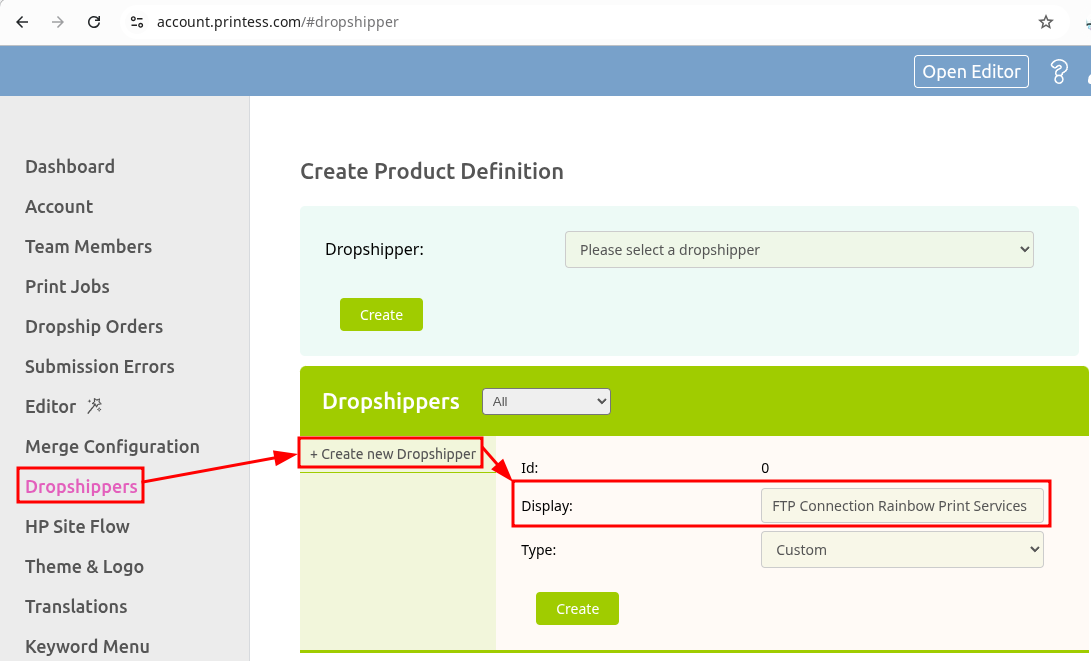
Go to the dropshipper settings in the Account Portal to set up an FTP connection. Click on “Create new Dropshipper” and enter a meaningful display name for this connection under “Display”.

Select FTP under Type
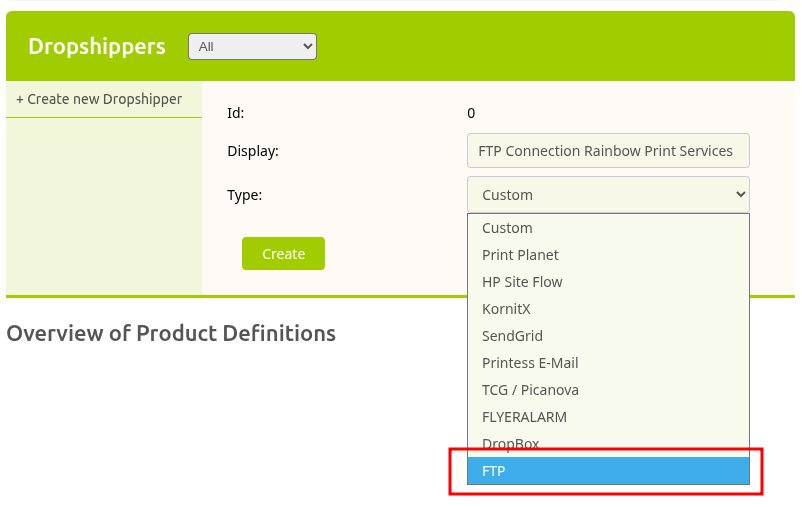
Provide the authentication details that you received from your printer.

Hostname: The internet address (Hostname) of the FTP server.
User: The login user name.
Password: The login password.
Target Directory: Typically the root directory of your login user (/). Your printer might request a specific sub directory. The path to this sub directory like /printfiles/orders/ (Depending on your printers instructions) might be added here.
Port: The port where the FTP Server software is listening on. Typically 21. Might be 990 for encrypted connections, but could be different for specific configurations. In case it differs from port 21, your printer will provide this information.
Encryption: Automatic: The client tries to figure out if the connection needs to be encrypted or not. None: No encryption. Prone to man in the middle attacks; Implicit: The server expects an encrypted connection on a specific port. Typically 990; Explizit: (FTPES) The client must explicitly request a secure connection. If no encrypted connection is requested, the server may either accept an unencrypted connection or deny the connection all together.
Disable Certificate Validation: The Printess system validates the security certificate that is provided by the server and cancels connections to wrong or insecure certificates (self signed certificates for example). Disabling certificate validation might entail security risks but could be mandatory in case the printers servers are working with self signed certificates.
Click on Create to create this connection.
To specify an endpoint that can be used as dropship configuration inside your shop or inside your Printess template you will need to create a new product definition. Reload the Account Portal page to make sure that all references are updated. Select the FTP connection you created under Create Product Definition and click on Create.

Scroll down to the newly created product definition and provide a meaningful display name.
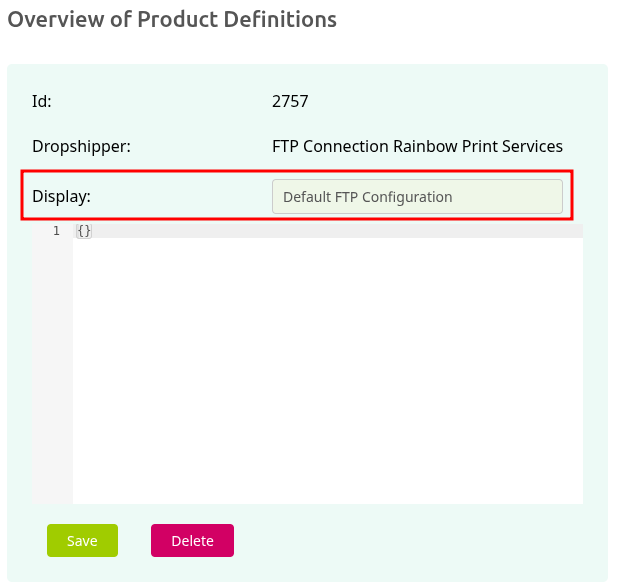
Copy the following JSON object into the configuration textbox below the display name configuration (replacing the existing {} ).
{
  "fileName": "",
  "directoryName": ""
}
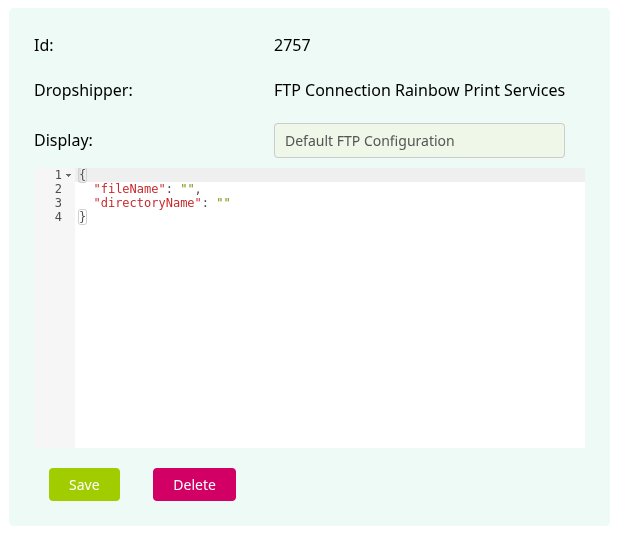
This is an empty configuration. It will place all produced PDF files inside the root directory (or if specified inside the sub folder) of the FTP connection user. The file names of the print documents placed on the FTP server will be the original file names that have been specified by the Printess system during production. It is now possible to specify your own file name and sub folder name. To specify your own file name, replace the emtpy fileName value with the file name that you would like to use. A value of post_card_{printess.externalOrderId}_{printess.position}.pdf for fileName will place all incoming print files under the file name: post_card_{printess.externalOrderId}_{printess.position}.pdf where {printess.externalOrderId} will be automatically replaced with your shops order id and {printess.position} will be replaced with the index of the print file within your print job.
{
  "fileName": "post_card_{printess.externalOrderId}_{printess.position}.pdf",
  "directoryName": ""
}
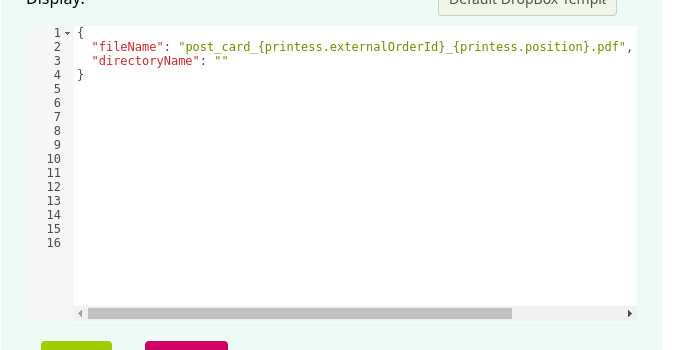
By using variables inside your filename like order id and the file index, you can ensure that file names that are produced are unique. In case of conflicts (2 files with the same filename inside the same folder), one file will overwrite the other file.
The list of available printess variables is:
{printess.position}: The index of the print document that is created for the current job.
{printess.date}: The UTC file creation date
{printess.dateTime}: The UTC file creation date and time
{printess.orderId}: The Printess internal order id
{printess.orderDate}: The date and time when the printes order has been created.
{printess.jobId}: The printess print job id.
{printess.externalOrderId}: The external order id (The corresponding order id that was provided by your shop integration)
{printess.quantity}: The quantity provided by the shop system.
Under the dropship. prefix, you can access some dropship specific variables:
{dropship.companyName}: The receiving company name.
{dropship.firstName}: The first name of the receiving person.
{dropship.lastName}: The family name of the receiving person.
{dropship.address1}: The address 1 field for the detination address.
{dropship.address2}: The address 2 field for the detination address.
{dropship.address3}: The address 3 field for the detination address.
{dropship.city}: The destination city.
{dropship.zip}: The destination postal code.
{dropship.country}: The destination country.
{dropship.countryState}: The destination state / prefecture.
{dropship.phone}: The telephone number of the receiving person.
{dropship.email}: The email of the receiving person.
{dropship.shipping}: The selected shipping method.
{dropship.dispatchNotice}: The provided dispatch notice.
{dropship.deliveryNotice}: The provided delivery notice.
{dropship.deliveryDate}: The expected delivery date.
It is also possible to use formfield values from within the Printess Template inside your file names by simply placing the formfield name into braces. A form field called format can be used by enclosing it in braces: {format}
{
  "fileName": "post_card_{format}_{printess.externalOrderId}_{printess.index}.pdf",
  "directoryName": ""
}
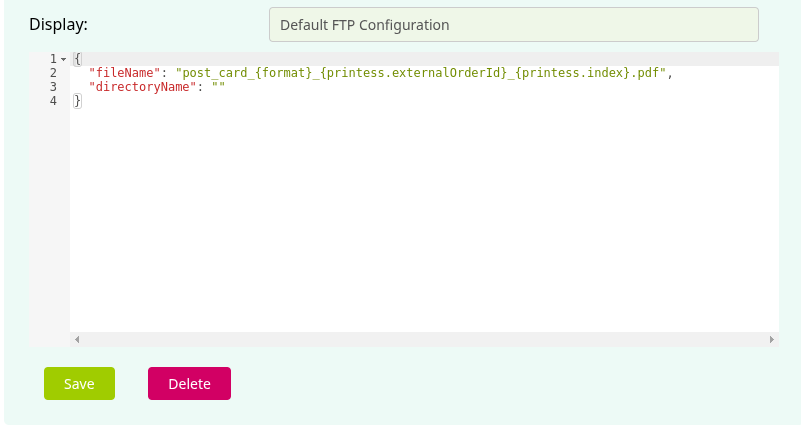
Only template form fields are supported. Document form fields are ignored.
Depending on your shop integration, other variables might be available.
The destination sub directory(ies) can be specified using the “directoryName” configuration. The same rules for file names apply and the same variables as the ones for the file name customization can be used. Depending on the FTP Server configuration, nested sub directories could be used by seperating directory names using the slash character / :
{
  "fileName": "post_card_{format}_{printess.externalOrderId}_{printess.index}.pdf",
  "directoryName": "orders/cards/{printess.date}"
}
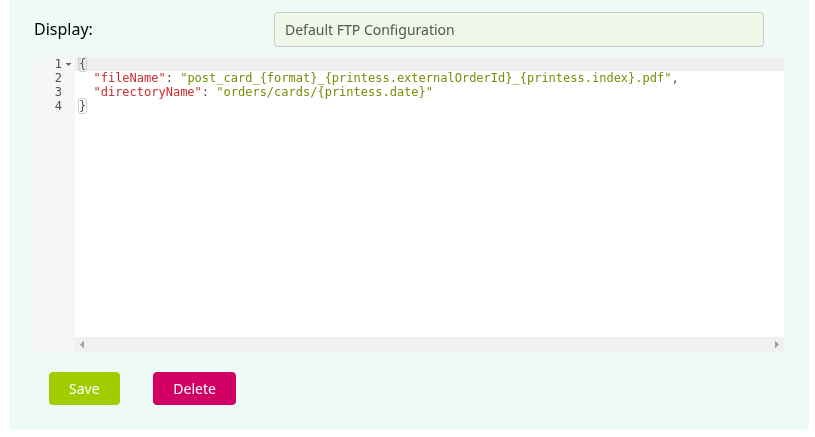
Click on Save to make sure your changed configuration is saved.
When customizing the file name, you will have to provide the file extension. The file extension provided to the product definition configuration does not change the file format of the produced document. This can only be done inside the printess configuration of your shop system, or on the parameters provided to the produce api call. In case the production is configured to output PDF files, you will still have PDF files on your FTP server even if you specify .png or .jpg inside the product definition. Only the file name will end with .png or .jpg, the file itself will still be in PDF format. You will need to create one product definition for each file format that you are producing. The Products in your store or your template needs to be configured with the corresponding product definition. One way to have only one product definition for all file formats, could be having a form field that contains the file extension that should be used. E.g. “post_card_{format}_{printess.externalOrderId}_{printess.index}.{fileExtension}”.