A simple text field to enter text:

Additionally, one can set Text-Before and/or Text-After in the Form Field properties. This will add additional text before or after the entered text (but only if the textbox is not empty).

This can be very useful when, for example, you create a business card where a fax number can be entered. Text-Before will tell Printess to recognize when a number is entered to add the prefix (Fax: __).

If a number is not entered here, then the complete line will be omitted on the business card.
Notice: Within these fields one can also use special formatting options:
<w:styleName>Text with Style<w:> adds a character Style before the text and reverts it after the text. You can also let the style span the complete text by starting in the text before and putting the <w:> in the text after.
For Multi Line text, it is sometimes useful to use a Paragraph Style.
<p:styleName>Text With Paragraph Style<p:>
A Paragraph Style will create a new paragraph at the end of the paragraph <p:> and nothing can be added after it.
Additionally, one can insert special characters:
\t to insert a tab
\n to insert a newline
\f to create a formfeed which in the event of text overflow between frames means, “please continue in the next frame.”
A nice example of using Text-Before and Text-After is shown in our Business Card example. Please have a look at the “phone” Form Field in the linked Template.
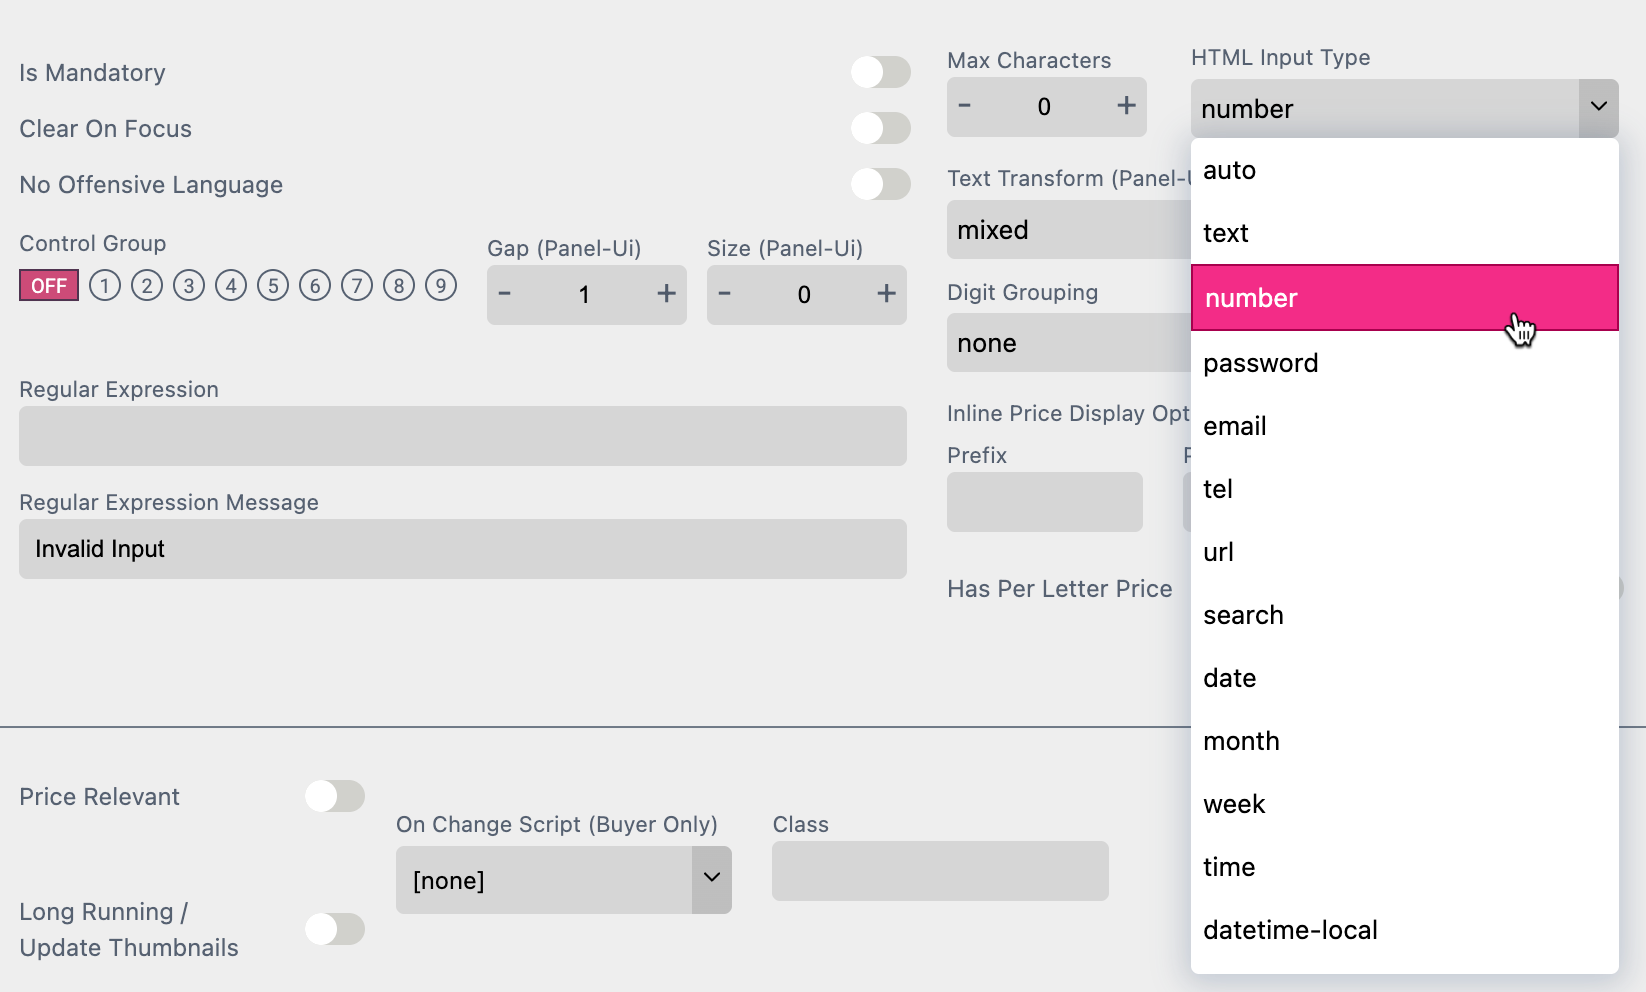
Allows to define the context of the textbox for the browser, like number (shows numeric keyboard) or email, or even date or time.

The text area is meant for text input spanning several lines of text. It does not support Text-Before or Text-After.

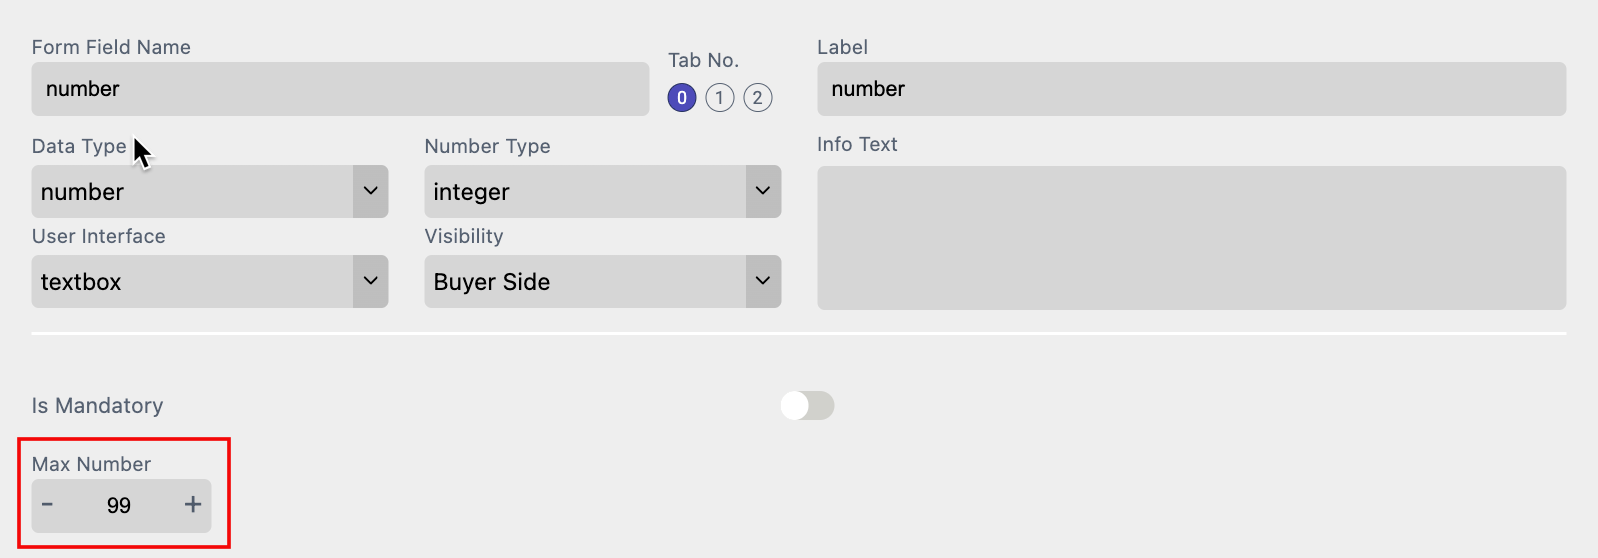
If Number was selected as the data type, the number type defines the type of number stored:

This option is available in the Panel UI only. You can define the upper limit for numeric inputs. This field will be rendered as a number field in browsers. Therefore it triggers the numeric keyboard on mobile devices.
