 button on the toolbar row next to the Style Wizard icon, or select
  from the Styles Tab. A new window is open up.
Tip: The most common Styles can also be created using the Wizard Tool. This has the advantage that Printess automatically creates the appropriate Form Field and the corresponding frame.
Learn more about the Wizard Tool here
Press the  button on the toolbar row next to the Style Wizard icon, or select
  from the Styles Tab. A new window is open up.
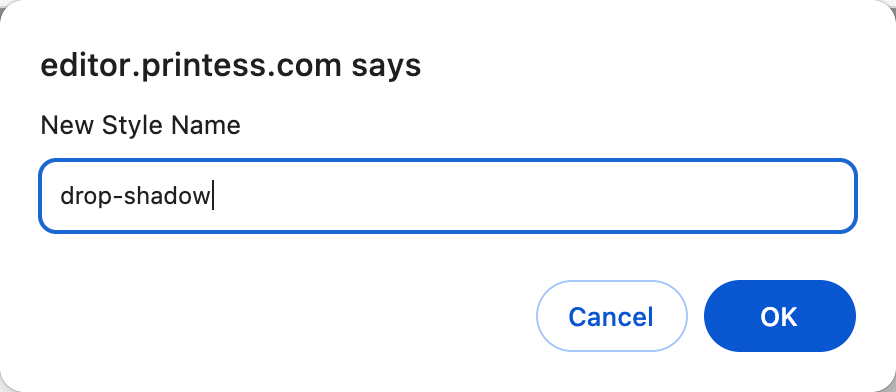
Please type in “drop-shadow” and click on ok.
The new Style is shown in the Resource Panel. And if you click on the small plus icon underneath the Style name you can select Effect, dropActive.
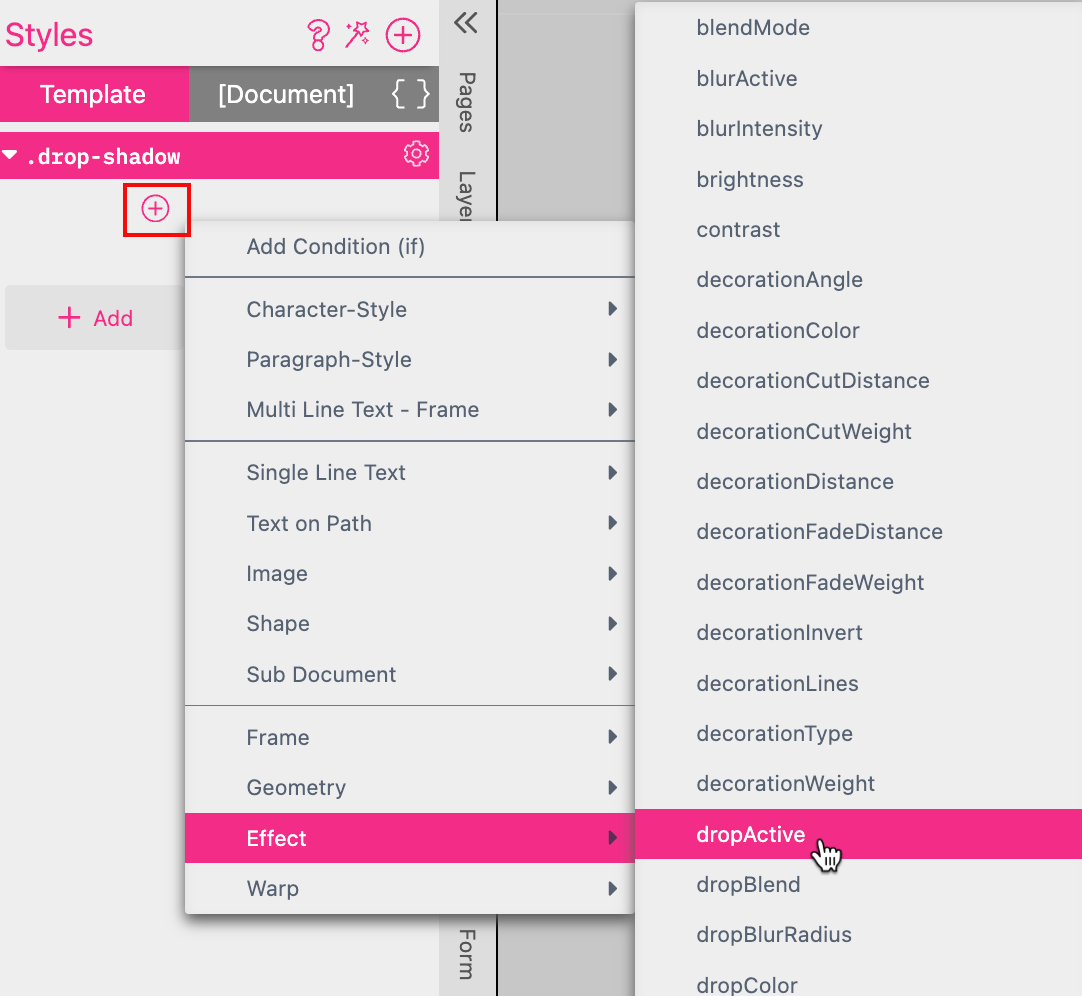
Now this Effect is assigned to the Style and activated. You can turn it on and off by clicking on the checkbox next to the Effect.
Please place a Single Line Text Frame and keep it selected. Click on the gear icon of the Style to choose Assign to Frame.
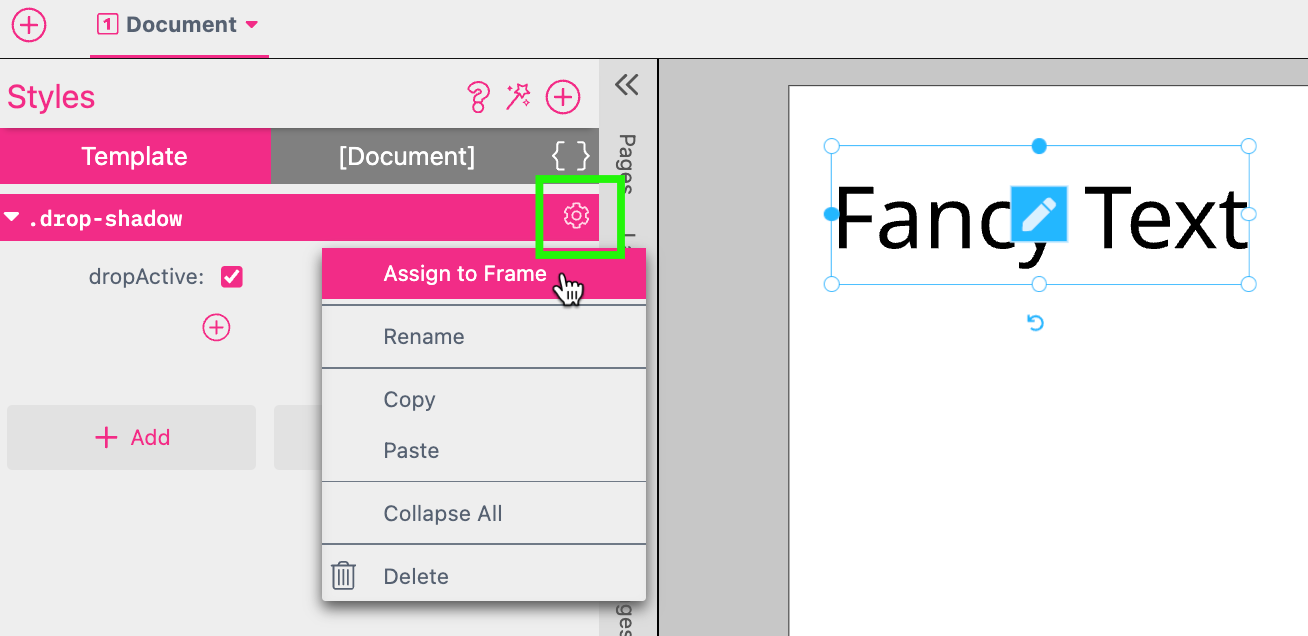
Now the frame shows the flag drop-shadow to indicate the assigned Style. The text got a drop shadow activated.

The Style is working but in a next step we have to set up the Form Field to give the Buyer control of the Style. So please go to the Form Tab of the Resource Panel and click on the plus icon.
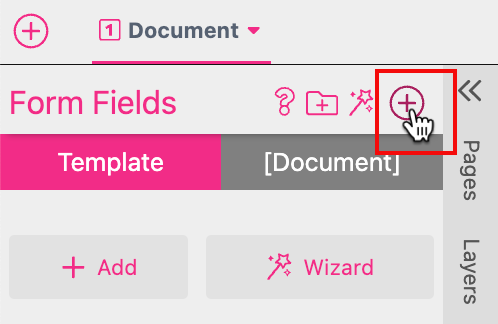
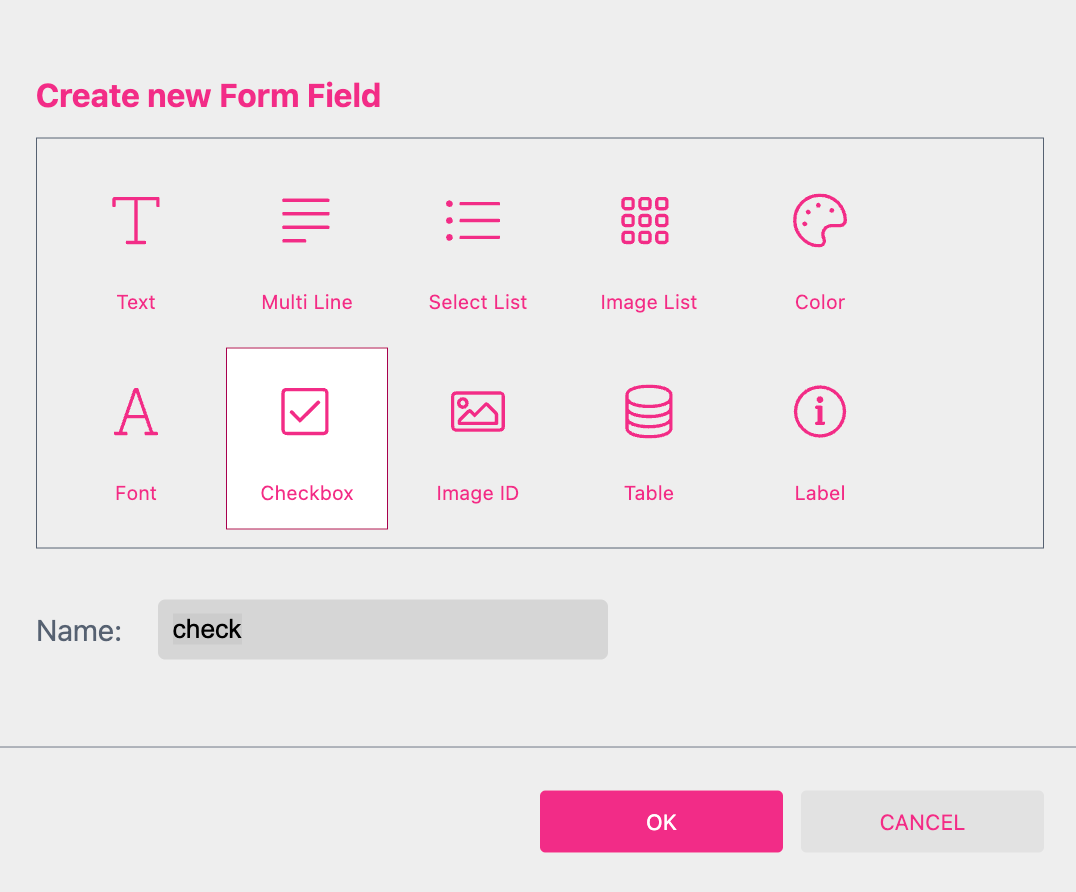
Now choose Checkbox and click ok.
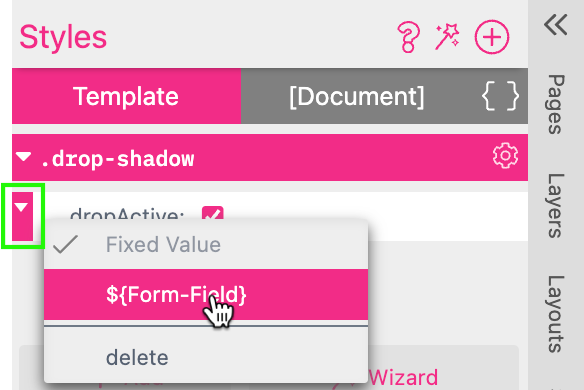
The new Form Field has to be assigned to the Style next. So go back to the Style and click on the small triangle on the left to select “${Form-Field}”.
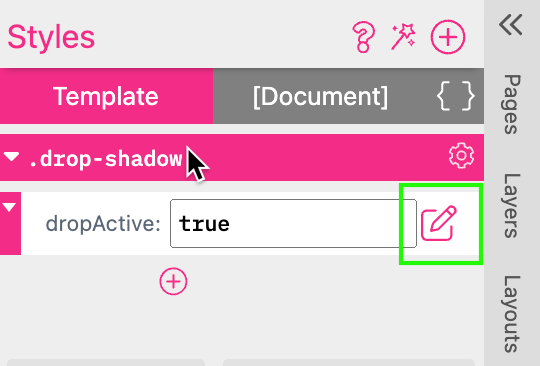
Now click on the edit icon on the right.
The Condition Dialog is opening and shows the right condition to assign the values of the Form Field to the values of the Style.
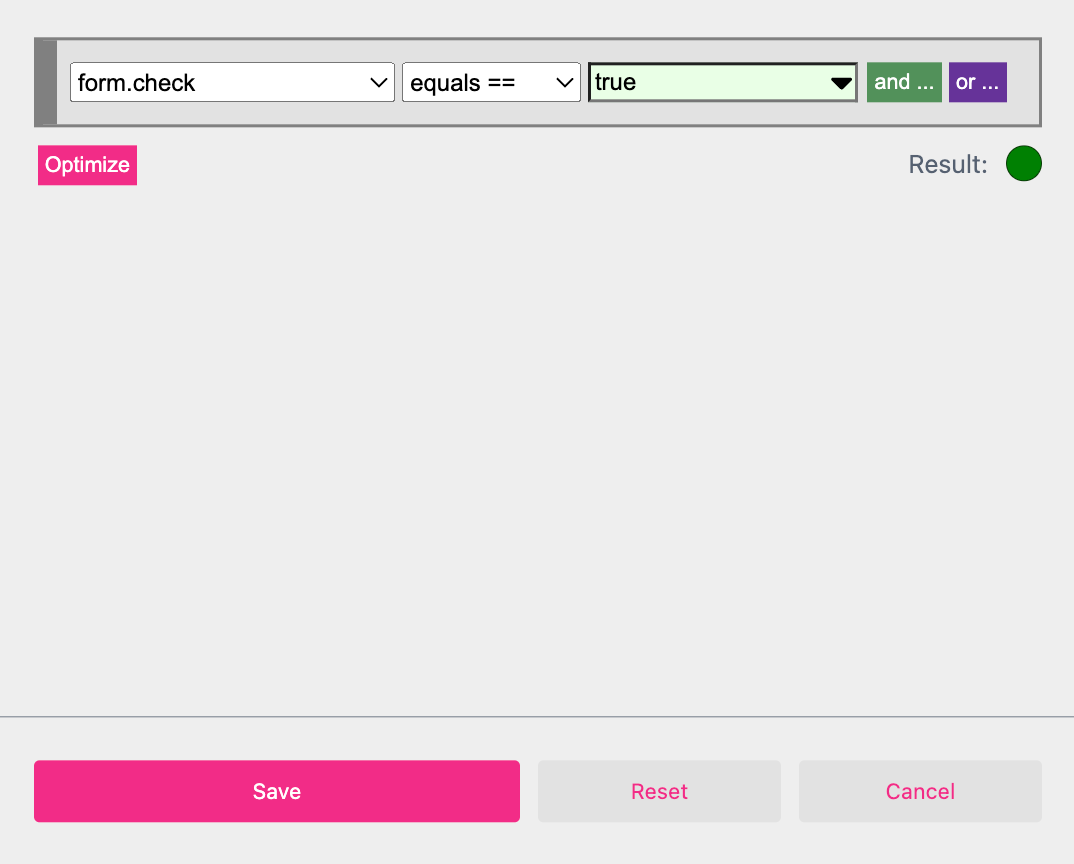
Just click Save and the Style will be controlled by the Form Field at the Buyer Side.