Tip: Form Fields can be copied over from a Template to a document (or vice versa) by selecting them and using either the context menu to copy and paste or simply pressing CTRL+C, CTRL+V.
There are predefined Form Field types that are made for special use cases and they have special properties. They are one of the powerful features of Printess because they could be used to build complex logics - without the need for programming knowledge.
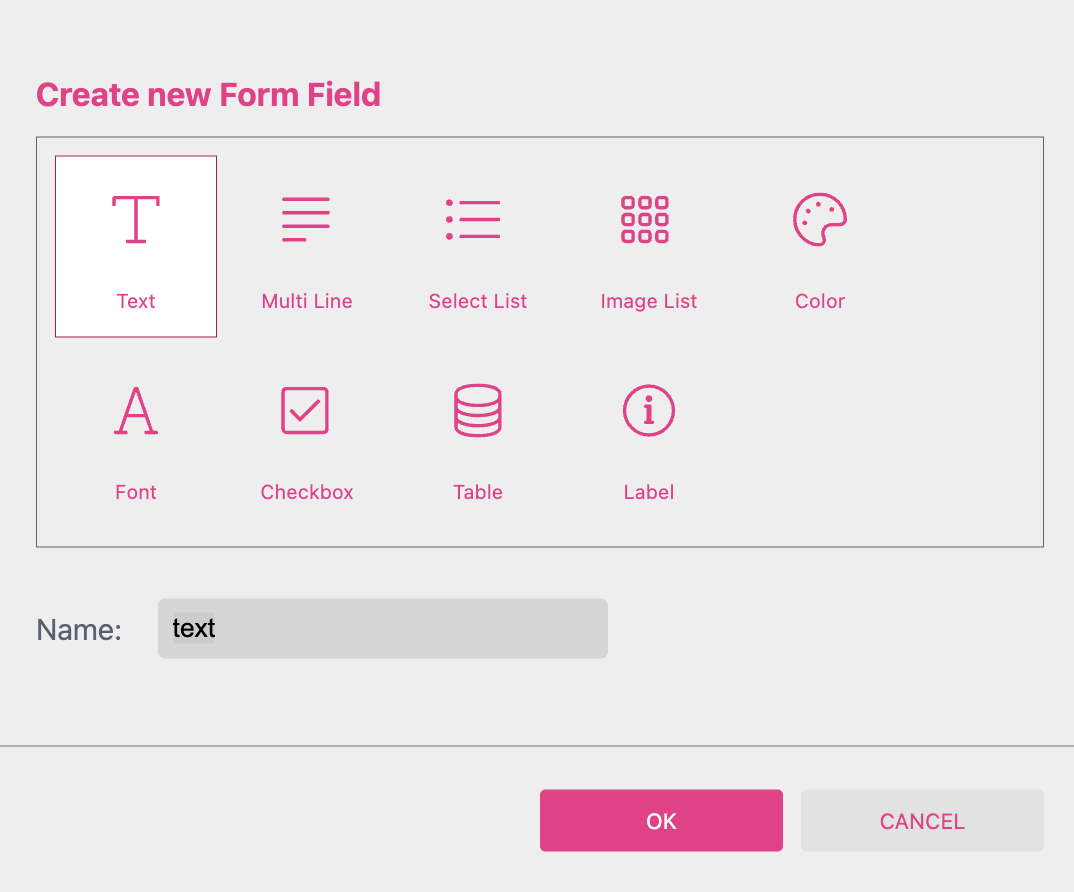
To create a new Form Field use the  button to open this Form Field Dialog.
Now you can select the type of Form Field you want to create and you can enter the name of the Form Field. Form Field names may only contain letters and numbers and must start with a letter.
If you click ok a new Textbox Form Field is added to the Resource Panel.
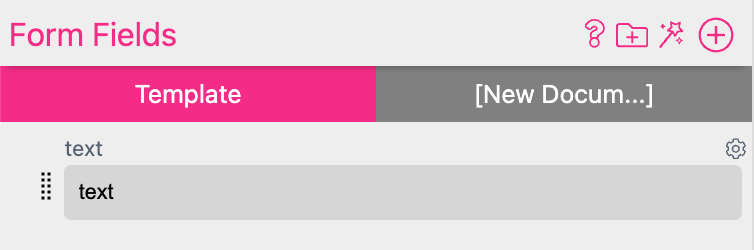
You can now drag the Form Field from the Resource Panel to drop it on the page of your Document. Printess will automatically create a Single Line Text frame to to place it there on the page. This text frame will be assigned to your Form Field.
The different Form Field Types got different Properties. There are two ways to access the Form Field Properties:

To find out more about the individual Properties please read the respective chapters of the individual Form Fields.
Tip: You can change the Form Field Type later in the Form Field Properties if necessary.
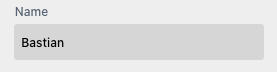
A Textbox field to enter Single Line Text:
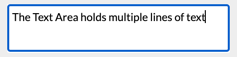
The Text Area is meant for text input spanning several lines of text. It does not support Text-Before or Text-After.
Learn more about using Text Form Fields in our tutorial videos here!
The values will be presented as a drop-down list for the Buyer to choose from. Besides being able to define displayed values that are independent of the value returned, you can also define the images that will be displayed within the drop-down.
Learn more about Select Lists here!
To display additional information underneath each entry, you can switch the User Interface of a Select List to Select List with Info later in the Form Field Properties.
Learn more about Select List with Info here!
The values are represented by images. Image appearance, selection, and hoover state are configurable via standard CSS properties. The image must have been previously uploaded in the Images tab.
Learn more about Image Lists here!
By using the Font Form Field you enable the Buyer to change the font for several frames at the same time. Therefore you have to define a Style to assign it to any frame which should change the font.
Learn more about Font Form Field here!
The checkbox Form Field exposes a table with only two values: True and False. The Label, Image, and Tag columns can be set to any value. But it is important to note that the checkbox Form Field will remain as a String type (as it is not a real boolean T/F value).
Learn more about Checkboxes here!
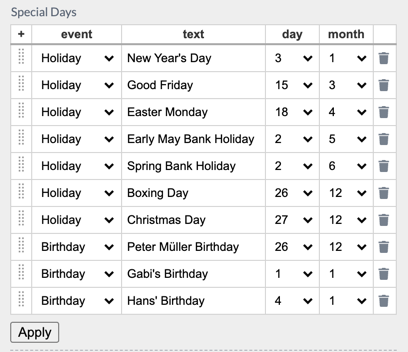
This Form Field will show a table editor at the Buyer Side where the Buyer can enter data and add or delete rows.
A Form Field made to show a message at the Buyer Side. It contains static text only.
Learn more about Label Form Field here!
The Color List user interface allows a simple color selection on the Buyer Side.
Learn more about the Color Form Field here!
A special Label Form Field which is shown as a button at the Buyer Side. Pressing the button executes a Script of the Template.
Learn more about the Button Form Field here!
Displays the UI of a Panel Script in the Buyer Side Properties Panel.
Learn more about the Panel Script Form Field here!
Tip: The legacy Image-ID type is no longer offered in this dialog. Read about it in the Legacy Form Field Types chapter.