Info: The Keyword Menu is only available from the Medium Plan.
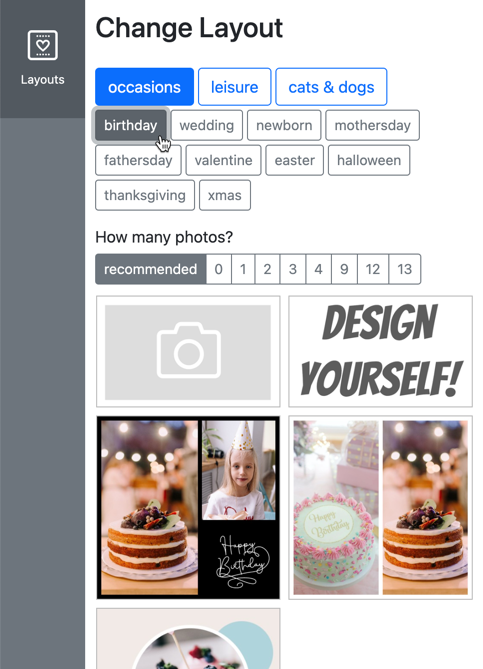
Keyword Menus allow Buyers to filter Layout Snippets by Keywords at the Buyer Side. This makes it easier for the Buyer to find the right Layouts or Variants.

In addition the Image Count Filter is activated by default.

It sorts the Layouts and Variants based on the number of image frames they include. You can deactivate this additional filter at the Buyer View Appearance Settings.
Find the Image Count Filter Setting here.
Info: Keyword Menus are especially useful, when you are using Variant Creation. Learn more about Variant Creation.
Keyword Menus consist of four different elements:
Categories: A Category can contain multiple Topics and should be more general. (Examples: “Family & Friends”, “Occasions”, “Animals” etc.) Categories are visible on Buyer-Side.
Topics: A Topic is part of a Category and filters more precisely. (Examples: “Friends”, “Parents”, “Couples”; “Birthday”, “Wedding”; “Cats”, “Dogs” etc.) The name of the Topic will automatically be assigned as a Keyword for this Topic. Topics are visible on Buyer-Side.
Image Categories: Existing Image Categories can be set as Topics. This will also automatically assign a Keyword with the same name as the respective Image Category. Learn more about Image Categories.
Info: This is especially useful when you use these Image Categories for Variant Creation.
Info: When you use Variant Creation to create Layout Variants, these Variants always have their assigned Image Categories set as Keywords. So when a Variant is e.g. created using the Image Category “Dogs”, Buyers will be able to find the Variant when filtering for “Dogs”.
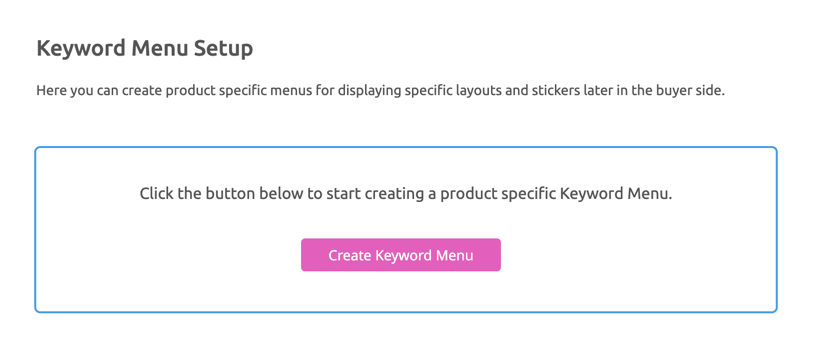
On your Account Portal, go to the “Keyword Menu” Tab.
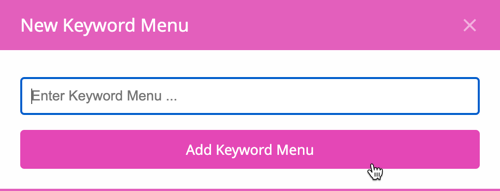
If there is no Keyword Menu yet, click on “Create Keyword Menu”. This will open up the “New Keyword Menu” Dialog. Enter a Caption for your new Keyword Menu in the “Enter Keyword Menu…” Input Field. This will be the Name of the Keyword Menu, which you can select on Designer-Side to assign it to a Page later on. You can change the Name later on.
If there is already a Keyword Menu, go to the “Create Keyword Menu” Input Field and enter a Caption for your new Keyword Menu.
You can also click on the [+] Icon in the top right corner of the “Keyword Menu” Table.
Tip: It is Best Practice to set up Keyword Menus for specific Products, so the Categories fit the available Layouts.
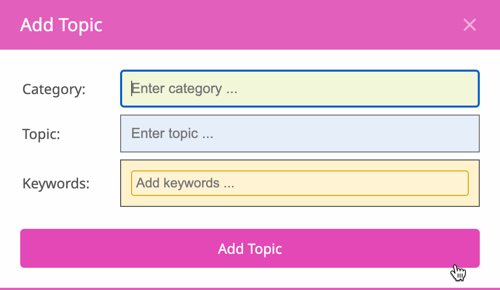
Enter a Name for the new Category in the “Category” Input Field.
Type in a Name for a new Topic in your new Category in the “Topic” Input Field. The Name of the Topic will automatically be set as a Keyword for this Topic.
Info: If there is a Image Category set up for your Account, a “Image Category” Select List will be shown. If you want to assign a Image Category to this Topic, you can select the Image Category from the list. The Title of the Image Category will be the Name of the Topic.
This is especially useful when you use these Image Categories for Variant Creation.
(Optional) Enter a Keyword you want to assign to this Topic. The Name of the Topic will always be assigned as the first Keyword. You can also select a Image Category as a Keyword to assign one or multiple Image Categories to a Topic.
Click on “Add Topic”. This will close the Dialog and show you a table containing your first Category, Topic and Keyword as columns.
Copy and Paste
You can use the copy and paste icons to add new categories to the Keyword Menu.

“Copy” copies all categories and “Past” appends all categories to the current menu.

Click on the “Edit” Icon in the top right corner of the “Keyword Menu” Table.
Enter the new Caption and click on “Change Caption”.

Choose the Keyword Menu you want to delete from the “Keyword Menu” Select List on the top of the “Keyword Menu” Table.
Click on the “Delete” Icon in the top right corner of the “Keyword Menu” Table.

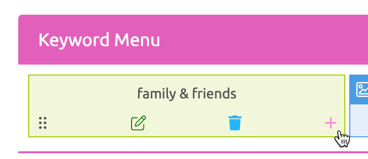
To add a new Topic to an existing Category, go to the “Keyword Menu” Table and hover over a existing Topic in the respective Category. This will show you some extra options.
Click on the [+] Icon to add a new Topic to a Category.

You can translate your Keyword Menu by using the Translation Table in your Printess Account Portal. For example:
{
  "menu": {
    "food": "food",
    "drinks": "drinks",
    "seafood": "seafood",
    "meat": "meat",
    "desert": "desert",
    "starters": "starters",
    "salad": "salad",
    "pizza": "pizza",
    "pasta": "pasta",
    "softdrinks": "softdrinks",
    "beer": "beer",
    "wine": "wine",
    "coffee": "coffee"
  }
}
Just copy a section into the translation table. The section has to be named “menu”: and you have to follow the syntax of the Translation Table.