Image Categories let you organize your sample Images in different categories, so Printess can use this Images to create Layout Variants that fit to certain Keywords. Learn about Layout Variant Creation.
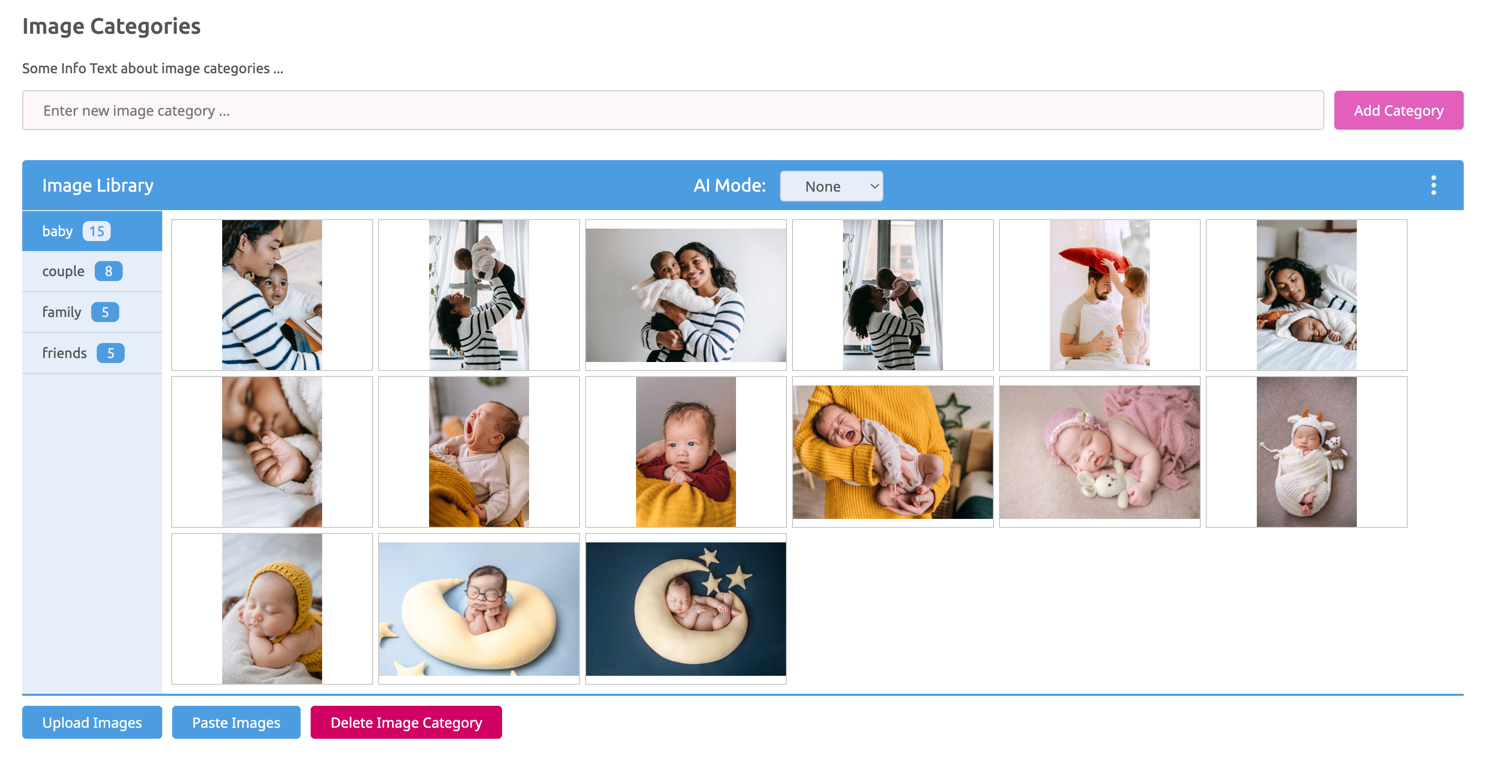
Go to your Account Portal and click on “Image Categories”.
Click on the “Image Category” Input Field and type in a title of your new Image Category.

Tip: The Image Category Title should be a adequate description of the Images you want to add to this Category.

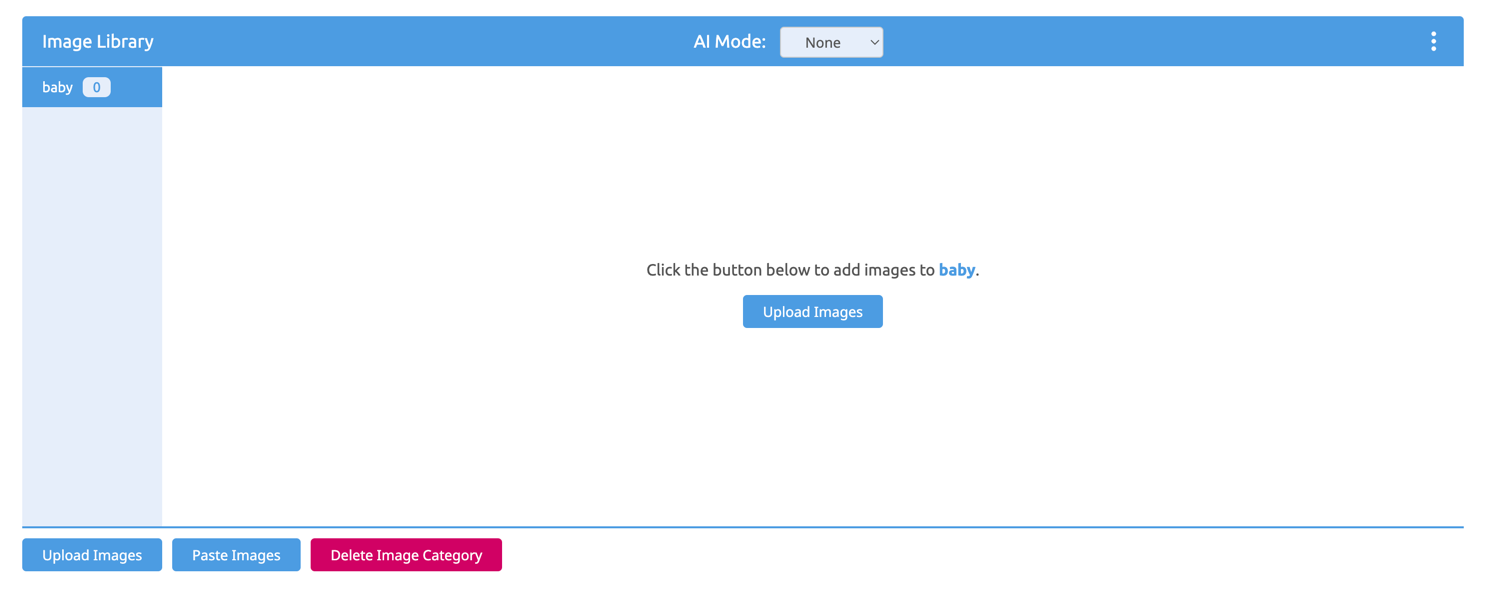
Click on the “Upload Images” Button in the center or below the “Image Library” Table to upload as many Image you want to your Image Category or “Paste Images” from your clipboard.
(optional) For each Image Category you can set the “AI Mode” to “Face” or “Group”. This can be useful, when an Image Category contains Images of either one person or a group of people. Learn more about AI Mode.
In the example below, we added the Image Category “baby” and uploaded 15 Sample Images of an infant.

You have successfully created a new Image Category.
For each of your sample images of your Image Categories you can define if it could be printed for the Buyer or if it has to be replaced before printing. So if you have generic motives like a christmas tree or easter eggs the Buyer will may be fine with using them in the ordered product.
This is why you can mark these image in the Image Categories to be used for print.
Just click on the printers icon ![]() on the upper left of each image to define this. If the icon turns green
on the upper left of each image to define this. If the icon turns green  it could be used by the Buyer If it is grey and crossed it could not be used. Printess automatically set these images to “mendatory” so that the Buyer can not check out before replacing these images.

The green icon shows that this image could be used by the Buyer for print.
The grey icon shows that this image can not be used by the Buyer and that it has to be replaced before the check out could be done. Printess automatically sets this image to “mendatory”.